Welcome, friends! If you're makin' the rounds on the Blogger Stylin' Home Tours hosted by The White Buffalow Styling Co., I've got some tough tours to follow! If you're following the order of this little hop then welcome from Circa34! Love her down to earth style so much. There has been no shortage of beautifully fresh Summer homes, not the least of which is our very own Cate's! You can view her Summer home tour here if you missed it last week!
While Cate's gorgeous home tour was eclectic, indeed, I'd say my style leans heavy toward easy breezy bohemian. I've always had a pretty laid back personality by nature and my husband is much more so. The casualness of the bohemain style suits us really well and is how I'd describe the nature of our home. With a woodsy backyard and lots of natural light, there's a fine line between the outdoors and indoors here. We've got three little ones ages 6, 6, and 5, and they keep the pulse of our home thumping hard. It really is a house of wild things, both inside and out! While our laid back, natural style is mostly bohemian, we don't quite have that layered element of stuff upon stuff - it's something of a cross between bohemian and minimalist, which is funny because they're really on opposite sides of the style spectrum! But it's what feels natural and comfortable for us, as any home should be to it's owners. Shall we look around?!

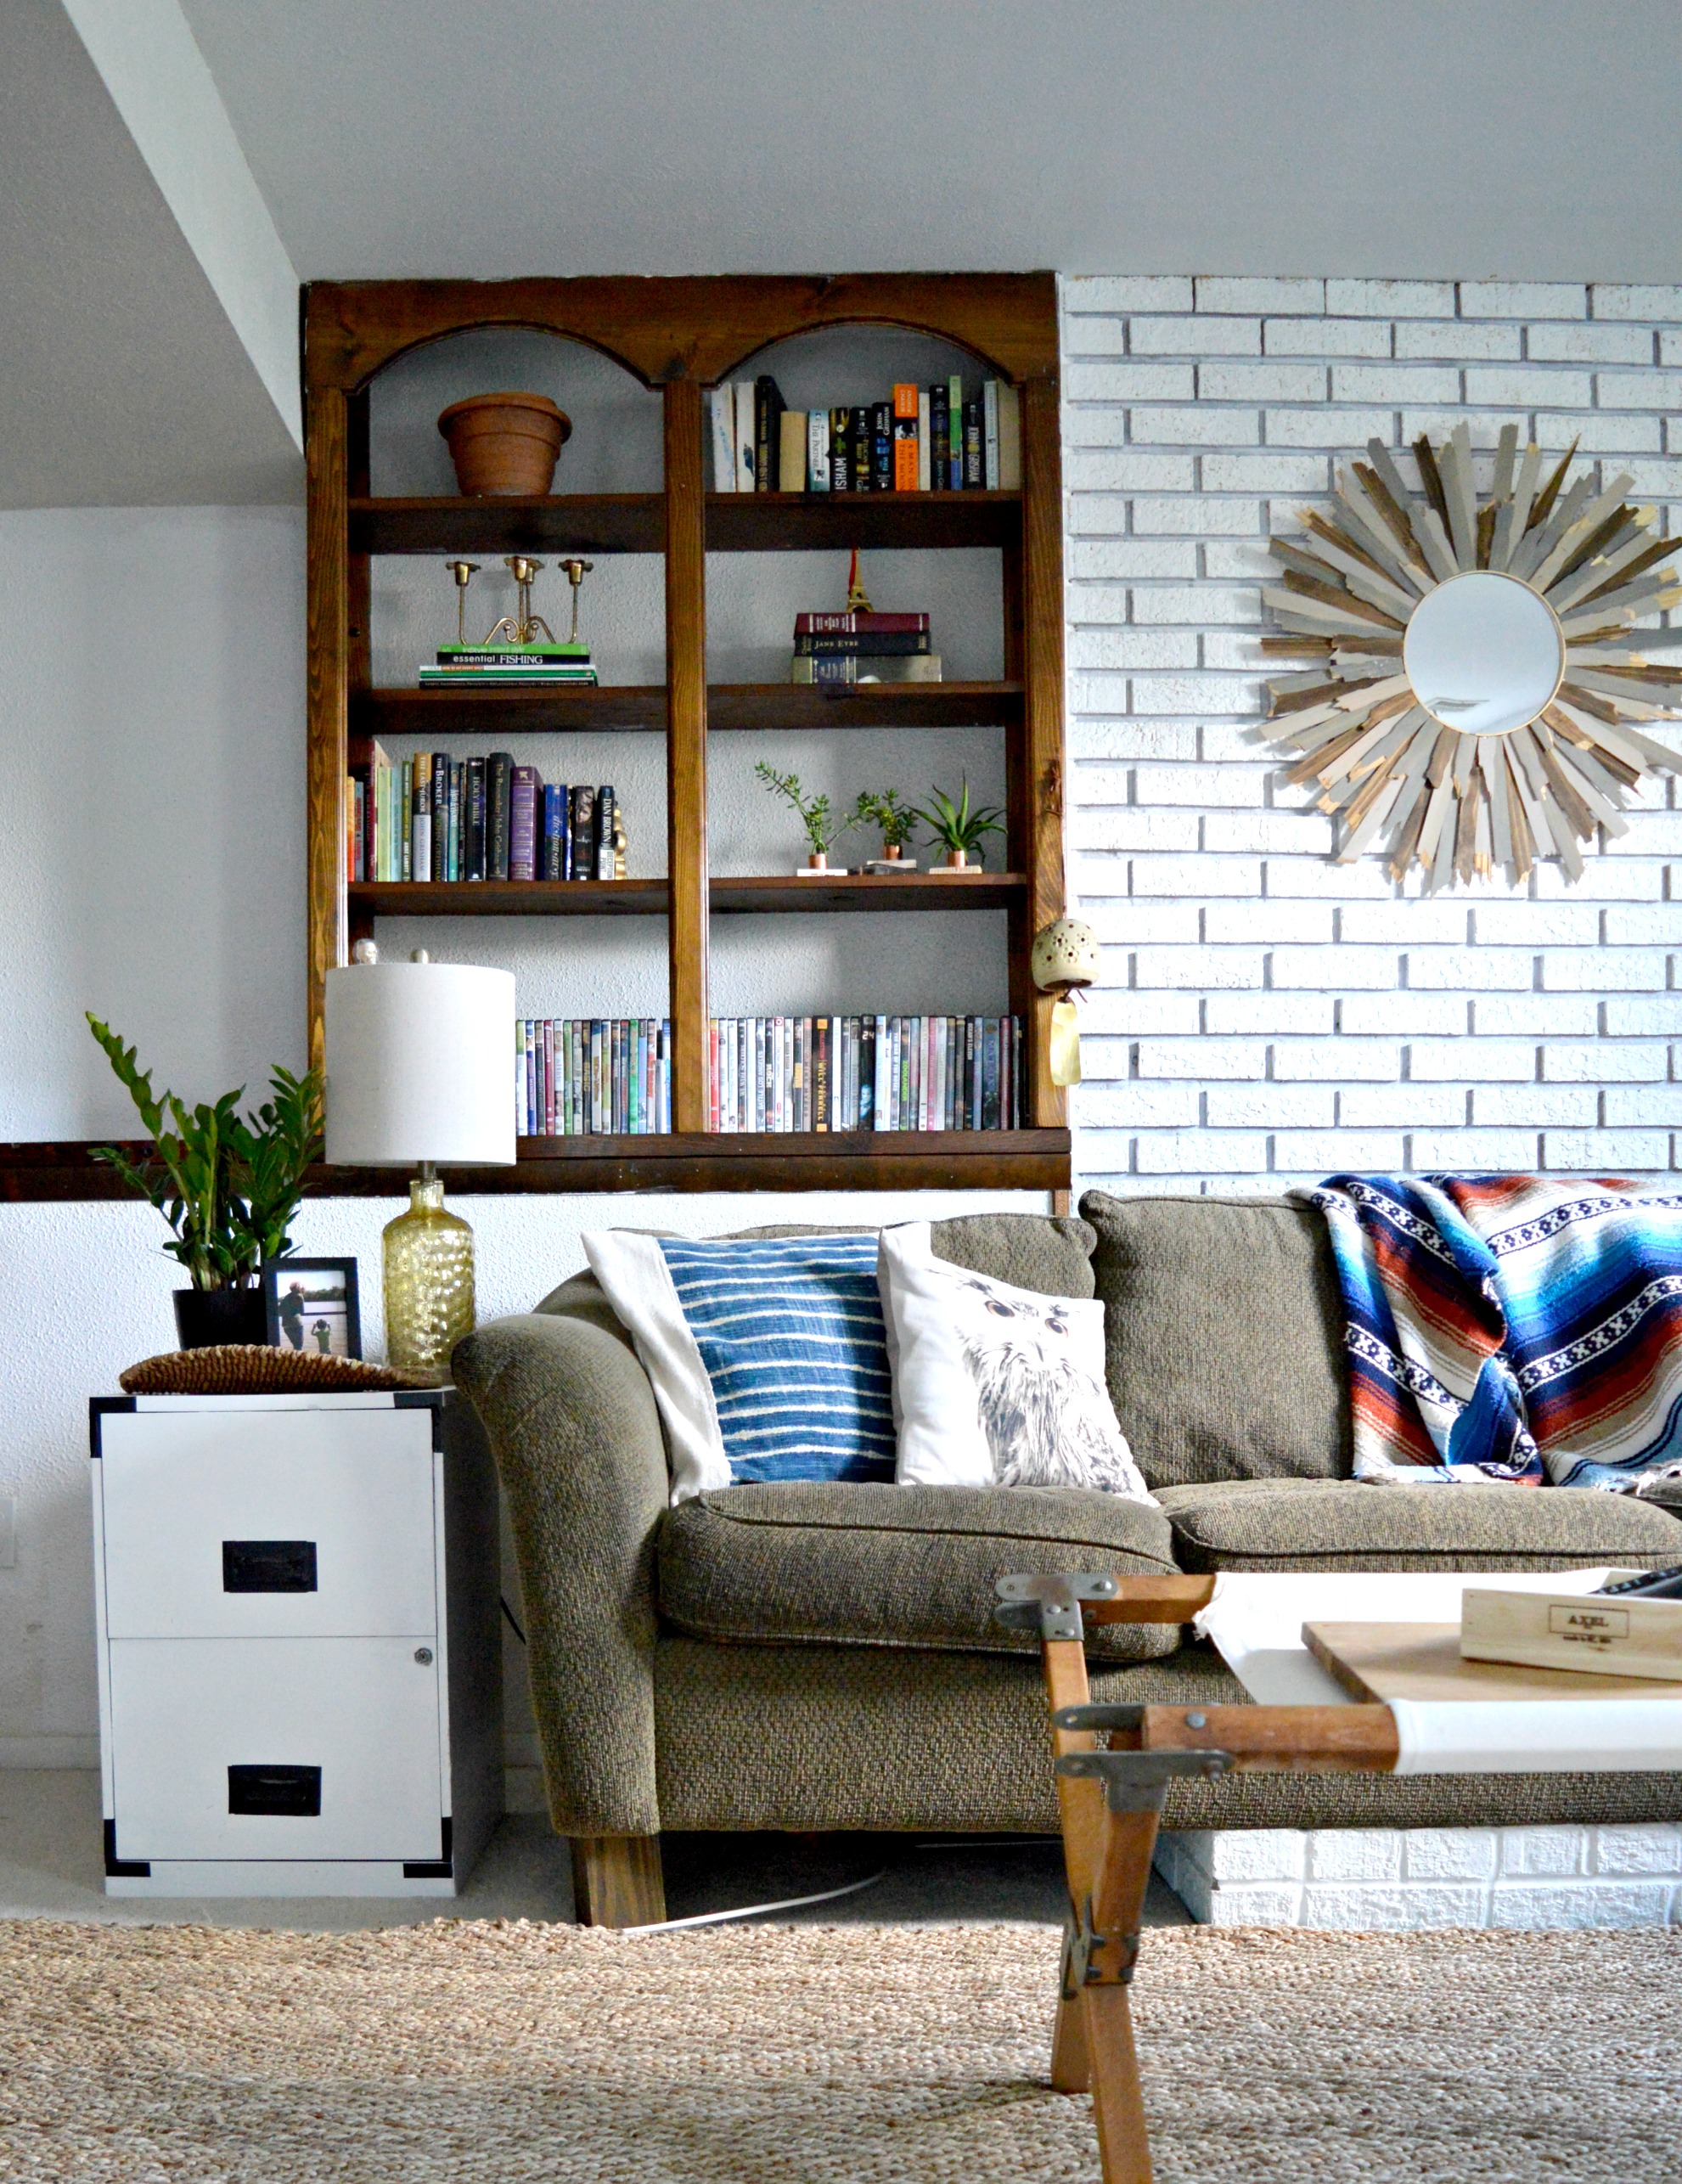
Our basement is our family room and playroom. We didn't need to do much down here after acquiring a hand-me-down sectional from my folks and turned a vintage WWI cot, (previously a bench in our living room , as Cate has in hers), into a coffee table.

We've got a line up of Summer movies ready to go, for sure!
Around the corner from the comfy is the playful and line totally gets blurred. The toys may 'sleep' in this space but they come out to play all over the basement during the day. I just love it.


This wall is the newest addition in our home at the moment! I used a bit of teal paint that I had bought for a bathroom years ago to create a fun backdrop for the kids' favorite art work. I want all of it. Give me all the cut-out hand suns, finger painted stegasaurs' and handprint bouquets. These are the days!


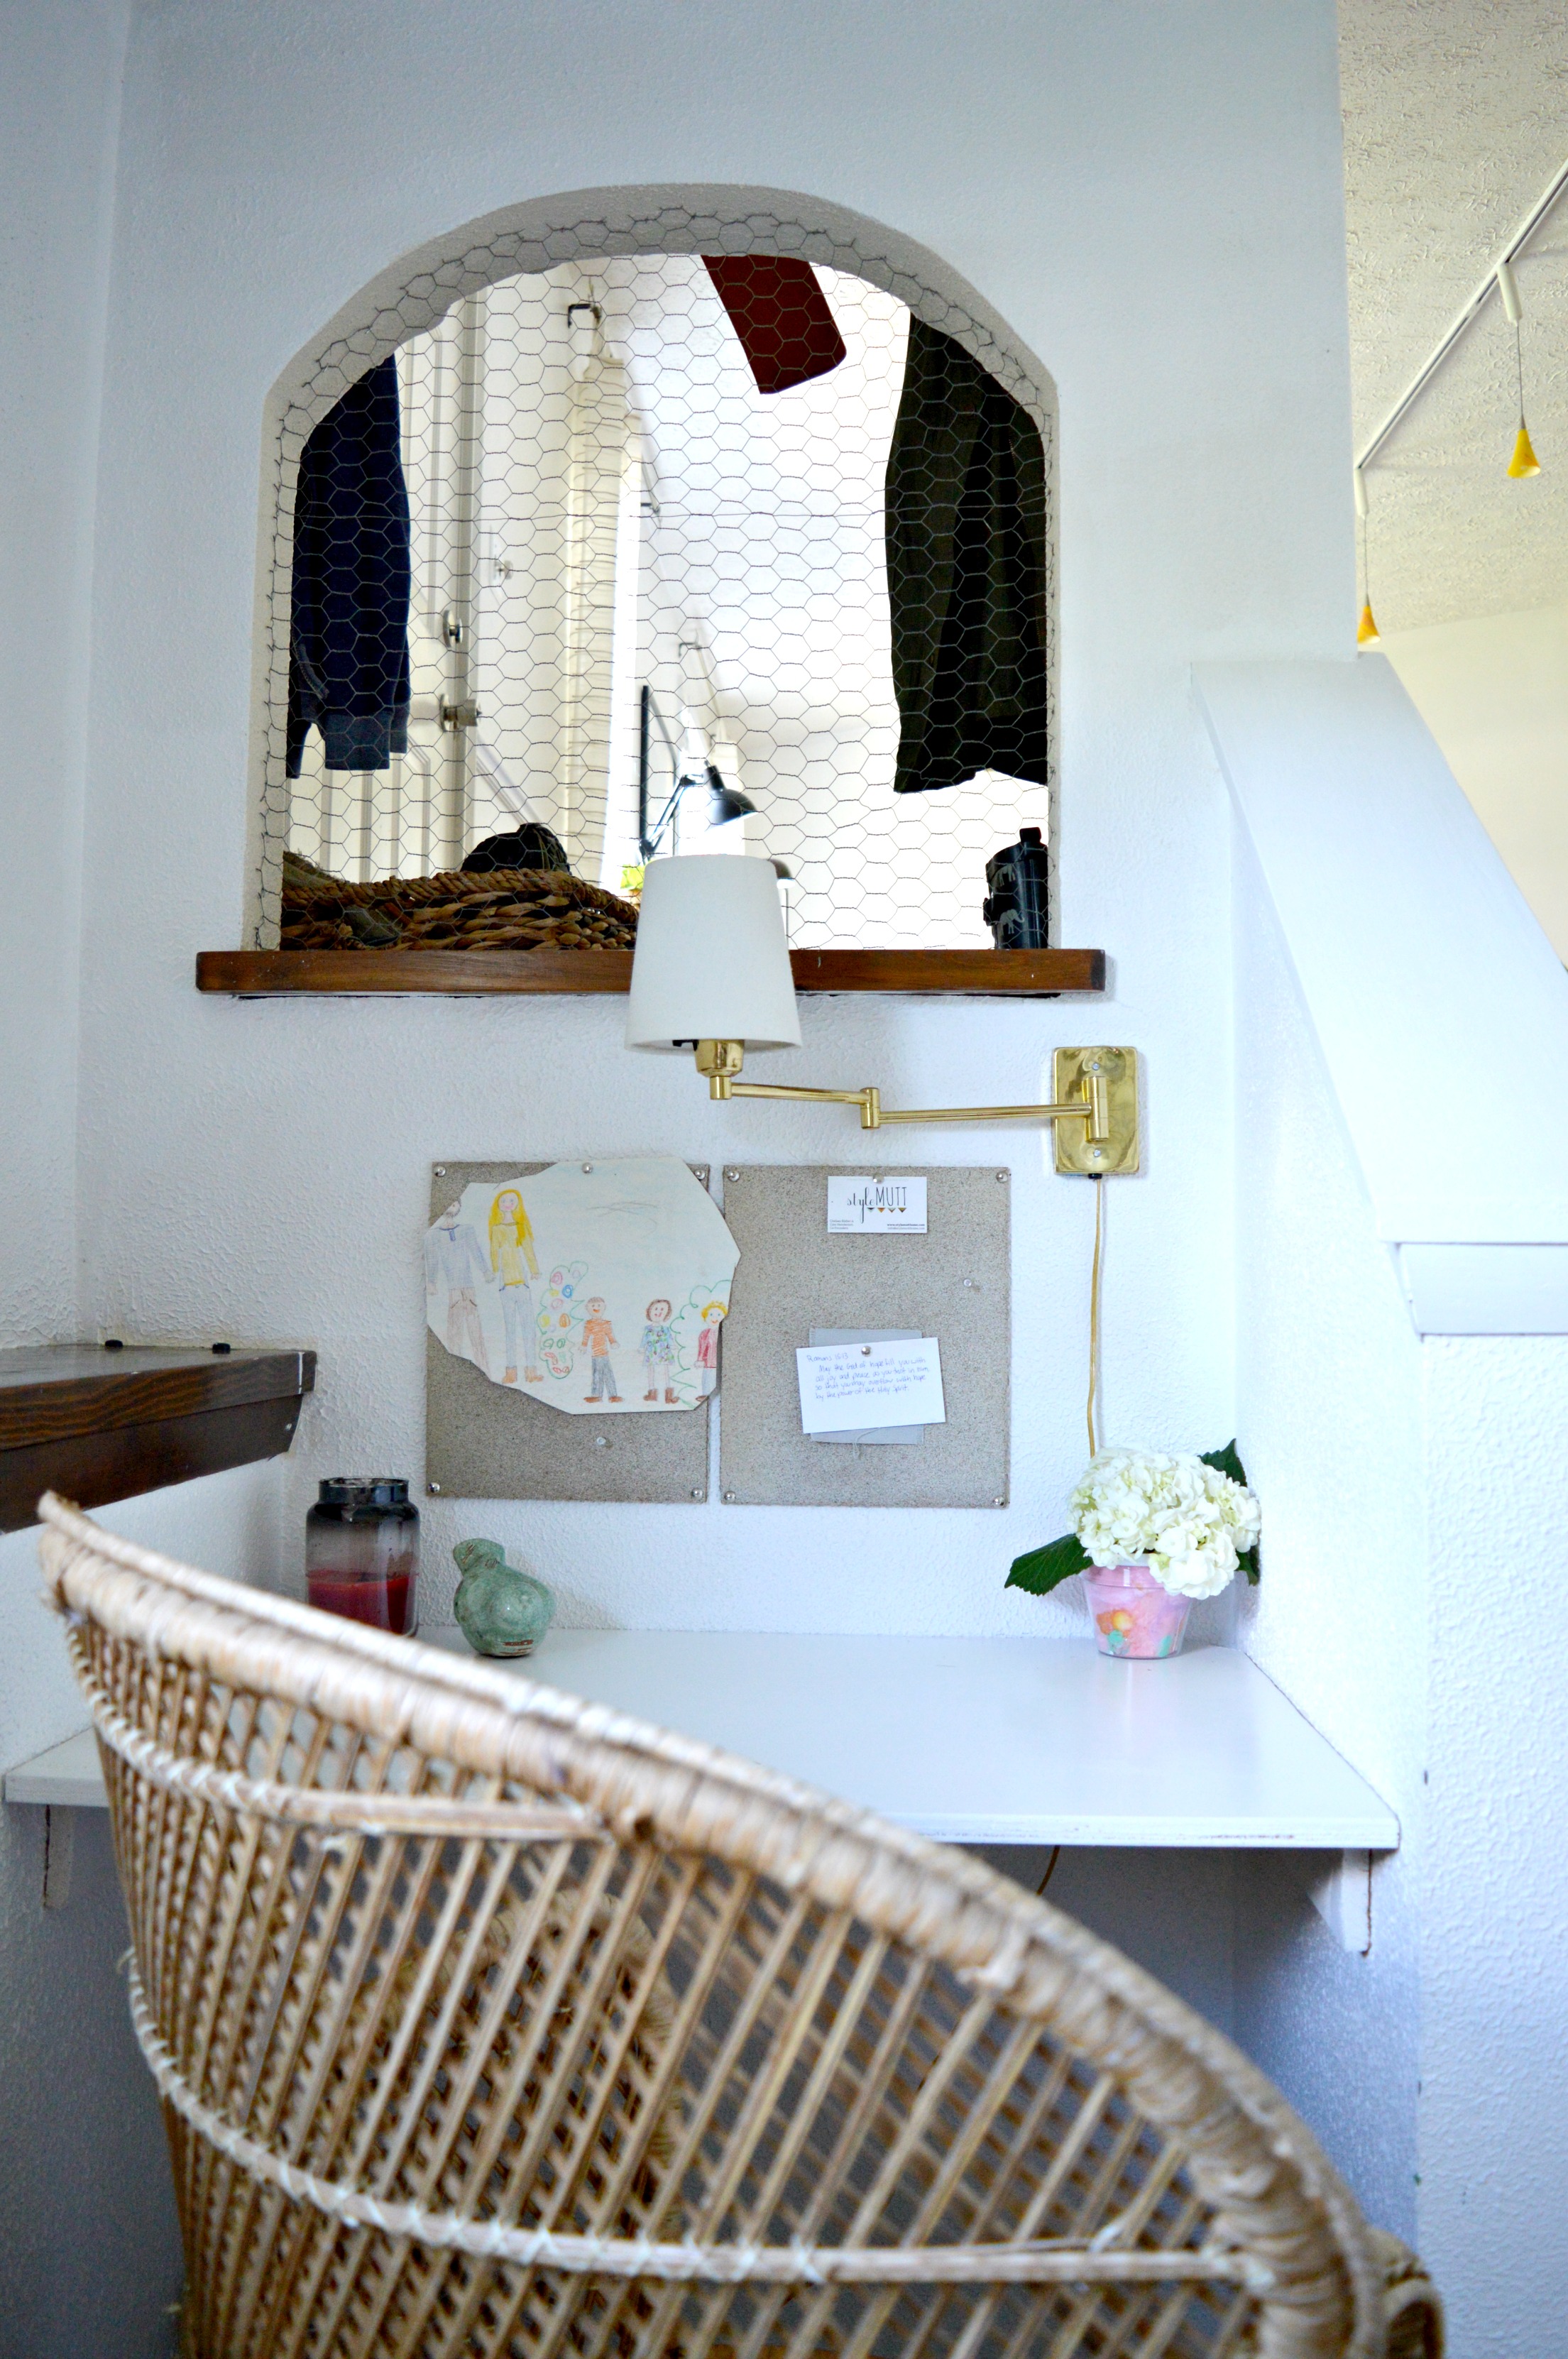
Before we head back upstairs we'll pass by our little built-in desk that the kids will use from time to time to play reading and math games after school. Since it's enclosed on three sides its a nice uninterrupted spot to work!
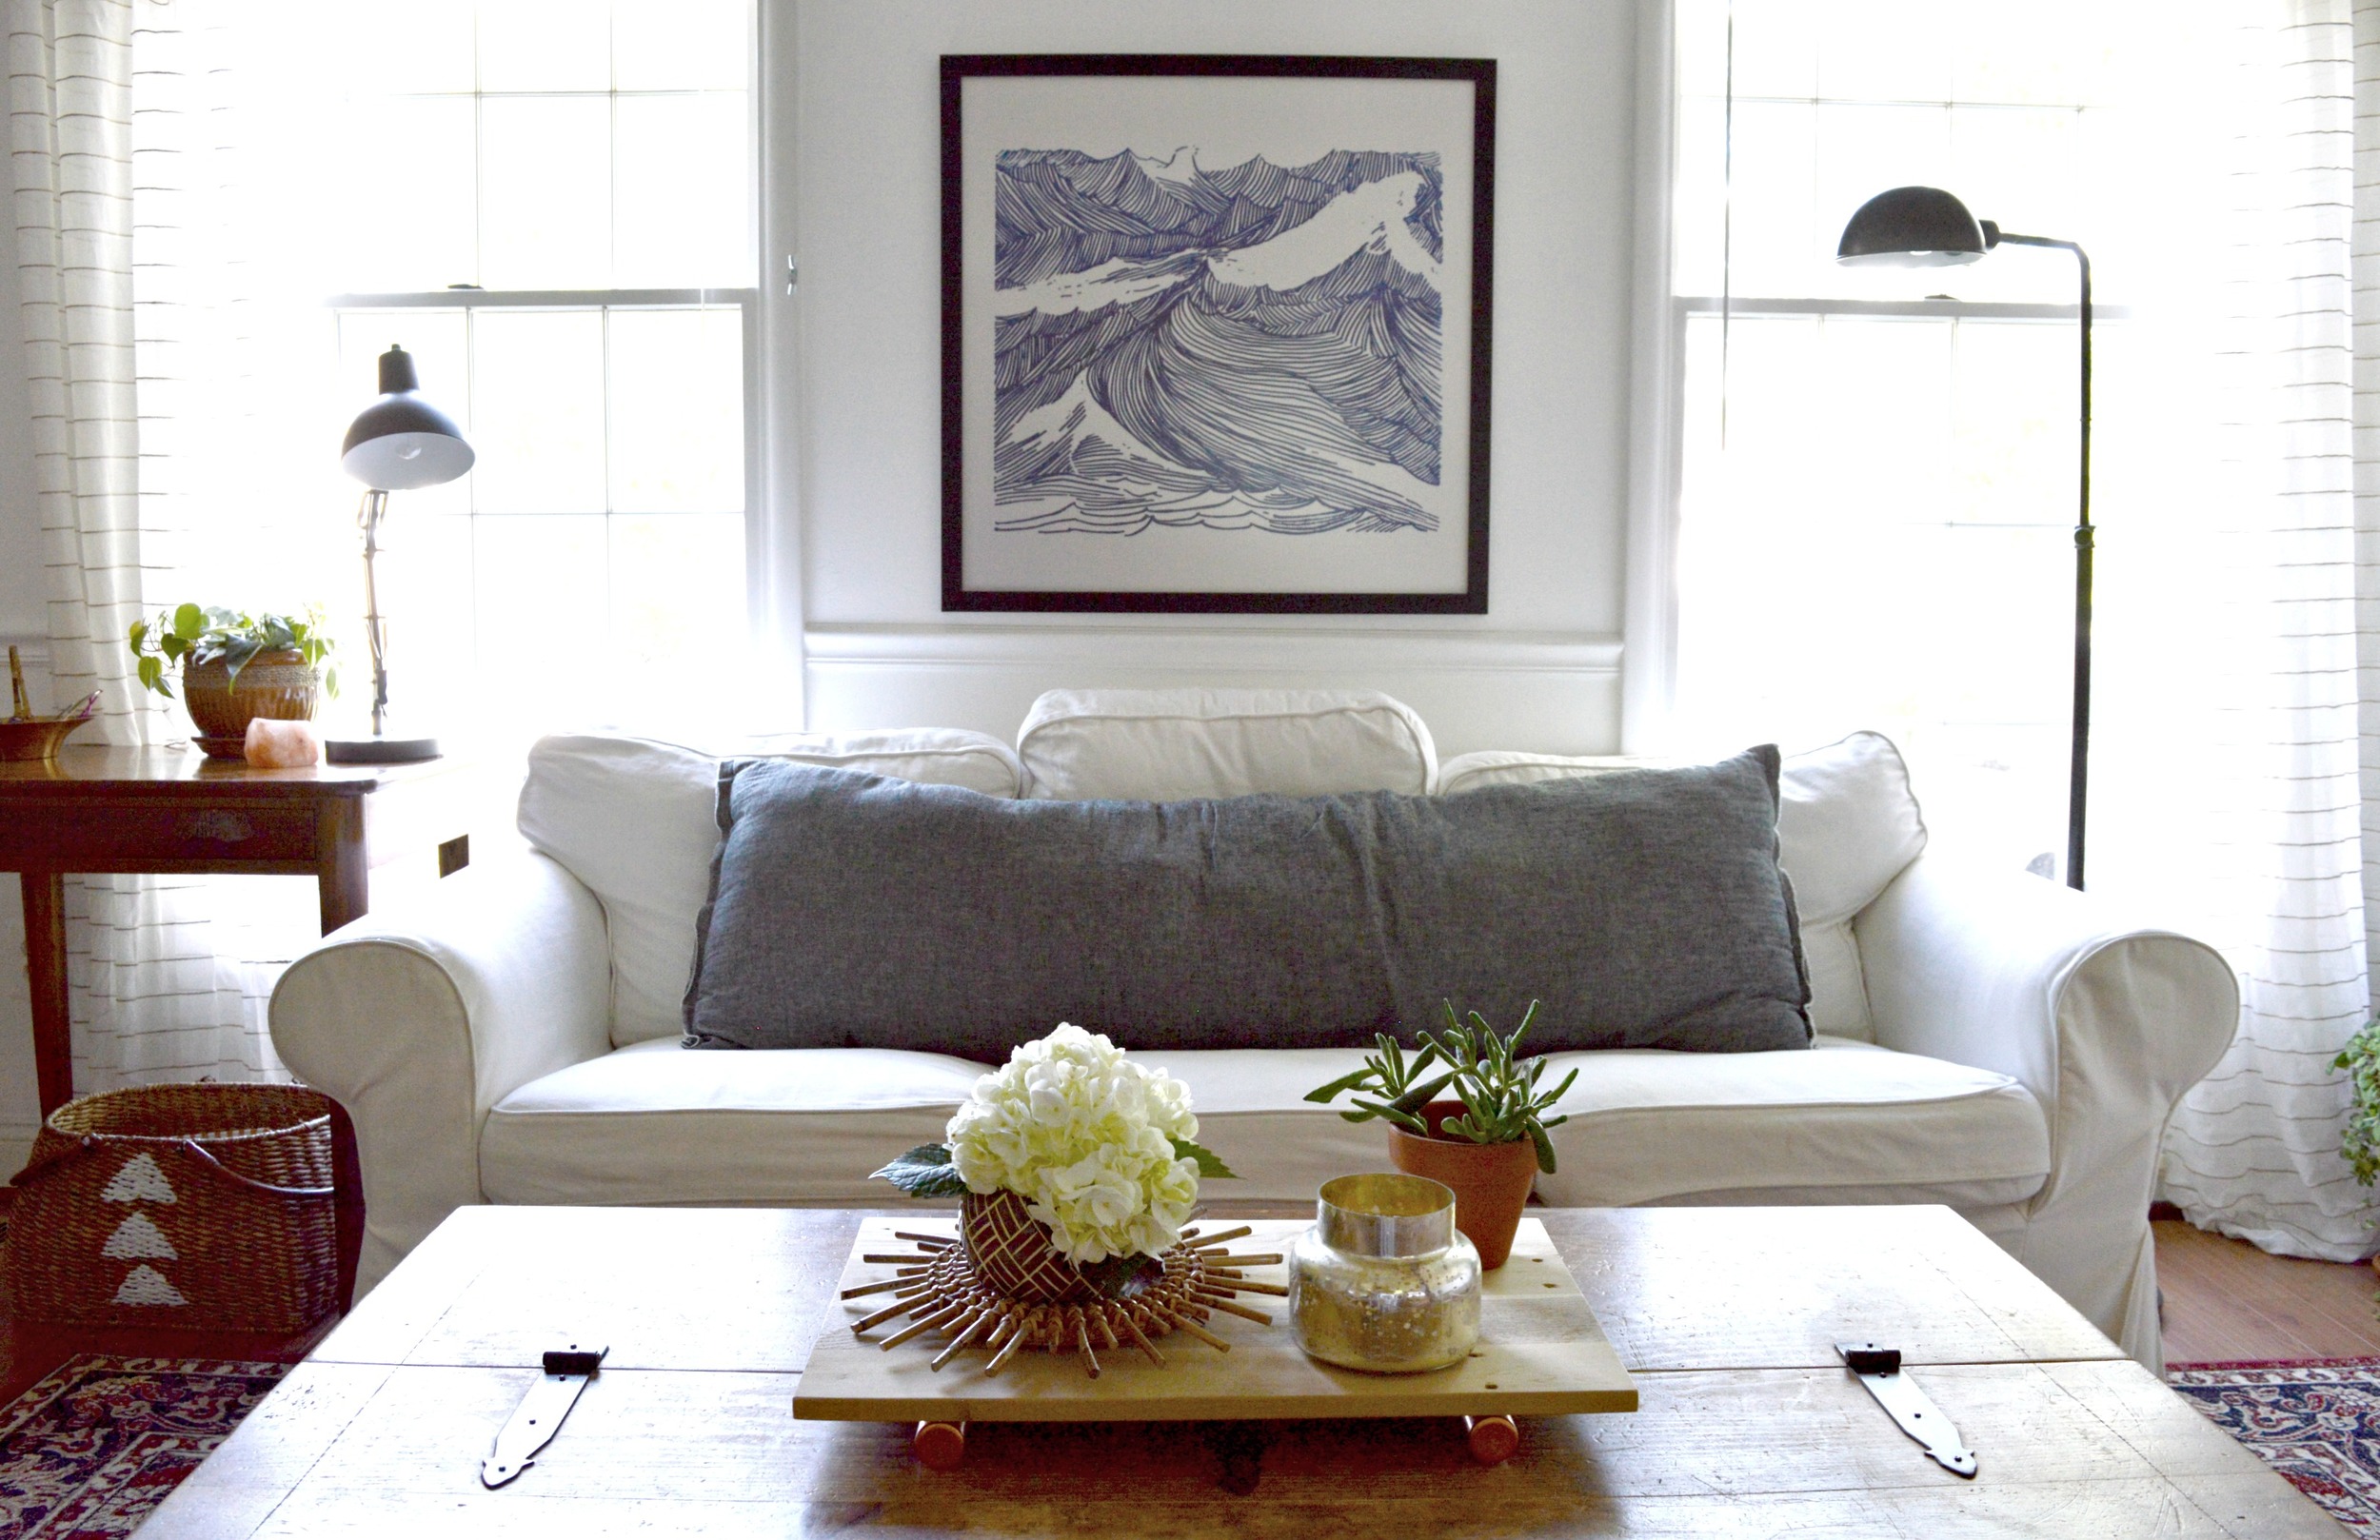
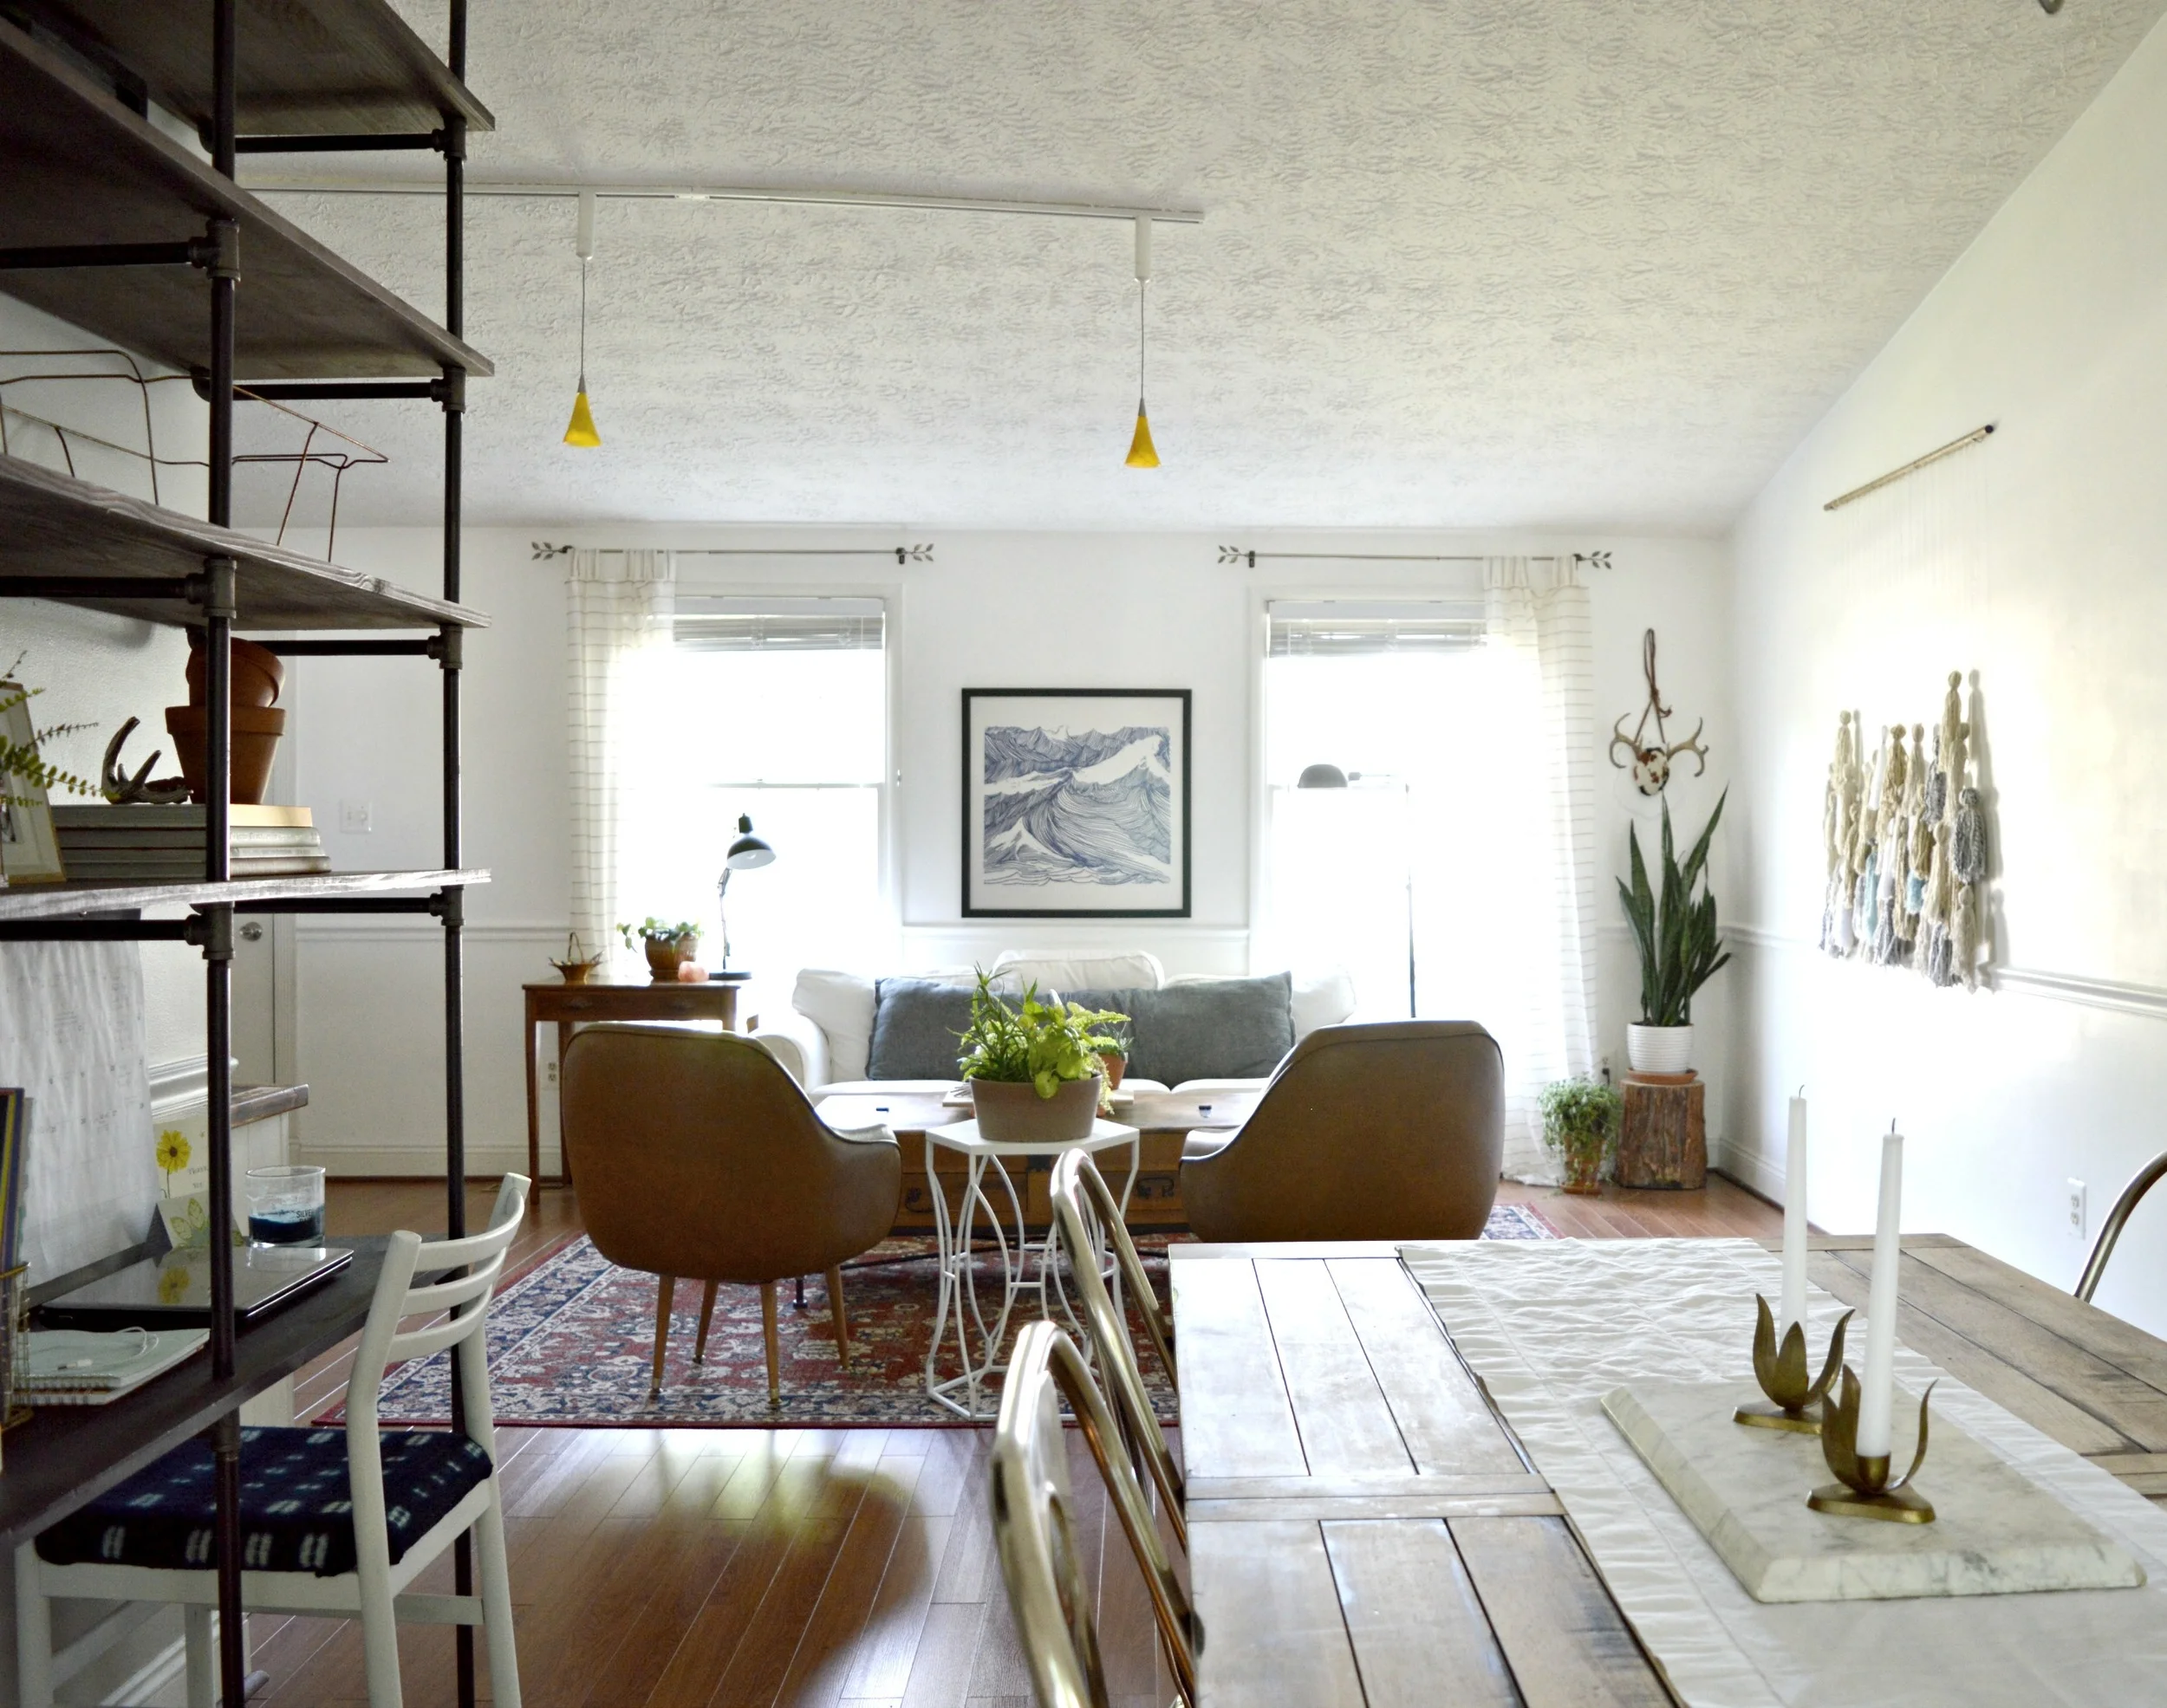
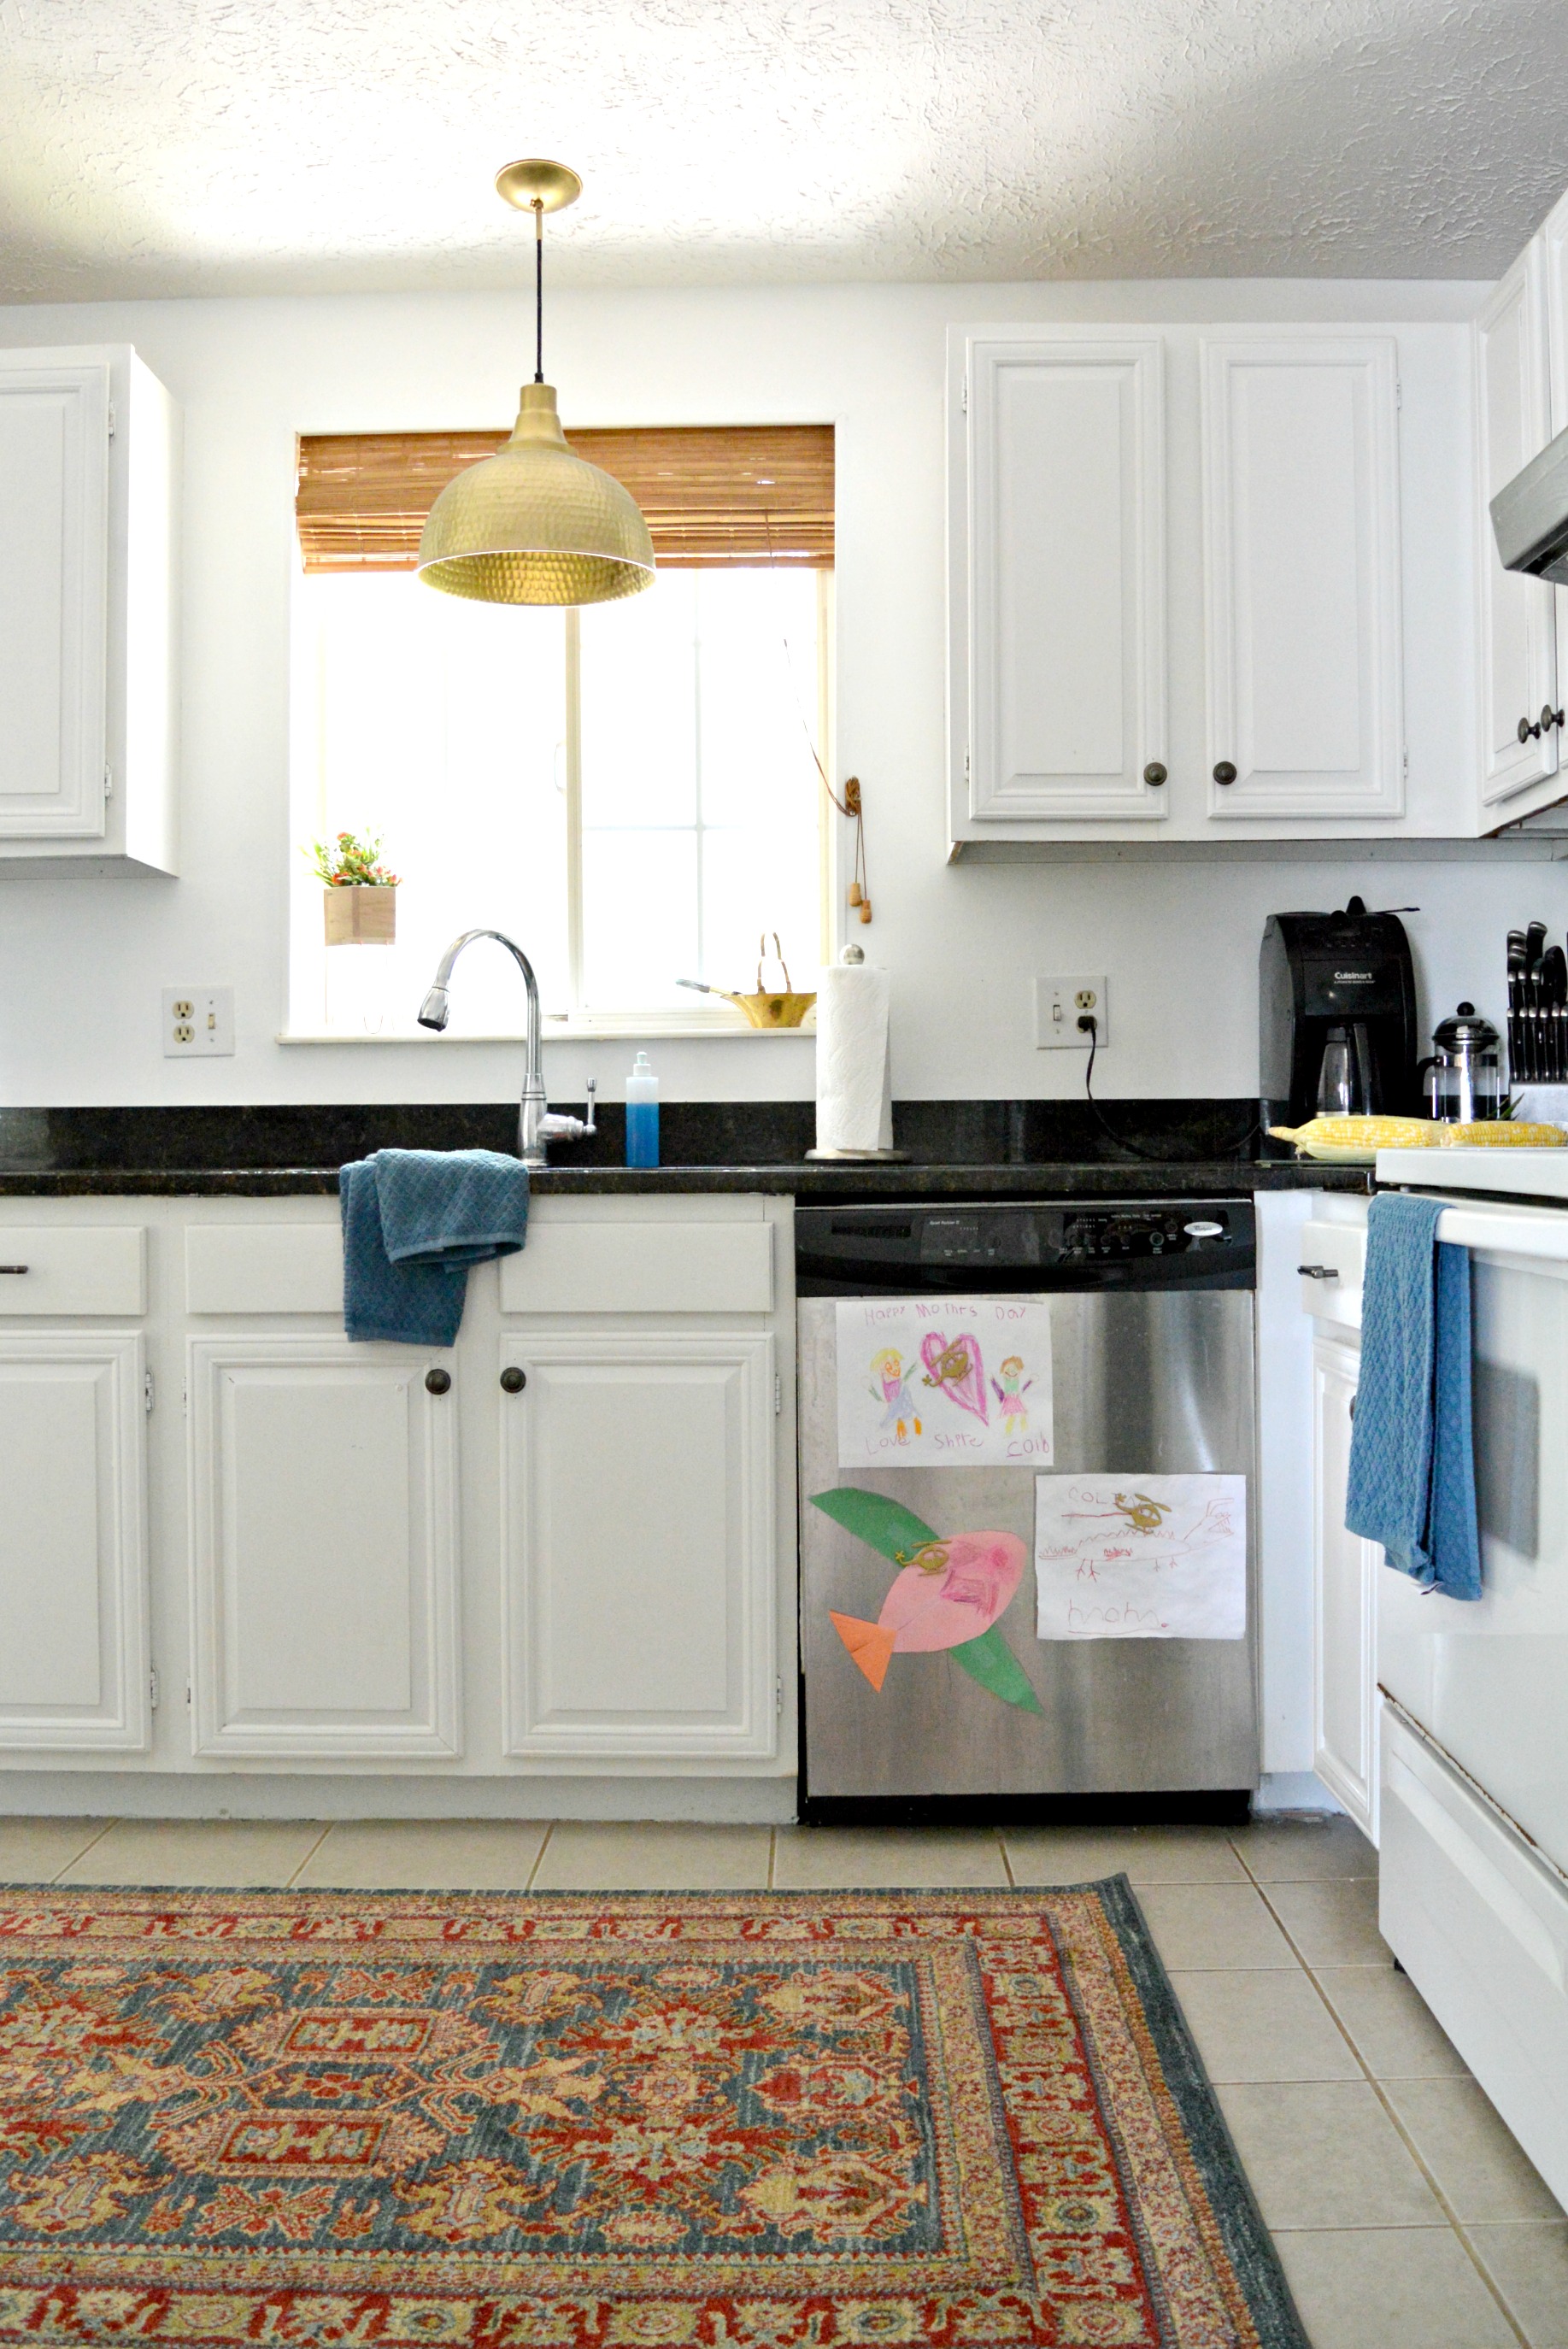
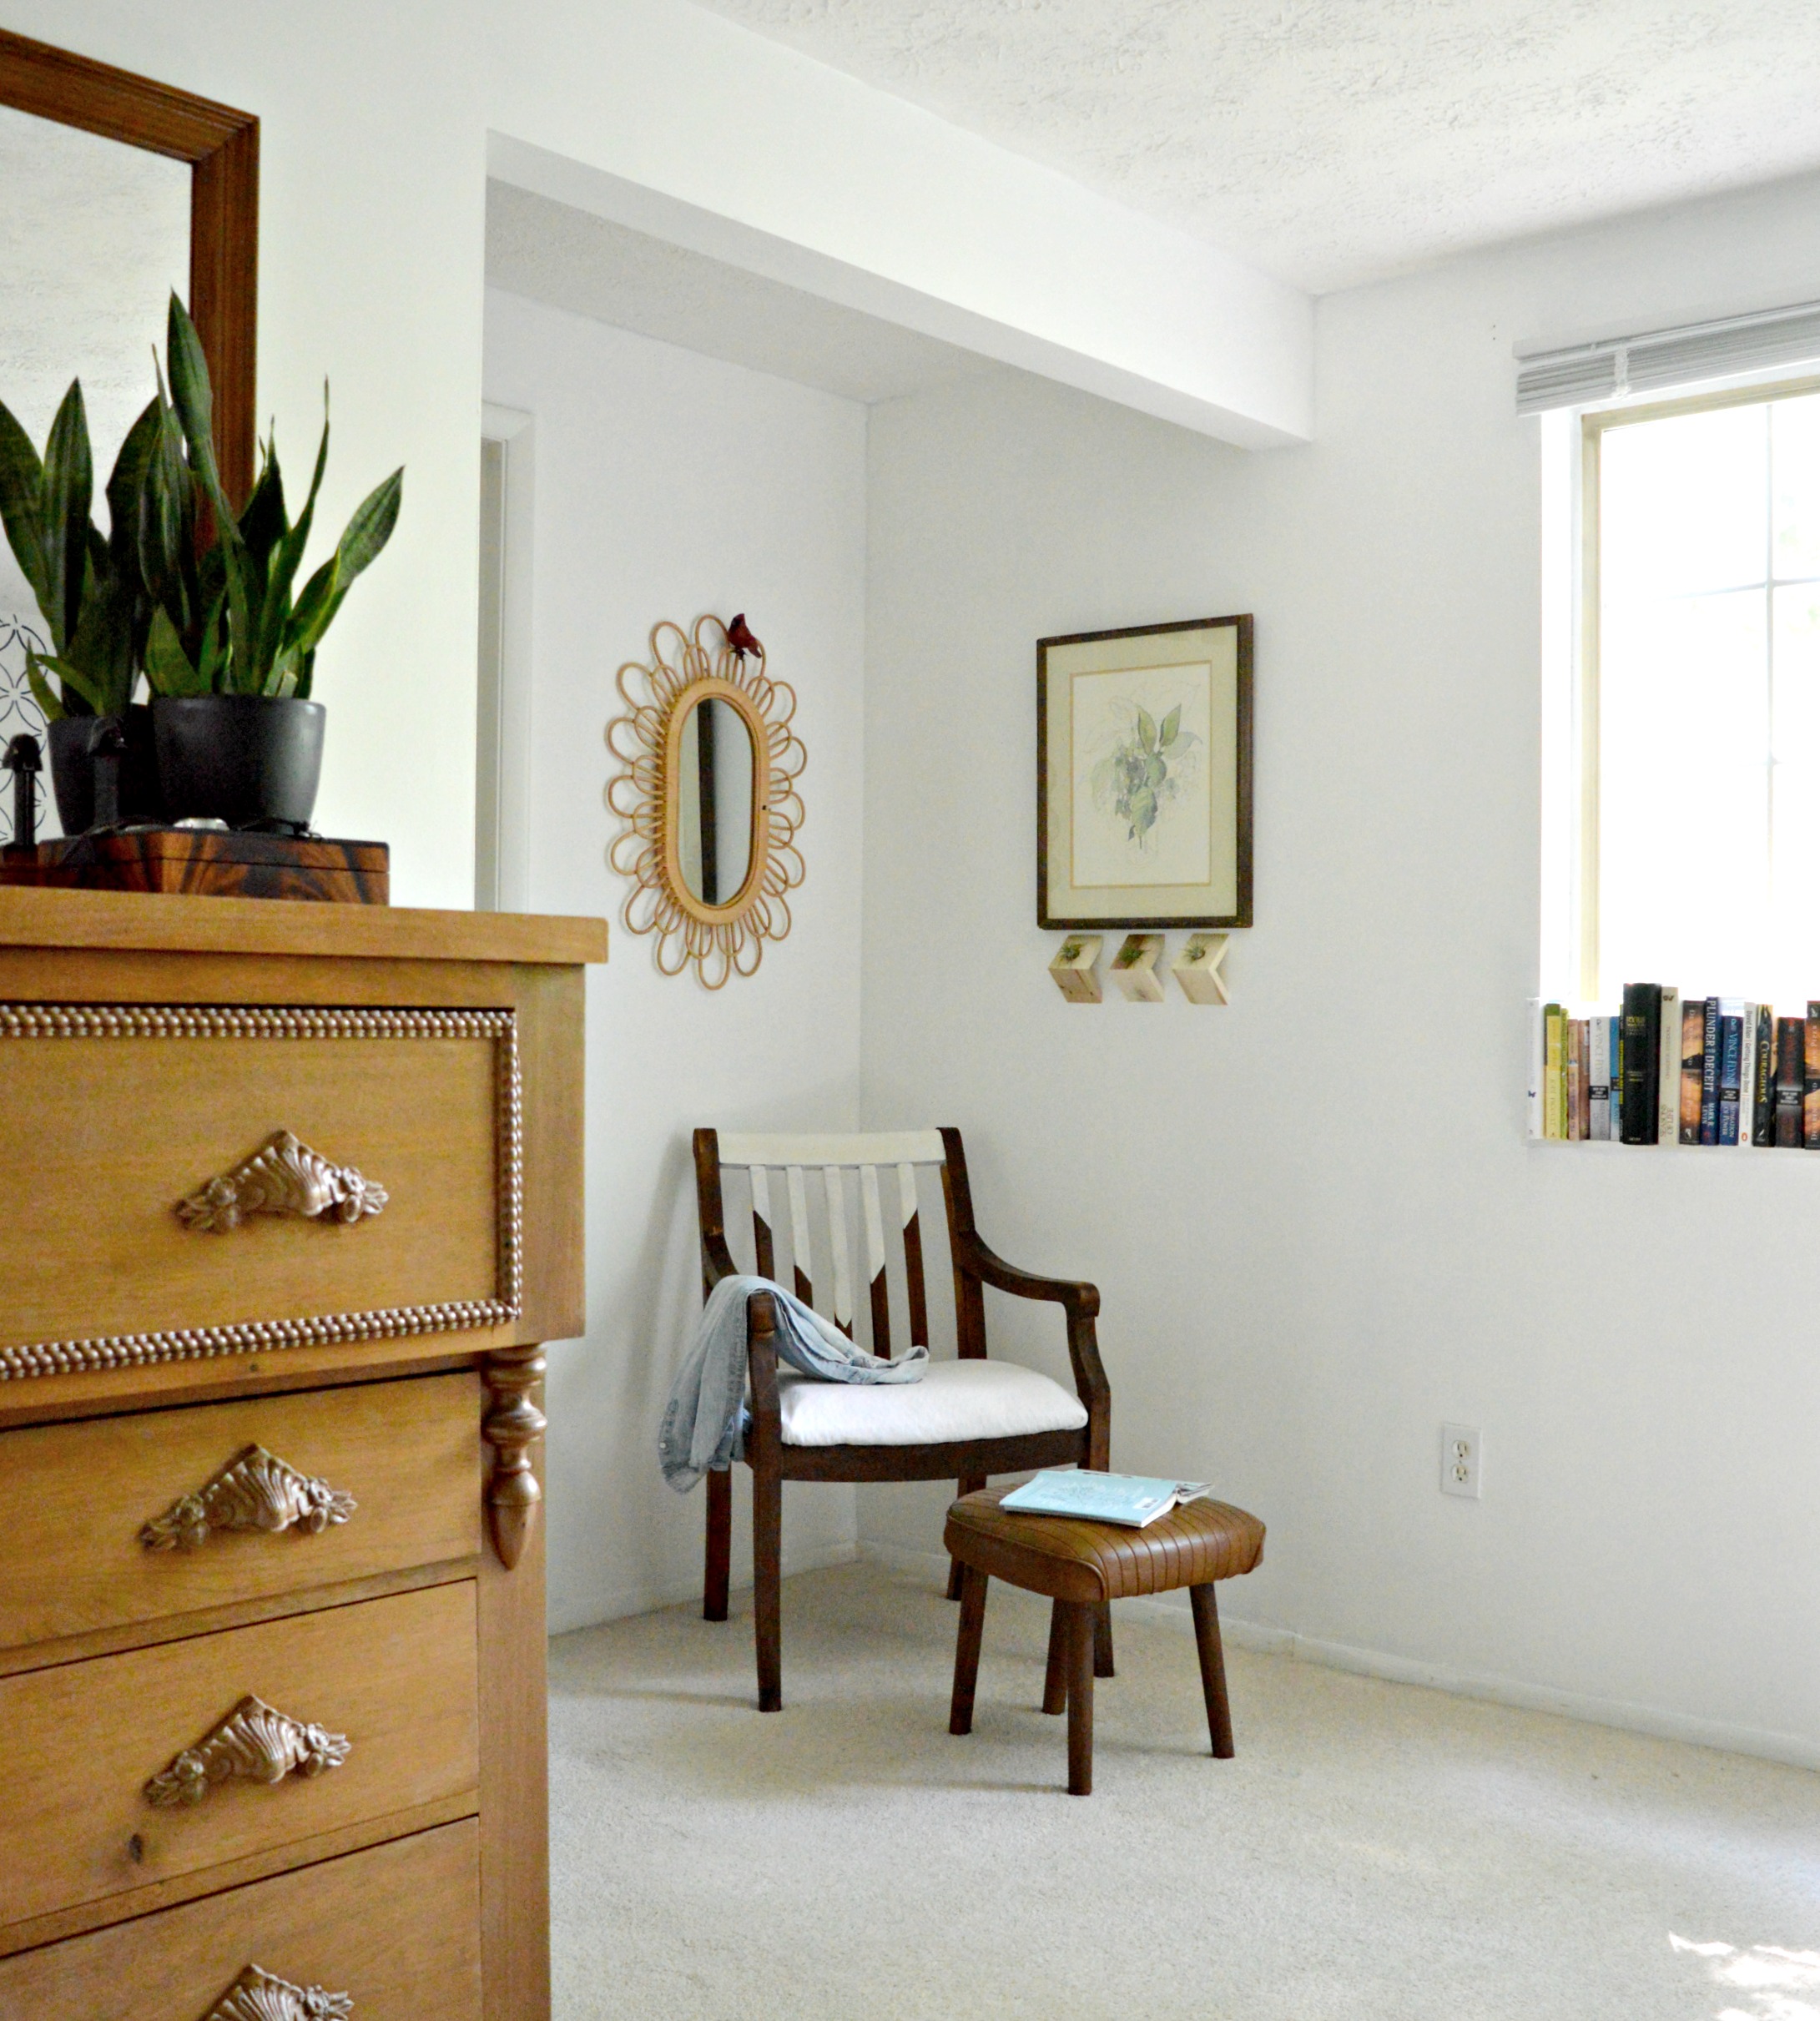
Head up six stairs and you're in our (mostly) open main floor! The kitchen is closed off behind that wall to the right, but we hope to do something about that in the distant future. Don't come back for an update anytime soon!

I pulled some small shelves off the wall straight ahead and replaced them with an oversized tassel weaving, (tutorial here)! It's perfect for this season - light and airy, no fuss, no muss. (WHAT does muss mean, anyways?)


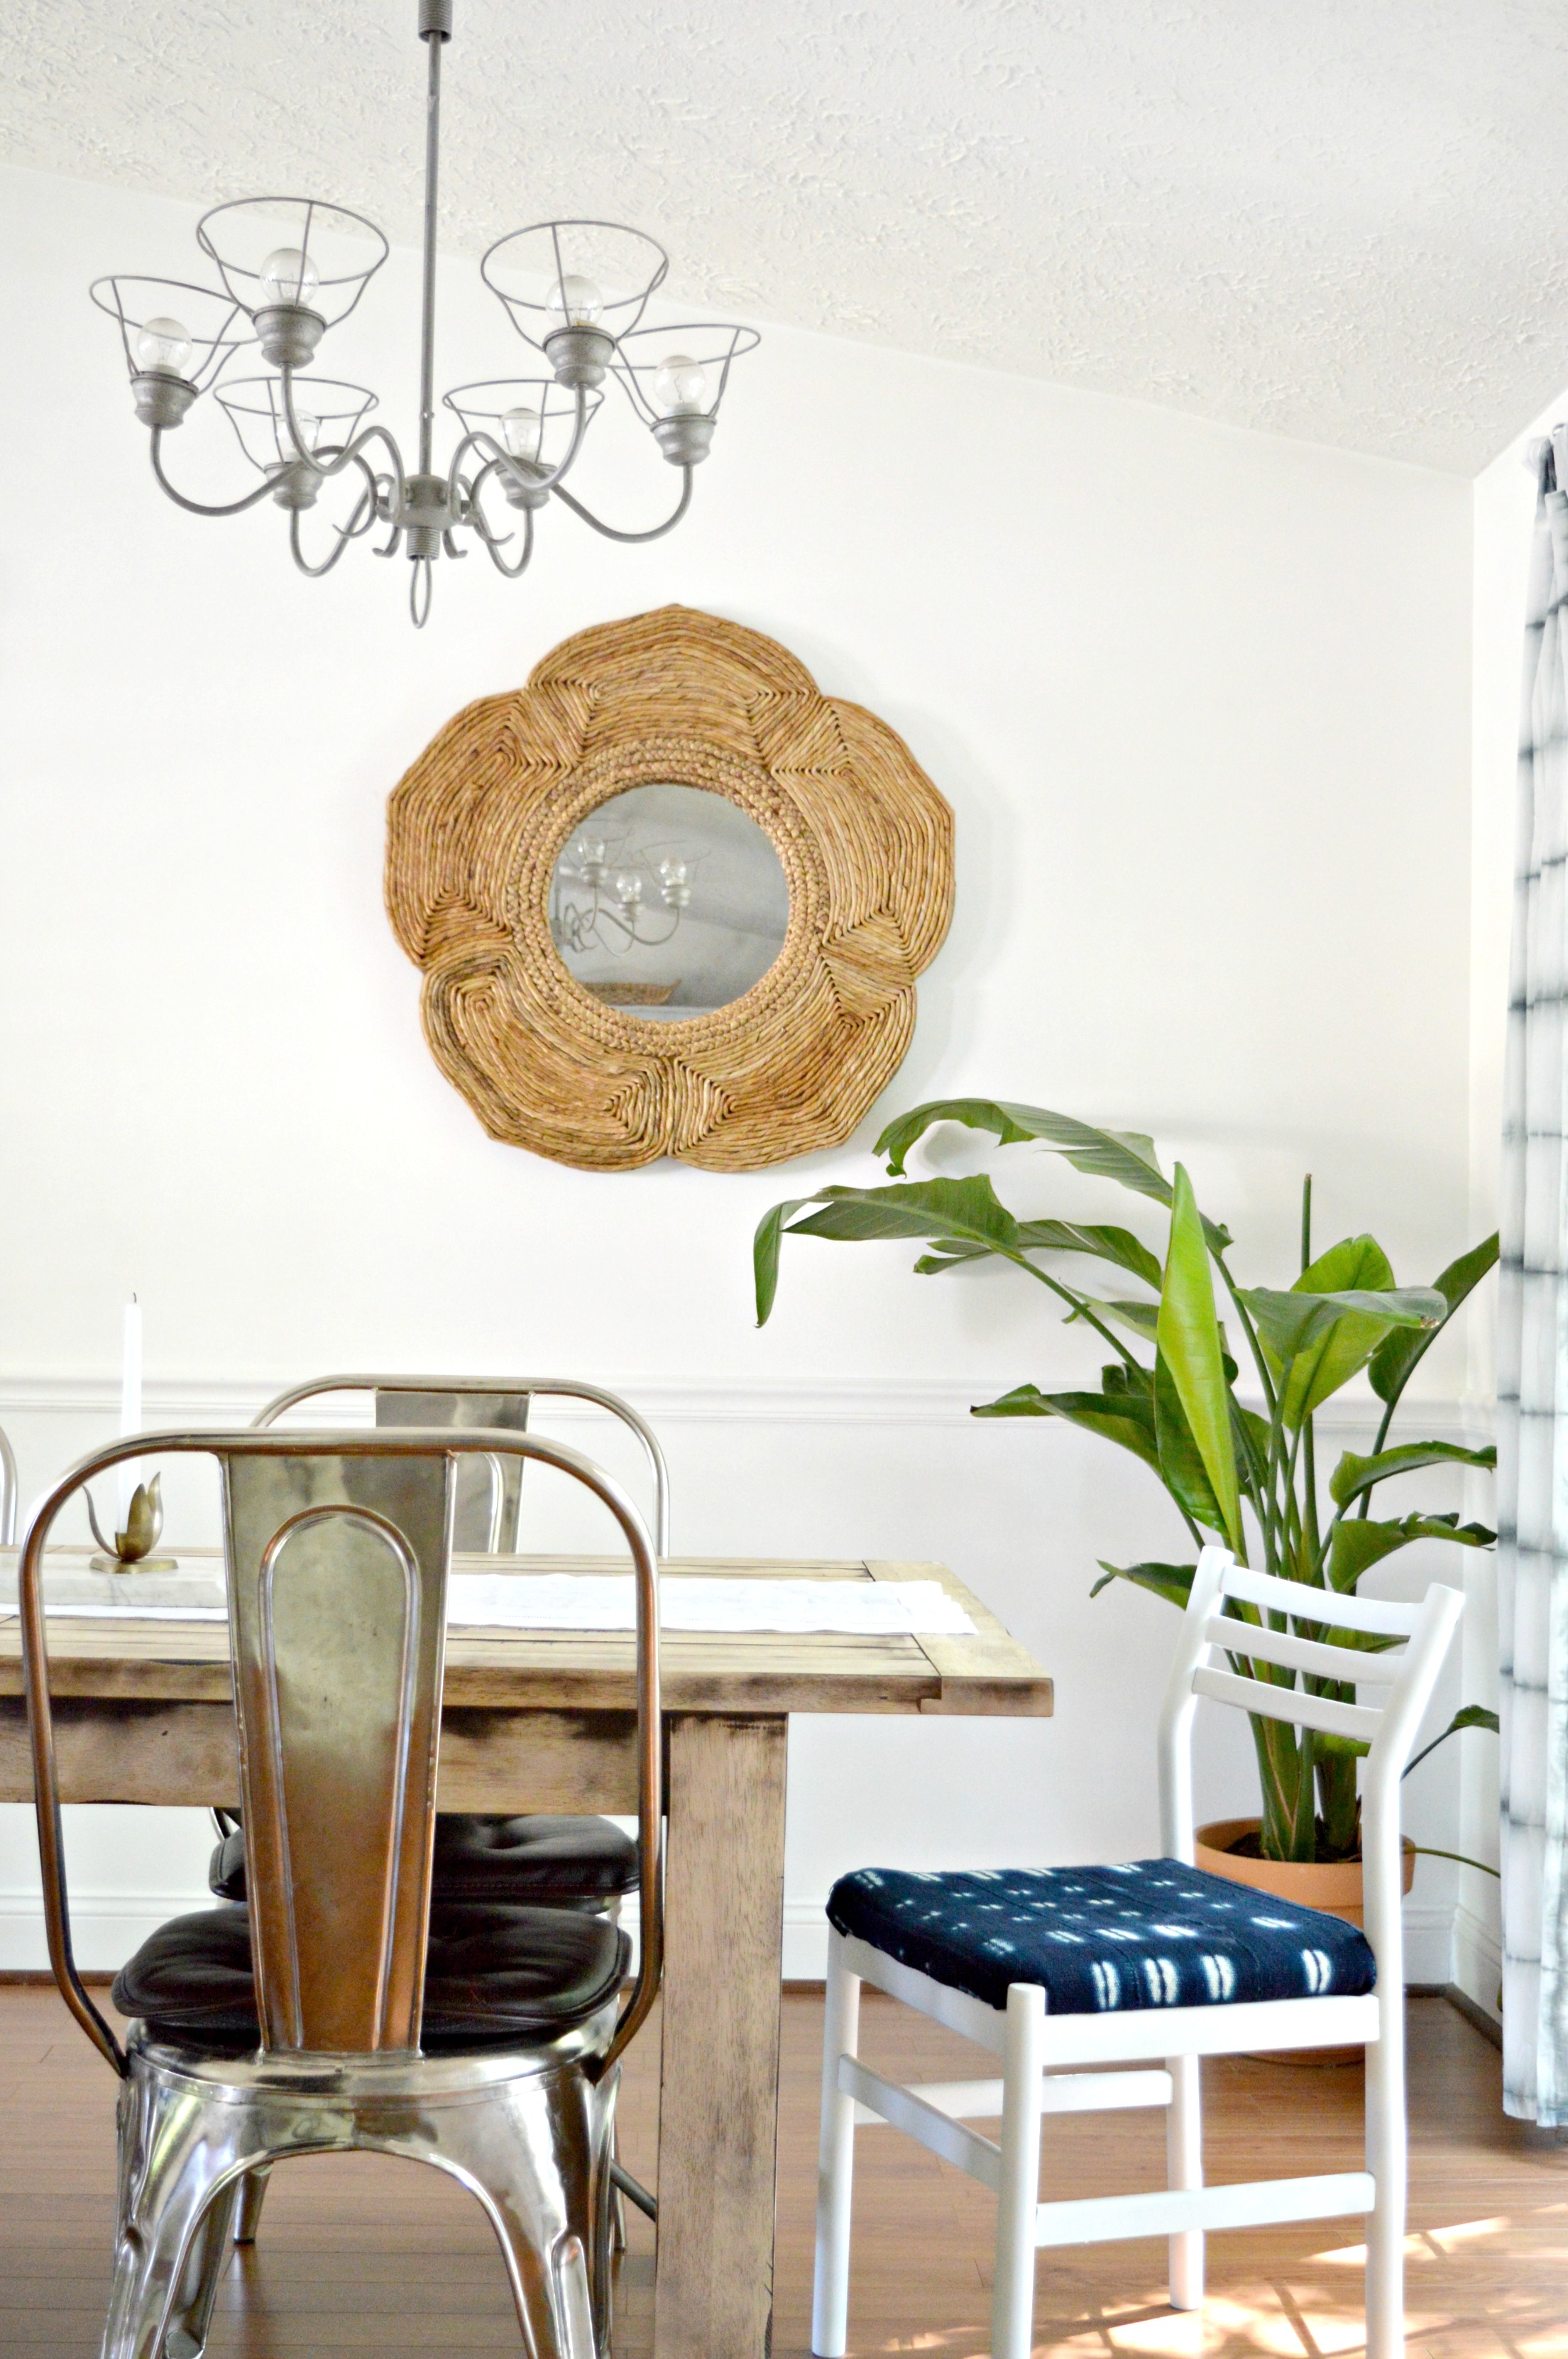
Our dining room was one of the first rooms we tackled. We use it for everything - family meals, homework, crafts, styled photos shoots, poker nights, dominoes, and other favorite games.
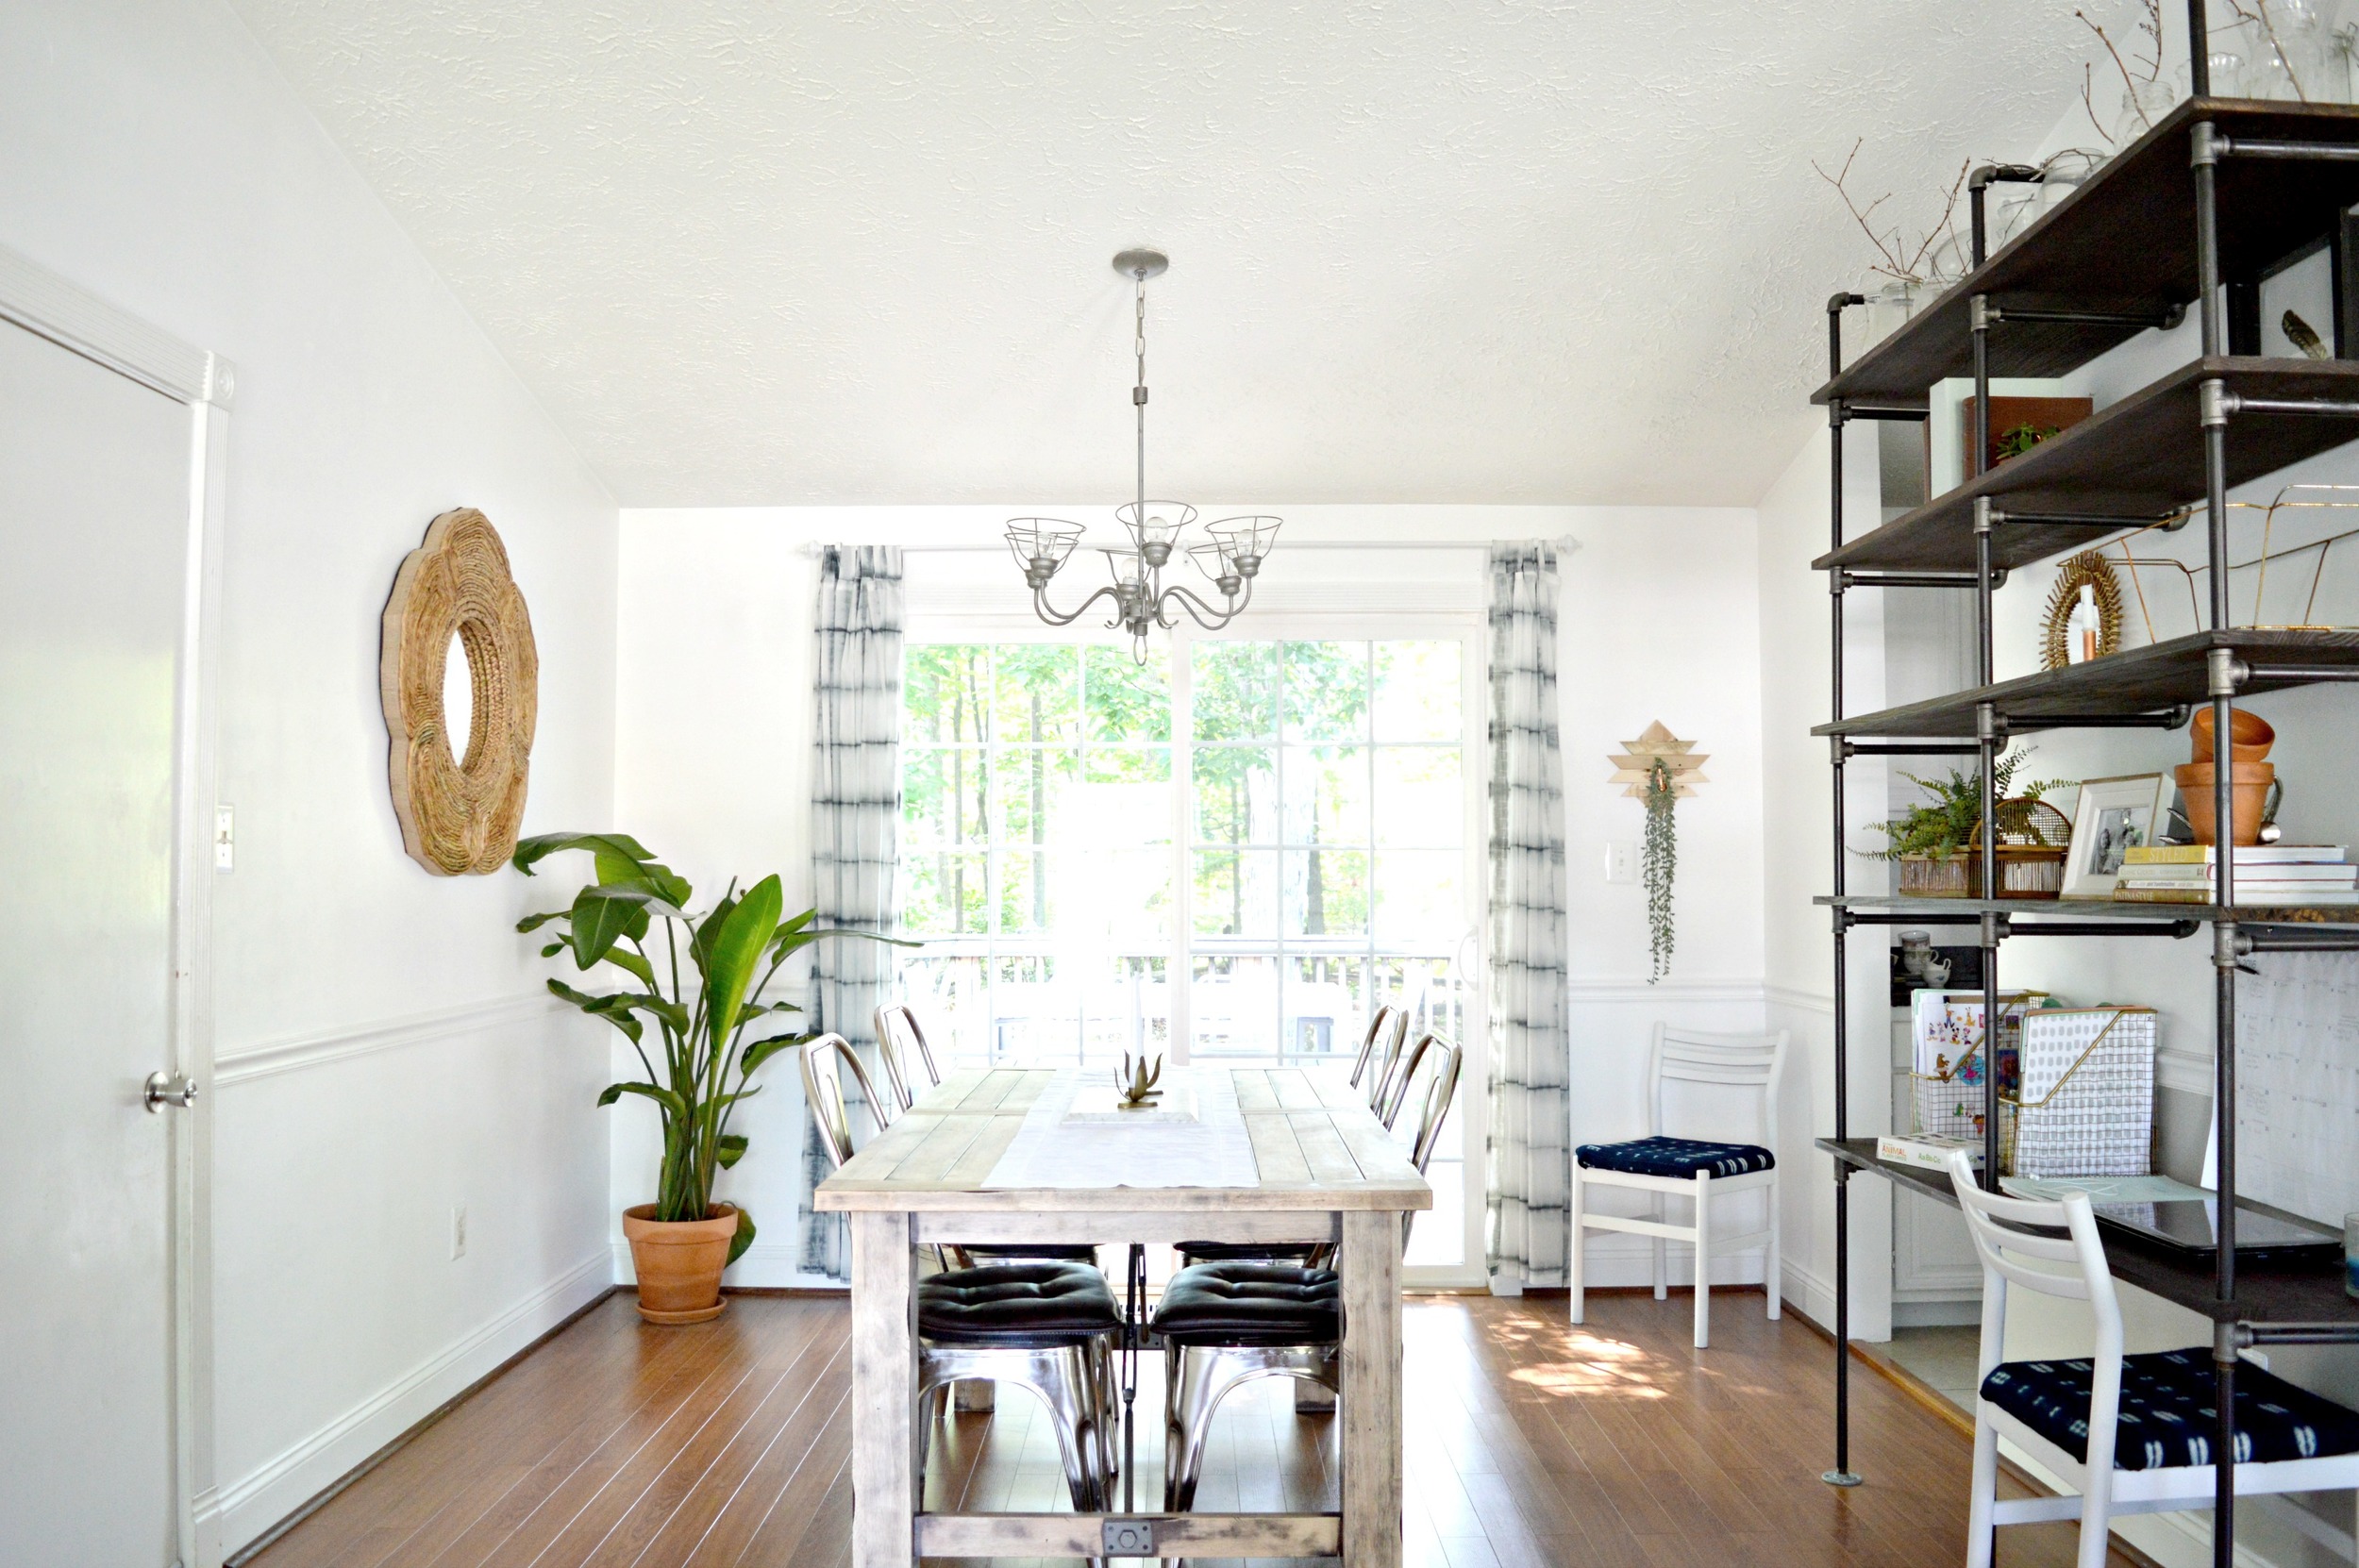
The industrial shelves, (tutorial here), were the game-changer for this area as they provide space to keep all craft supplies as well as a command center for me to attempt organization. Doesn't that over-sized calendar make me look like serious business? Hah! :)

And if you happened to check out the industrial shelves tutorial you'll notice how dark our World Market Garner Extension table was originally. I sanded it down for a lighter, more natural finish. Word to the wise, don't use an electric sander indoors.
Summer may be quickly approaching but Shire's and my tea game is going strong! We enjoy all the berry-licious teas this time of year. The china tea cups on the left are my grandmother's and the two on the right are my Momma's.


Drying paint brushes are a given on this windowsill and I finally found a container, (thrifted aged brass for the win), to keep them in so they don't drip on the sill!

Moving upstairs our first stop is Shire's bright and happy room. She's 6 and is just all the good things bottled up in one petite package.
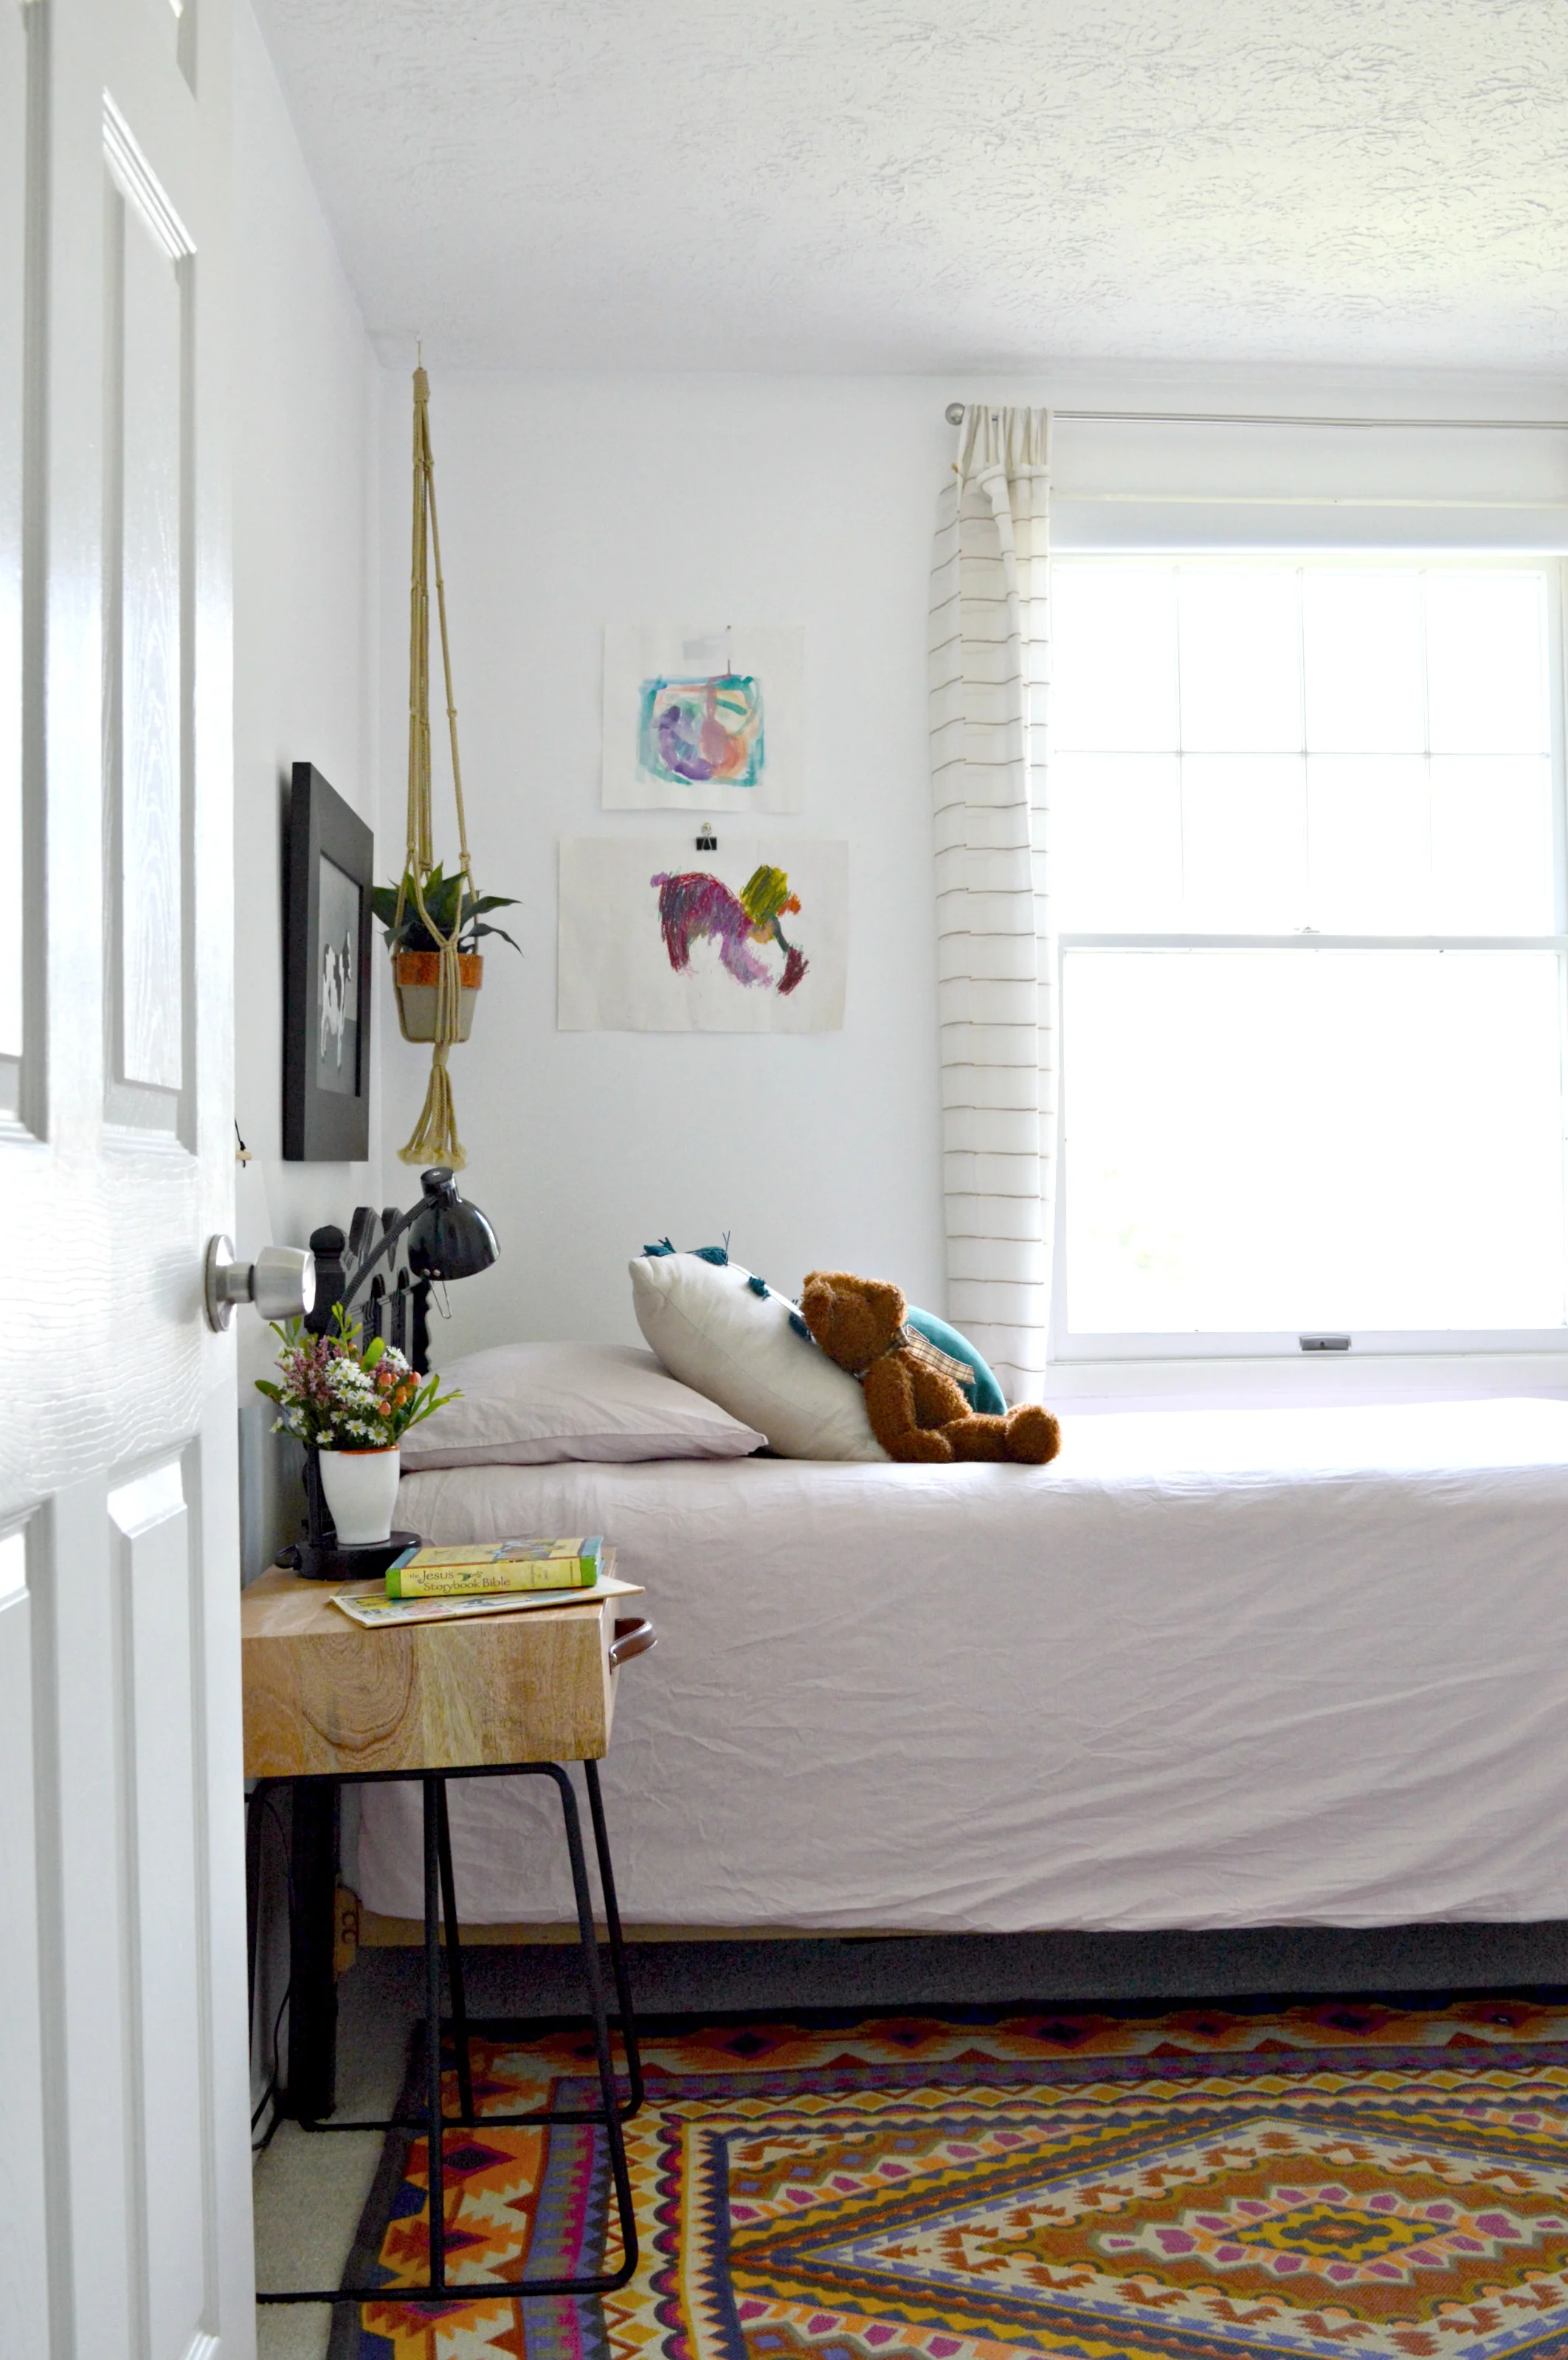

Goodness, I hope she still likes bringing art into our home when she's older! (Speaking of art, the painted cow was done by my Grandmother!)

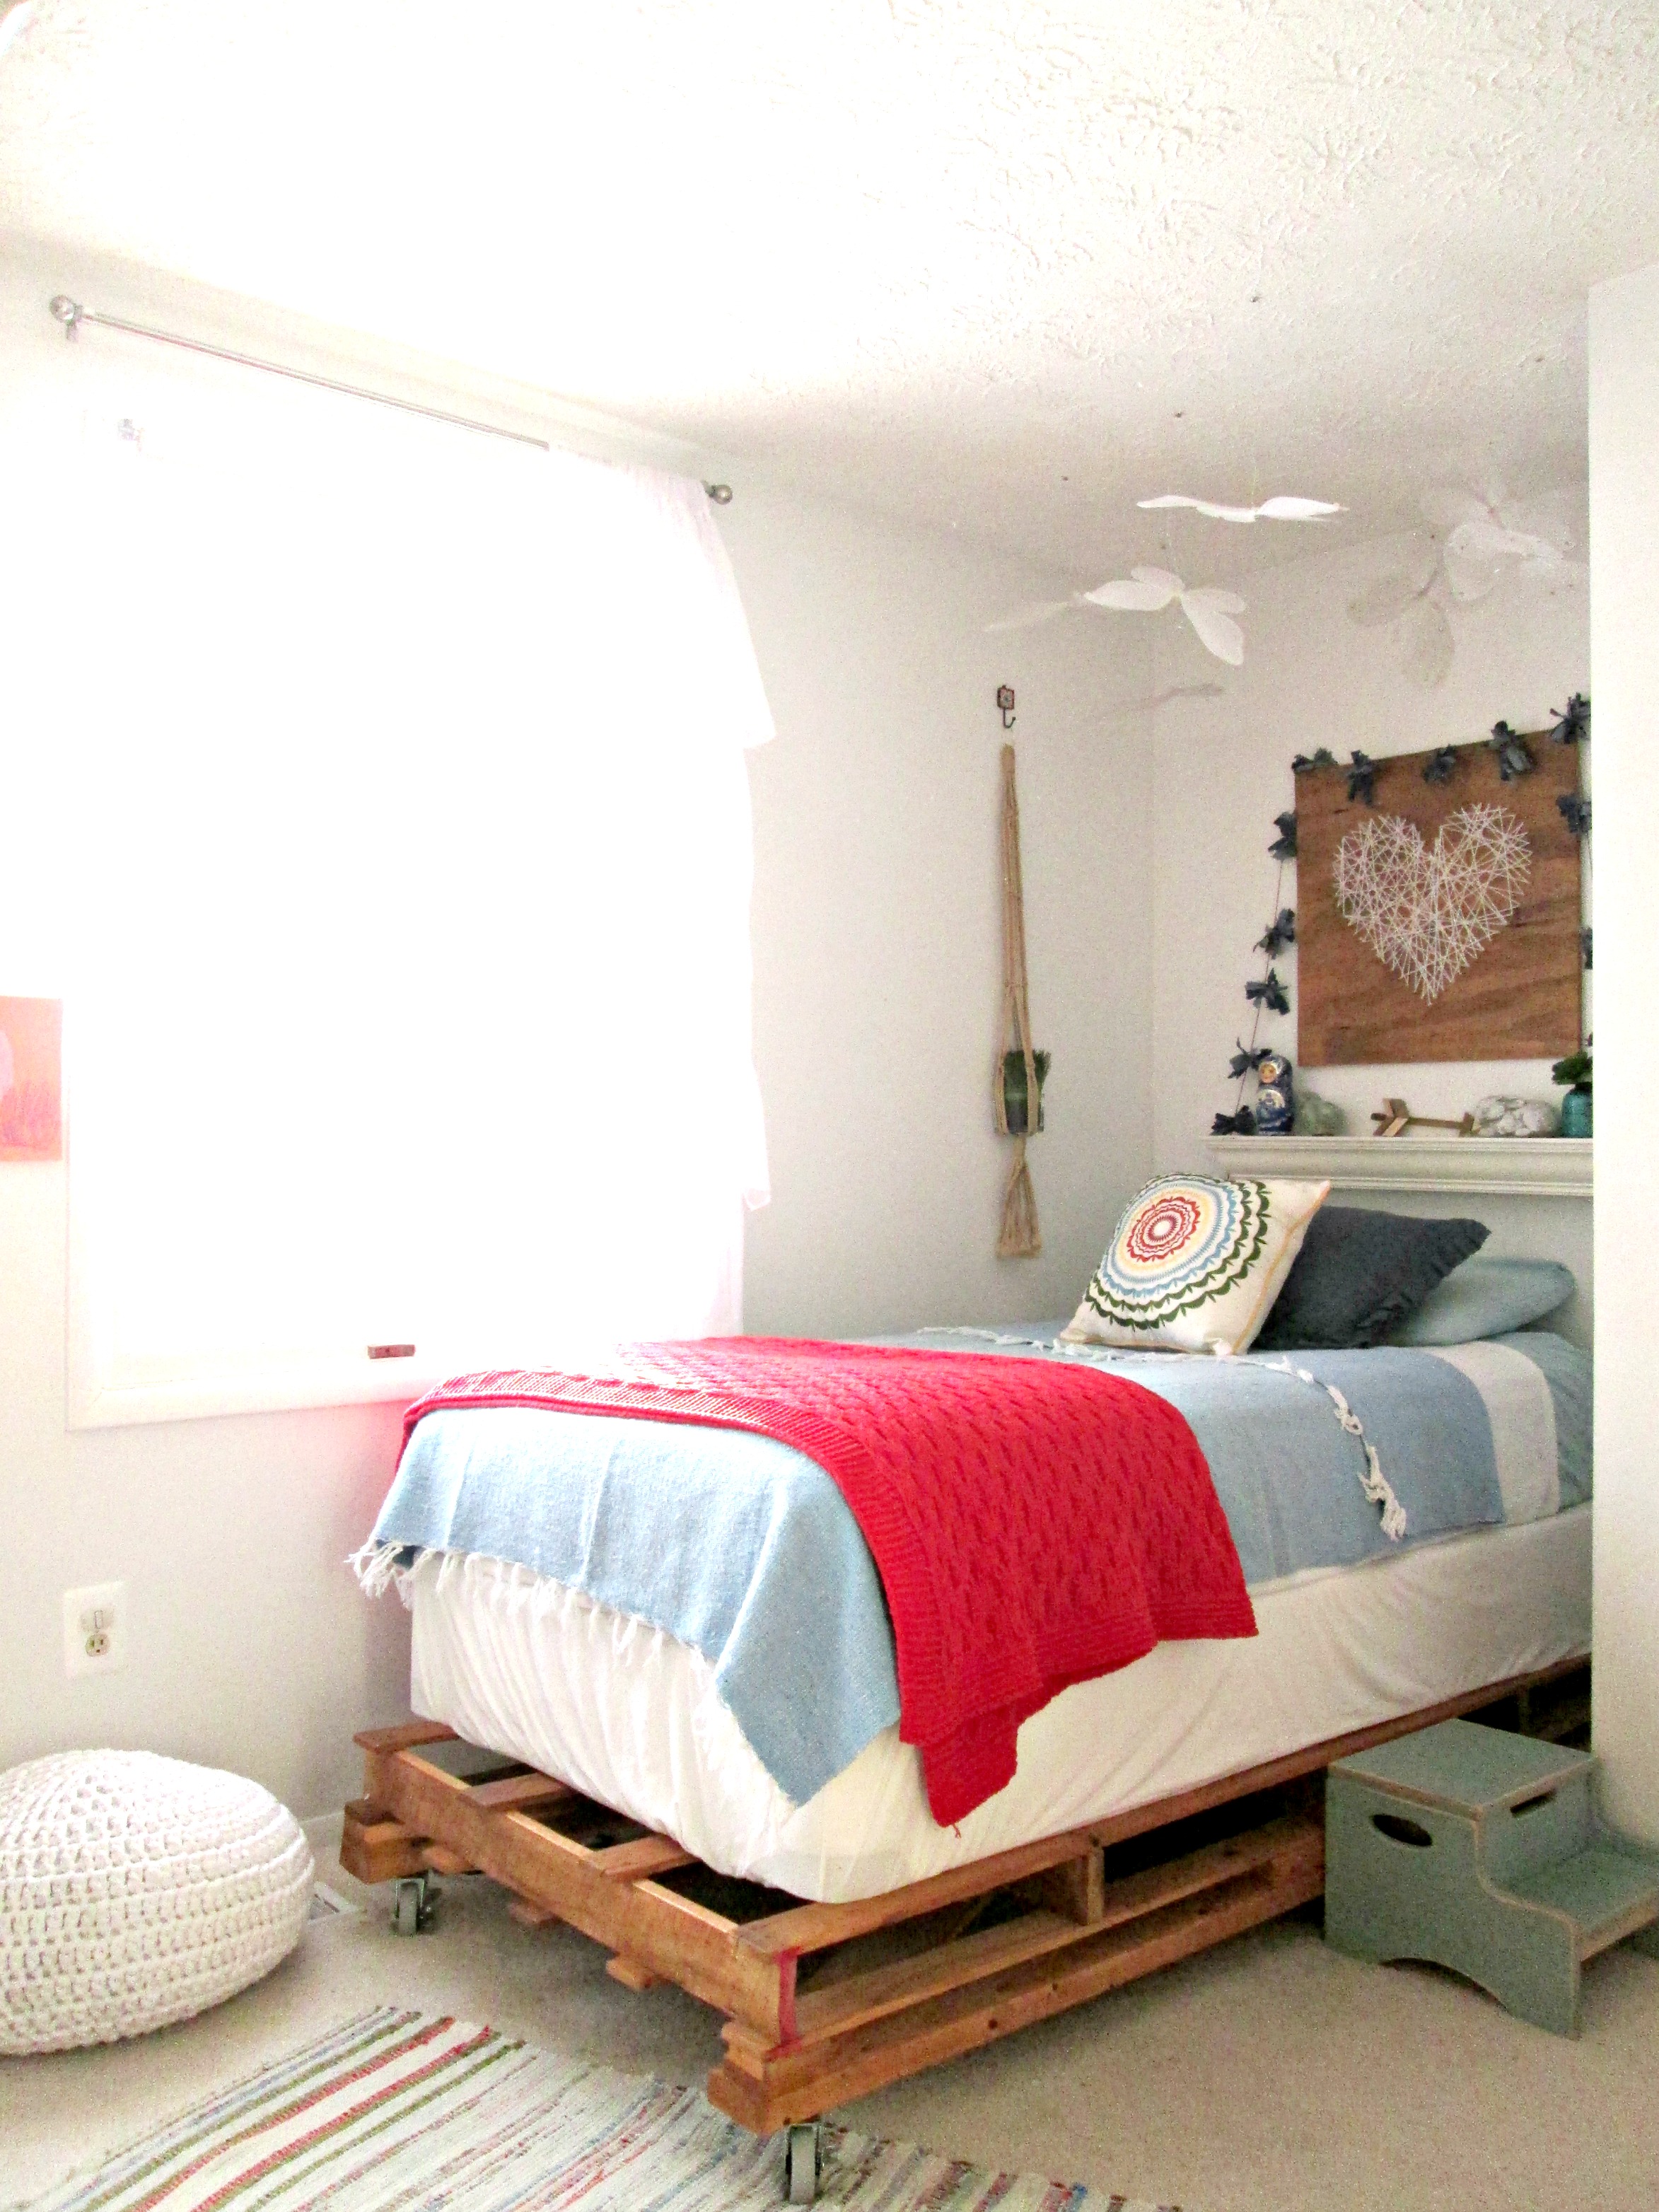
And this is Colin's and Mason's shared room. They're 6 and 5 and every bit worth the amount of work - brilliantly fun, smart, expressive and with super sharp interests du jour.
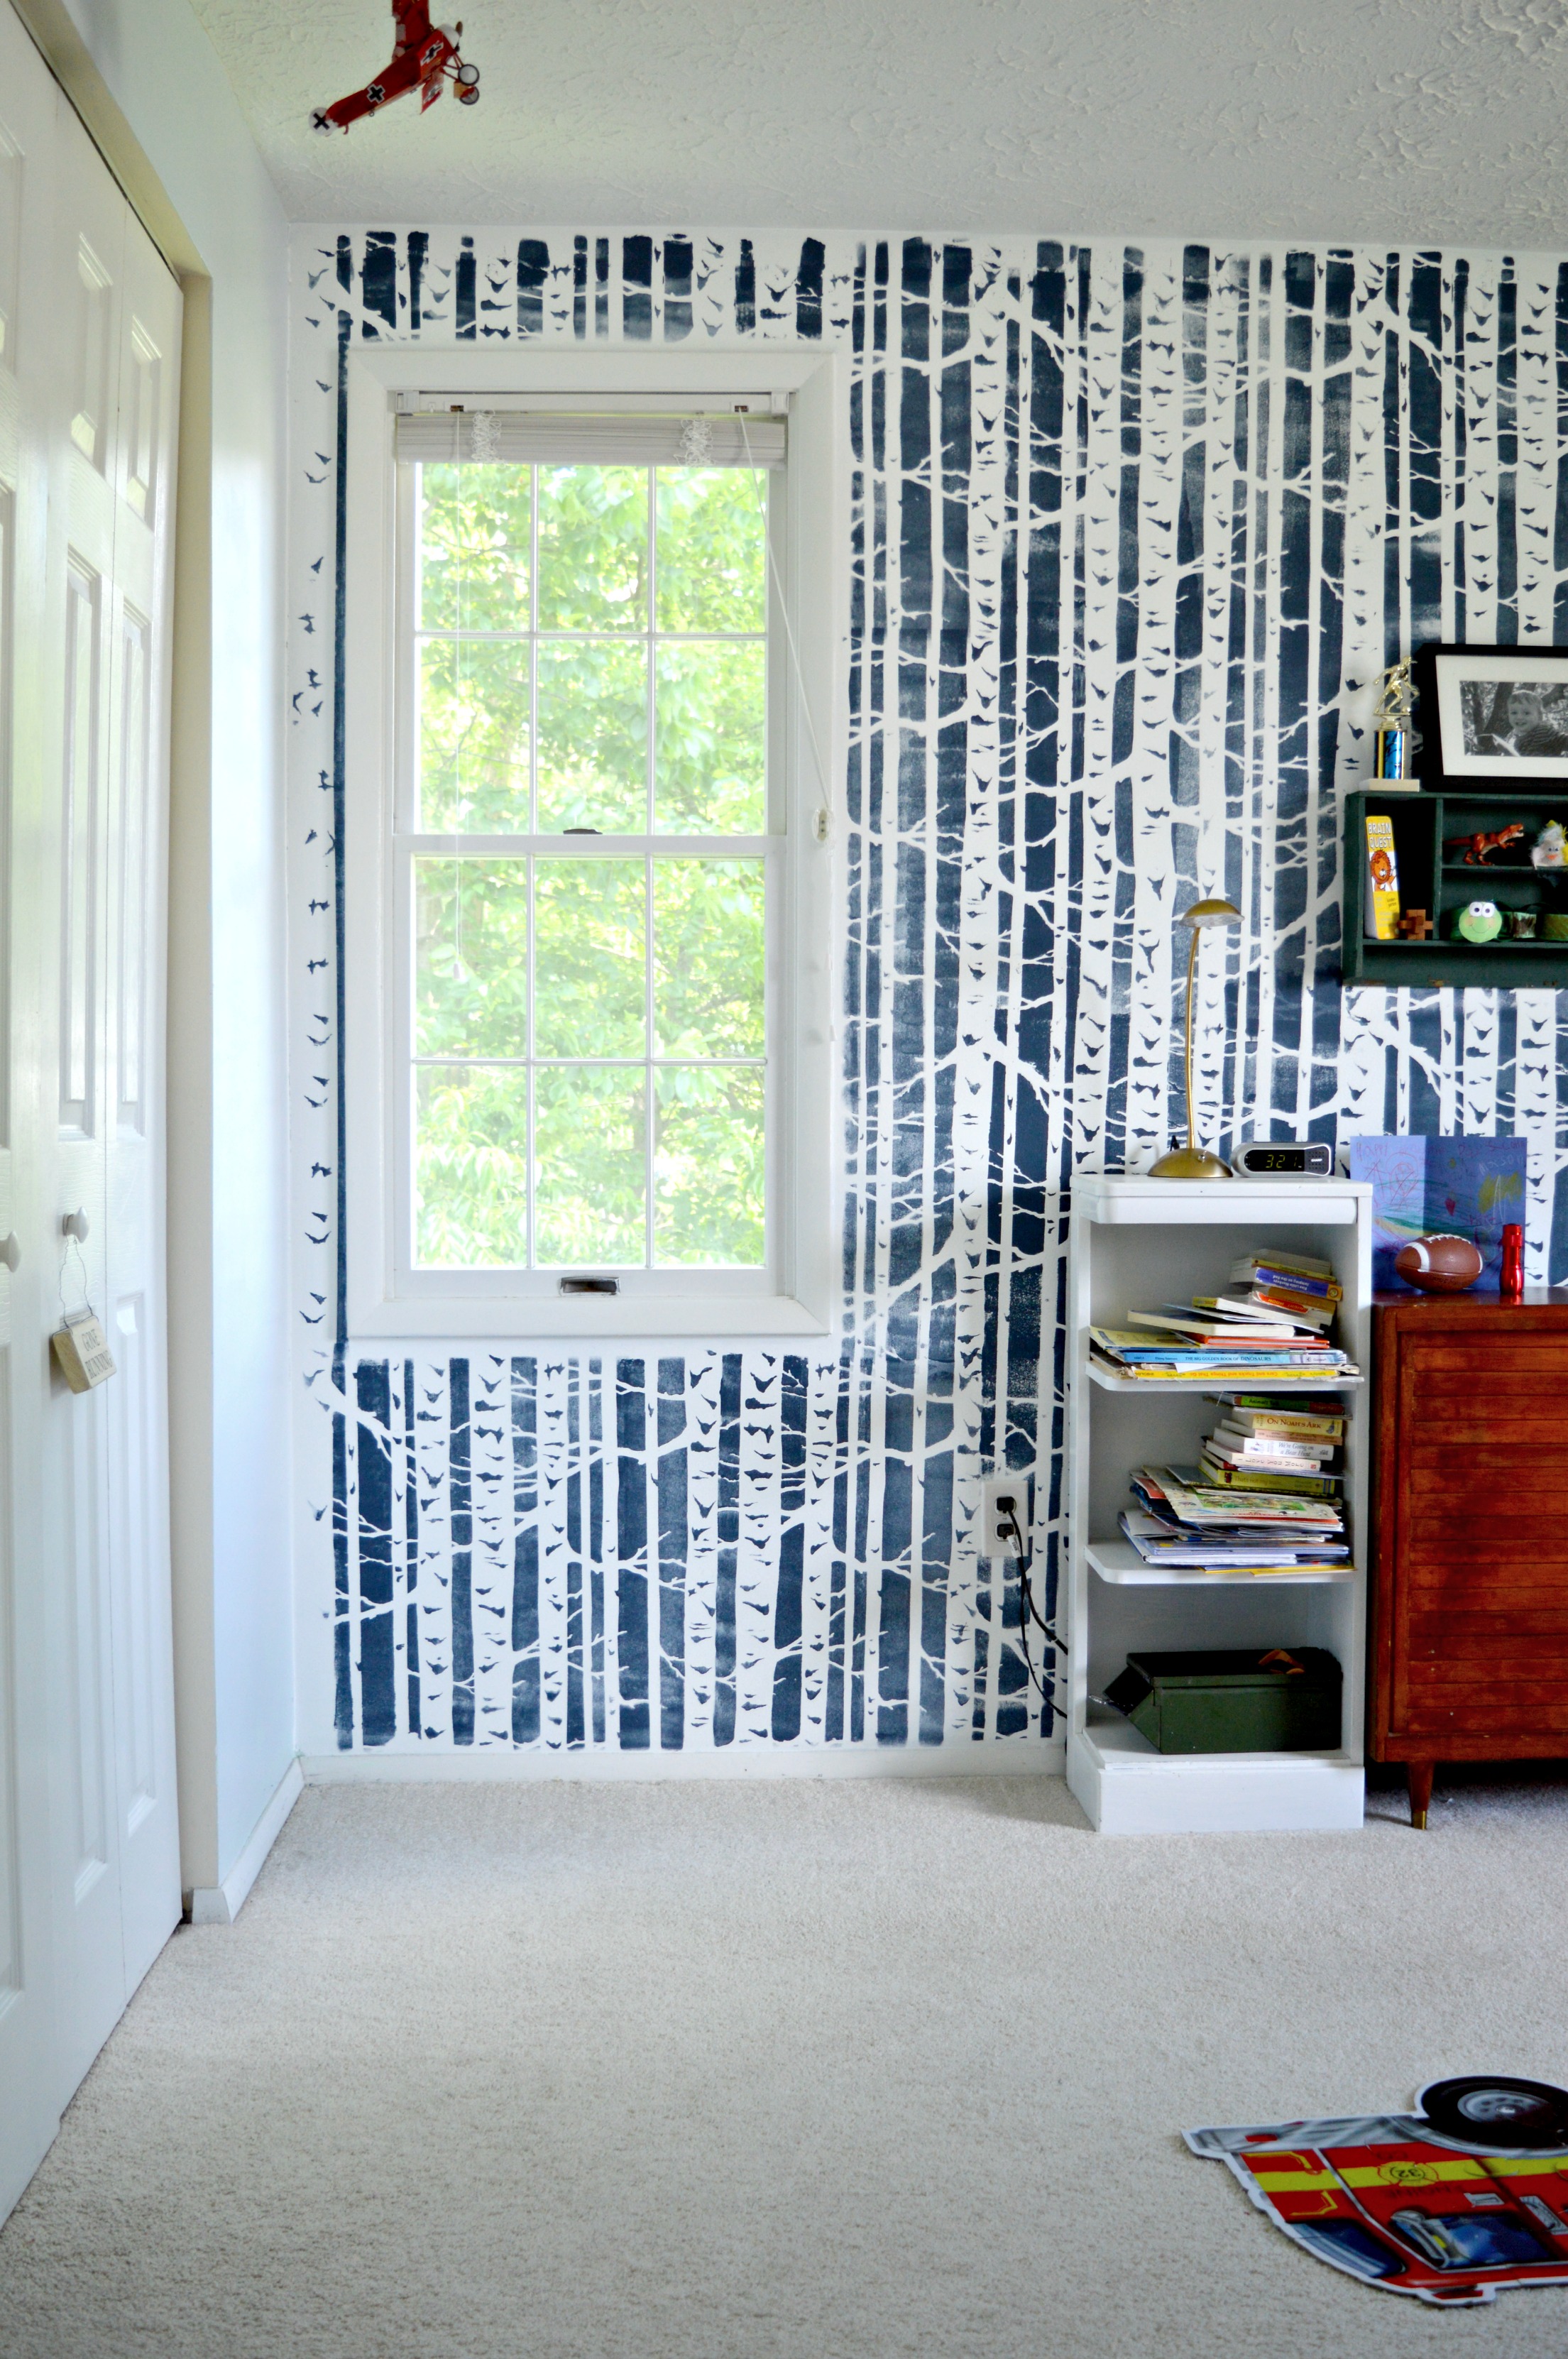

By using their closet for all their clothes we were able to maximize floor space with narrow toy and book storage pieces, (both thrifted).

So it's blue painters tape and computer paper. You won't find this on Pinterest, that's for sure! Their room is wall-to-wall drawings of whatever's on their mind, (garbage trucks, excavators, dinosaurs). And sometimes Daddy adds a piece of his own here and there, too. :)

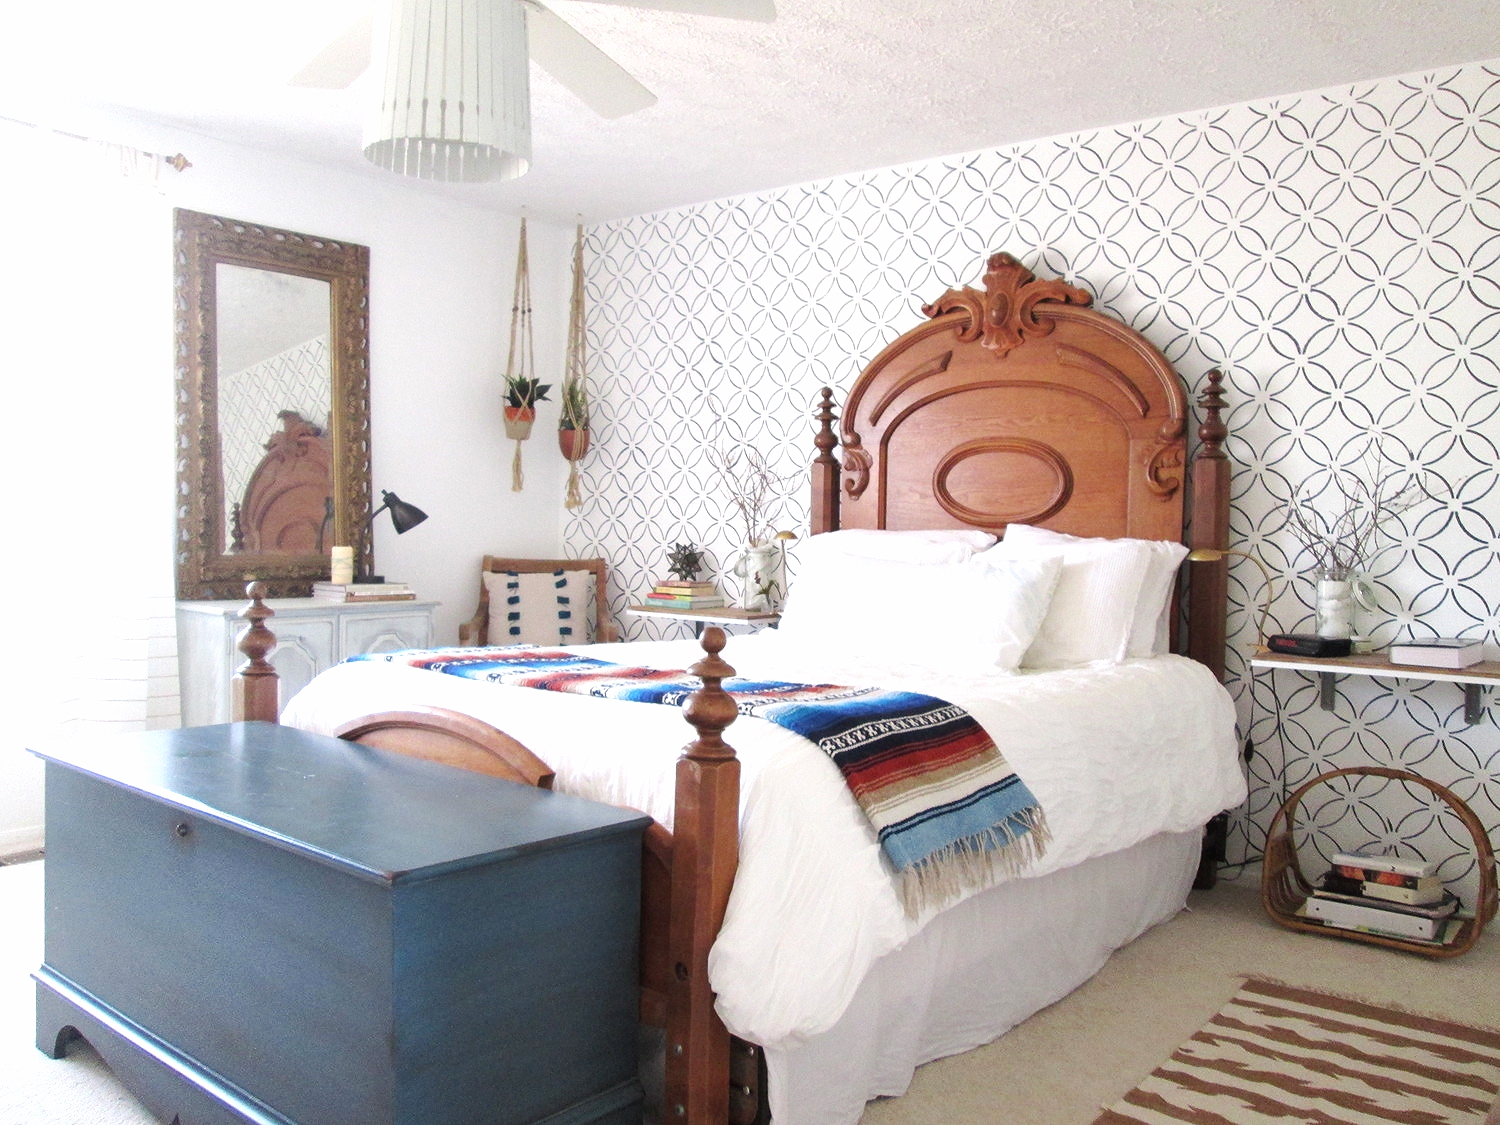
Last stop is around the corner to our room!

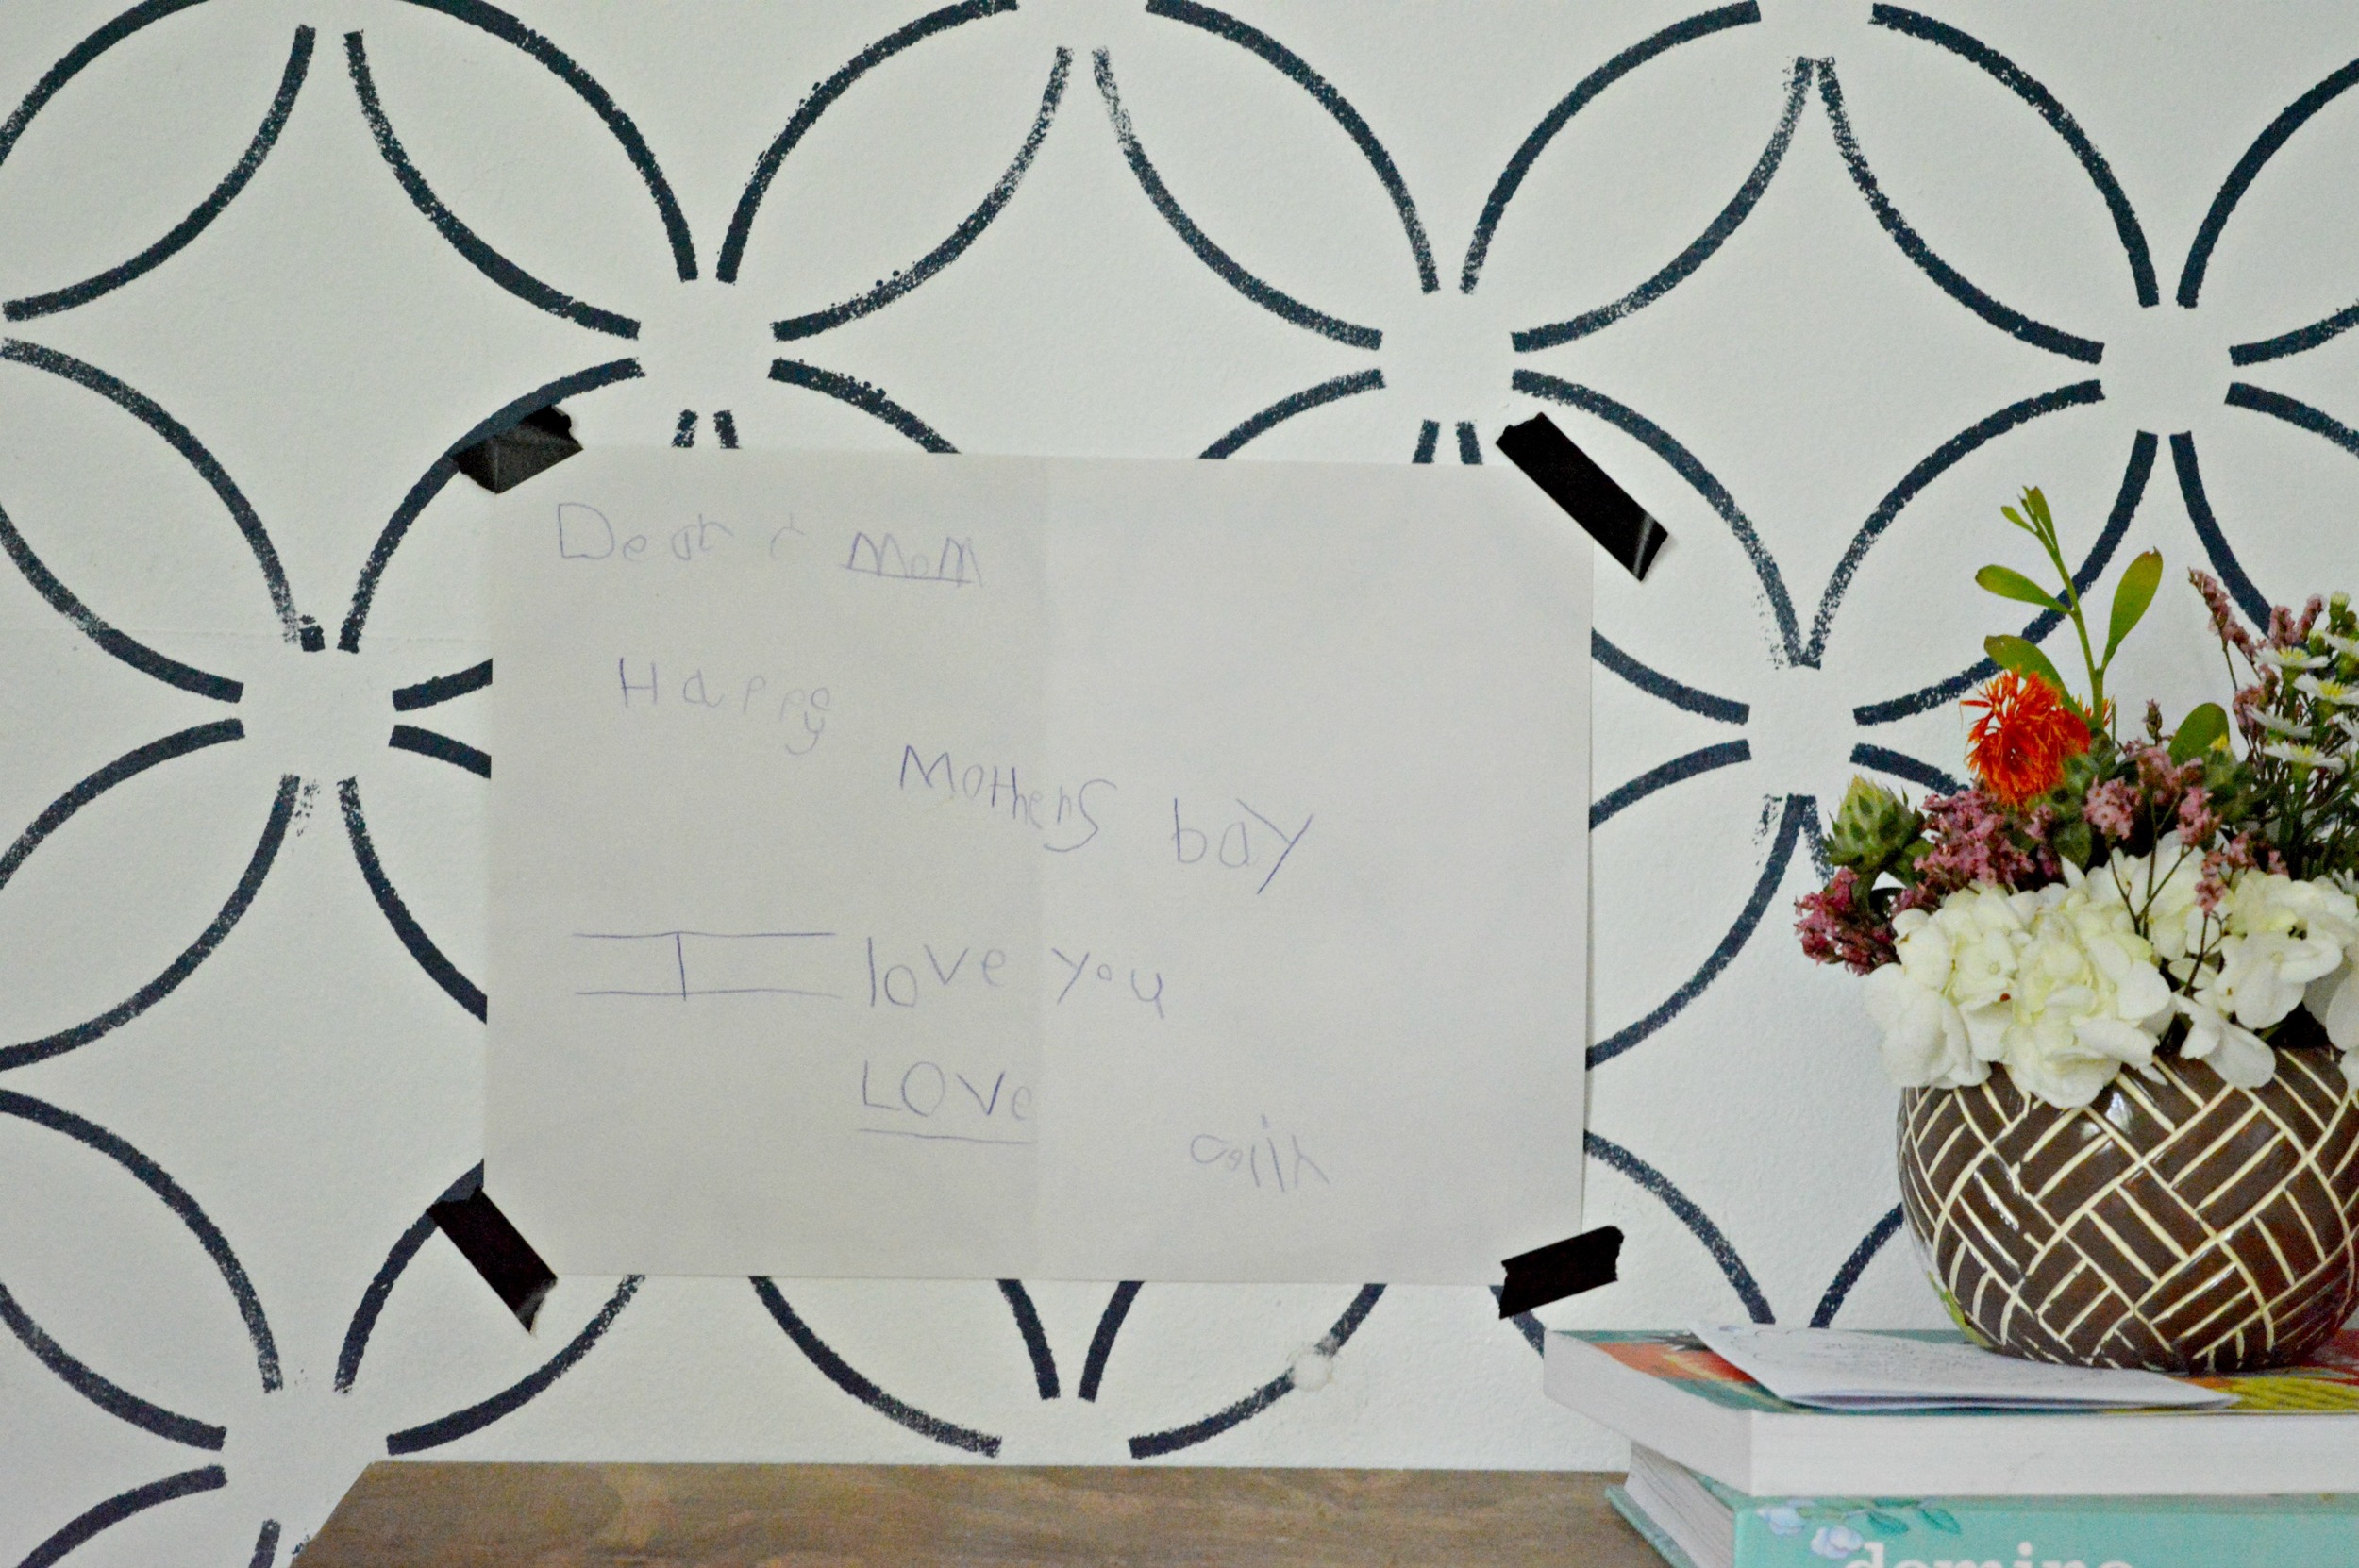
The wal is the 'Fuji' stencil from Cutting Edge Stencils using Americas Cup Navy by Behr. It adds a fun twist to the traditional antique bed that's been in my family for generations upon generations, (my great-great grandmother and great uncle were born in this bed - nice visual, eh?)!

I pinky swear I will have this hanging at my bedside for the rest of my life. Happy Mother's bay, forever.


That's it folks! Thank you all so much for taking the time to come by! I encourage you to head straight over to my girl Shavonda's tour at SG Style - I adore her style and her home never disappoints!
Here are the rest of the tours in order:
Monday:
The White Buffalo Styling Co.
Cuckoo for Design
Bliss at Home
Eclectically Vintage
Dimples and Tangles
A Designer at Home
Claire Brody
Julie Blanner
Tuesday:
Nesting with Grace
Place of My Taste
Our Storied Home
The Chronicles of Home
Life on Virginia Street
Simple Stylings
Restless Arrow
Wednesday:
Inspired by Charm
Hunted Interior
Sarah M. Dorsey
Primitive & Proper
Swoon Worthy
HI Sugarplum
Brittany Makes
Burlap & lac
Thursday:
My Sweet Savannah
Jennifer Rizzo
Circa ‘34
StyleMutt Home
SG Style
Bright Green Door
A Creative Day Blog
Friday:
Craftberry Bush
The House of Silver Lining
The Makerista
withHEART
The Wicker House
My Fabuless Life
Iron & Twine
House of Hipsters