DIY Mid-Century Table ||In 60 minutes or less!||

Hi friends! I know this time change kicks a lot of butts who are trying to get up and out the door in the morning, but as a stay at home Mom with no kids in school yet, it's glooorrriiouusss. Before we Sprang forward, my kids were waking up about 5 minutes after we put them to bed at night. But once we jump those clocks ahead an hour, they naively 'sleep in' until the sun rises. It feels like a cruel joke. But, oh, how I've missed starting my days with my bible and journal. I love the sweet moments I spend looking out the window, praying for my family and learning a little bit more about the Lord. I know the littles will adjust to the time change and I'll be chasing after what seconds I can find throughout the day again, but for now, it's a beautiful gift.

Speaking of beautiful gifts, want to learn how you can whip out a cute mid-century table in less than an hour? Check it out!

Isn't it sweet? You could put a table like this behind a sofa, at an entry way, or use it as a desk as I've styled it here.

Supplies:
-4 x 27.5" tapered wooden legs from Lowes, (buy them here)
-4 x 2.43" angled top plates from Lowes, (buy them here, they come with the screws)
-48" x 16" x 1" board, (mine was a scrap piece in the garage, but you could find a 16" wide board and have it cut to whatever size you need at the hardware store)
-white paint, (optional)

If you want the top surface of your table and the tapered legs to be white, paint them first and prop up to dry for about 35-40 minutes. I used blue painters tape on the legs where I wanted to protect the bottom caps and up the leg about 12" where I wanted the paint to stop. This is entirely up to you whether you want to paint at all or not. If not, then this project will take you about 12 minutes!

Assembling the table

Step 1:
-Line your top plates up where you want the legs to be underneath the table top. I love the straight corners on these plates that make it so easy to line each top plate up!

Step 2:
-Attach your top plate by drilling the screws provided into the holes at the corners of the plate.

Step 3:
-Screw your legs into the angled center piece

Step 4:
-Pat yourself on the back because you just made a table!

A quick and easy build that you can use throughout your home for years to come - not a bad way to spend an hour!

Mid-Century Accent Table / Desk, now available for sale:
48"L x 28.5"H x 16"D
$65

Thank you all for stopping by!


Alternative Bedside Ideas

Hi All! Last week our sweet friend, Iris, (Around the Watts House), alerted Cate and me of a fun opportunity to submit some refinished work to HGTV and we couldn't wait to spread the word to you! (Thanks for lookin' out, Iris!!!) The call is for all madeover bedside tables and nightstands - they're asking peeps on Twitter and Instagram to tag their new and improved bedside pieces with #HGTVmakeover for a chance to be shared in one of HGTV's upcoming blog posts! How fun! You have until this Friday, 2/20 to tag your work if you've got something to share!


I think our girl, Cate, has a pretty good chance with these beauties, yes?!

Interesting fact: My home has not a single bedside table! I actually never thought about it until Iris shared this HGTV contest for bedside tables with us! Here's why we've skipped traditional nighstands: The boys need about as little furniture as possible in their room. We've got their beds, a bookshelf and that's it. The rest of the space is spared for wrestling. And by keeping their decor simple, I'm pretty confident we've spared ourselves some emergency room visits. :)

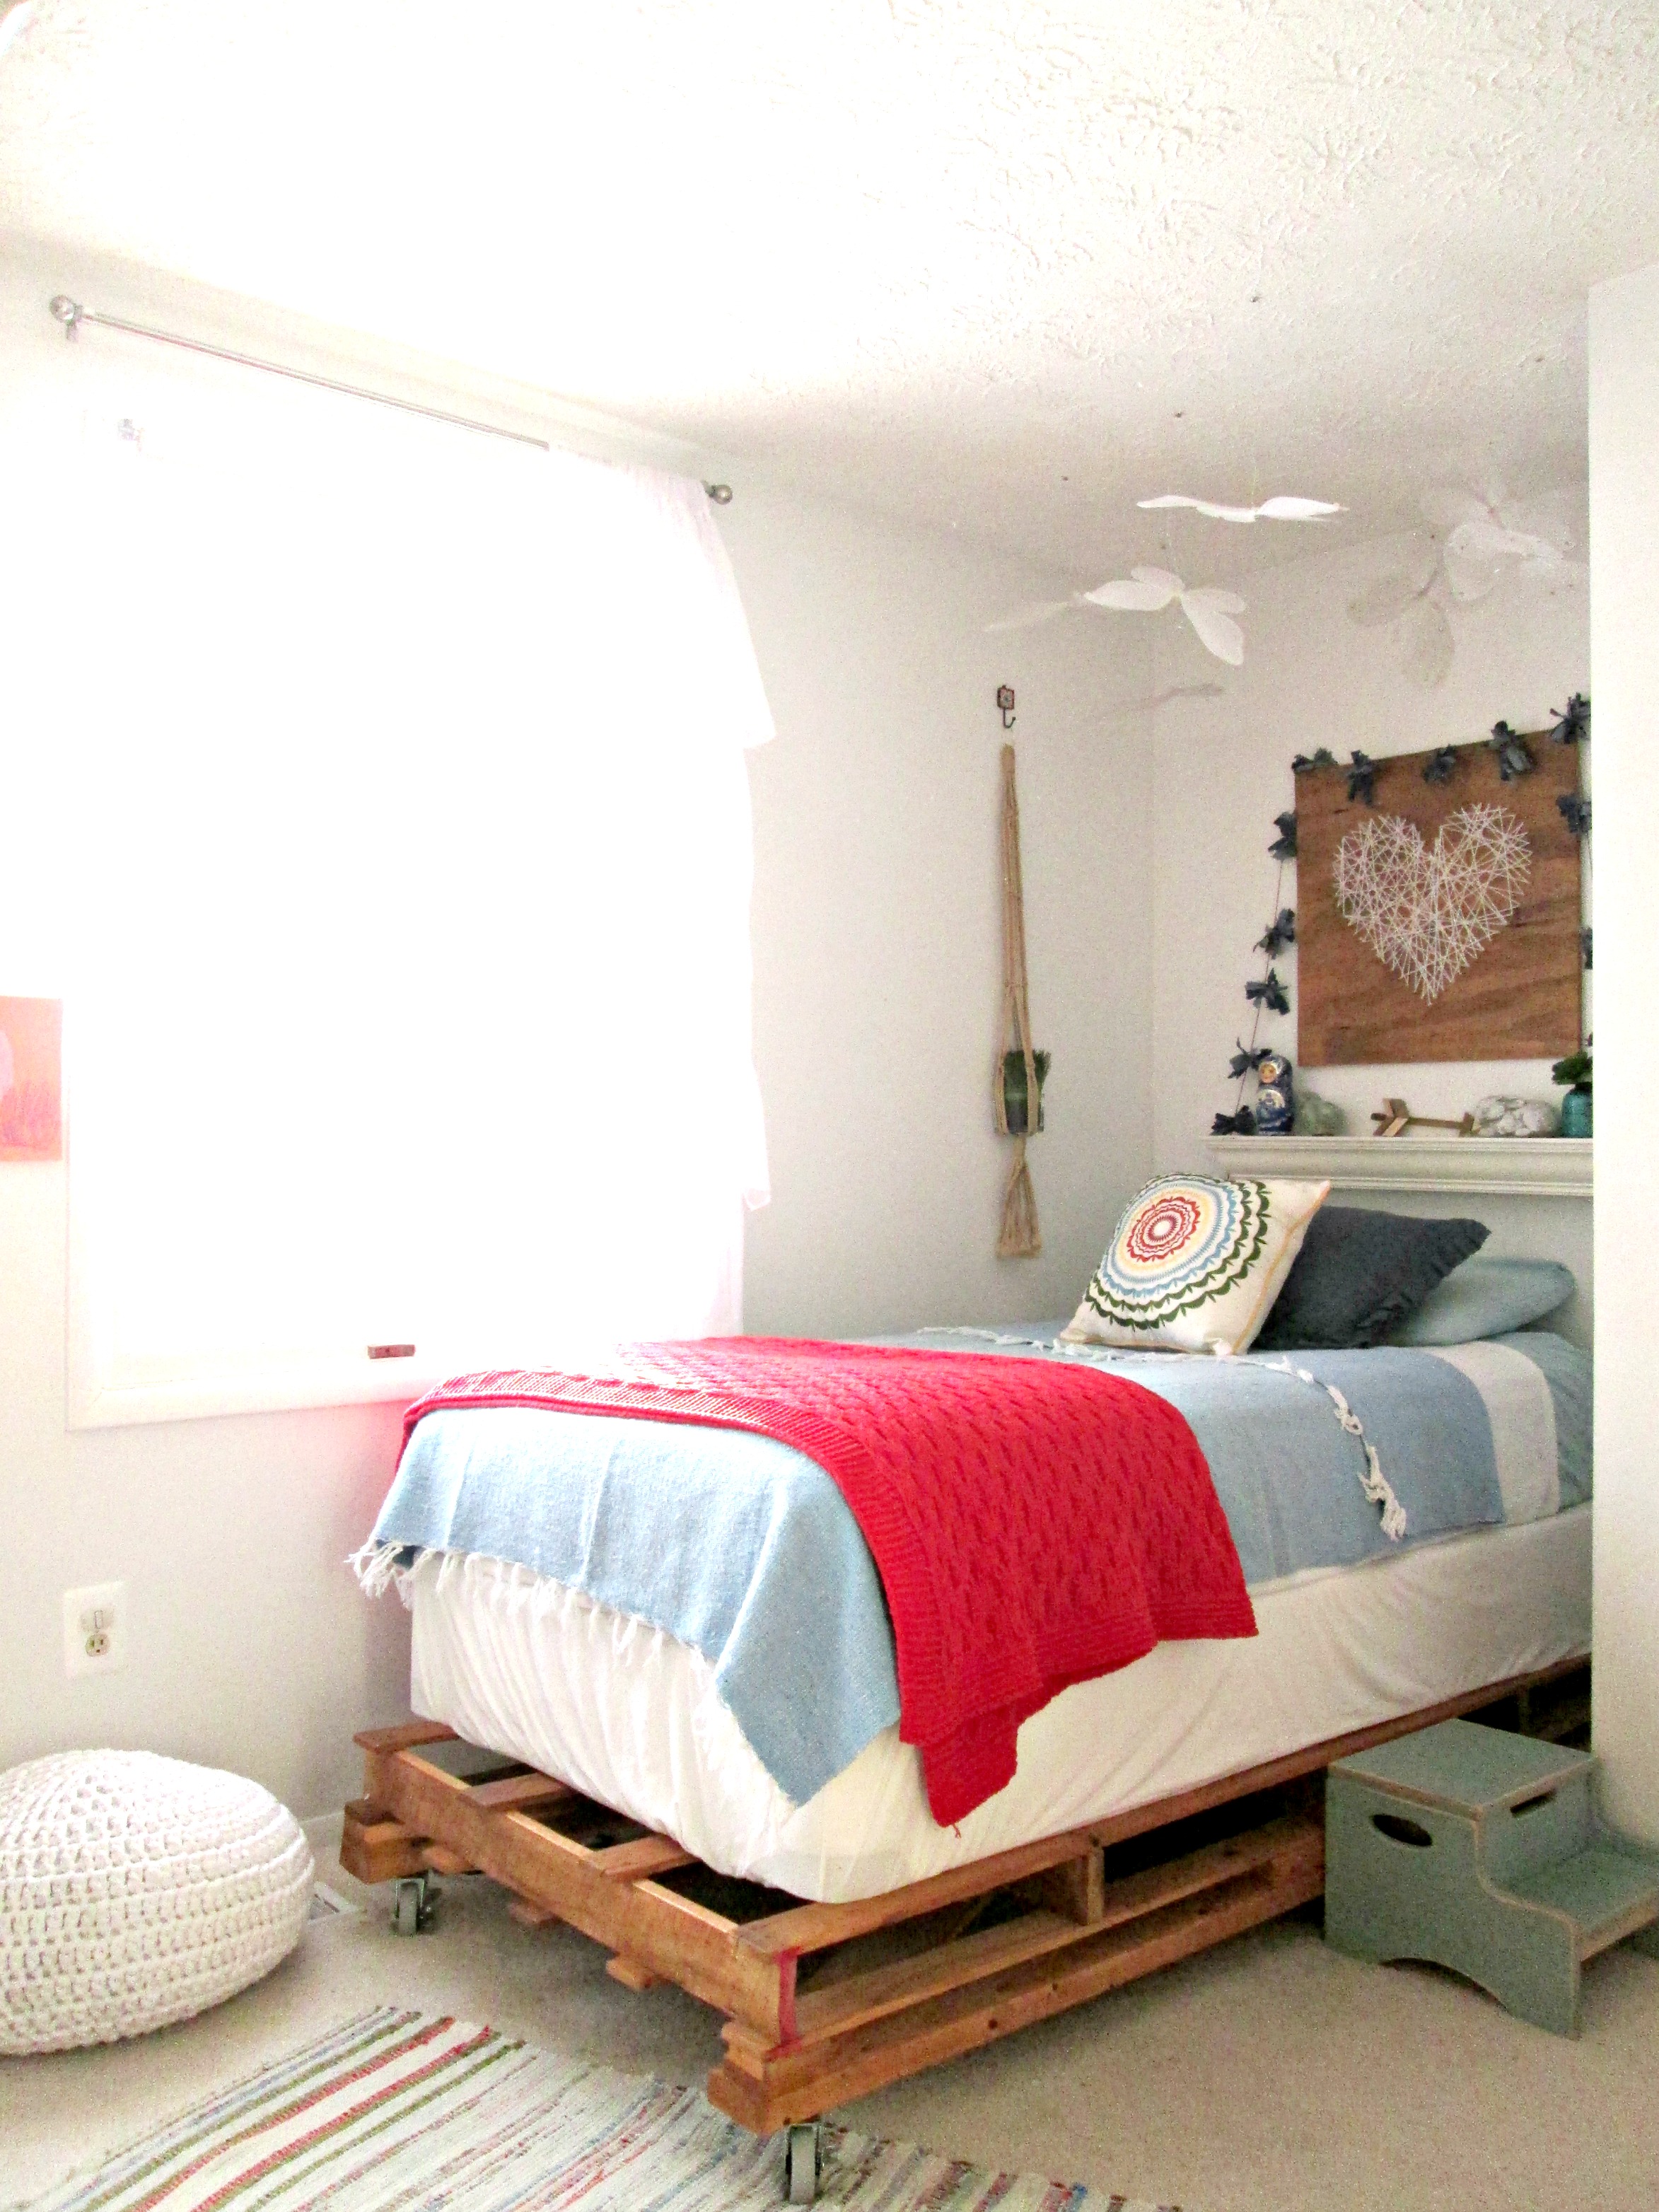
Our girl Shire's bed is snug inside a little nook in her room. It's a cozy spot that fits her twin bed, but with only a few inches on either side there's simply no room for a table. So we placed a shelf above her bed! This acts as both surface space for her water bottle at night, a spot for her beloved knick-knacks, (she's a true bowerbird), and topped with a piece of art, it's also her 'headboard'.

DONE3.jpg

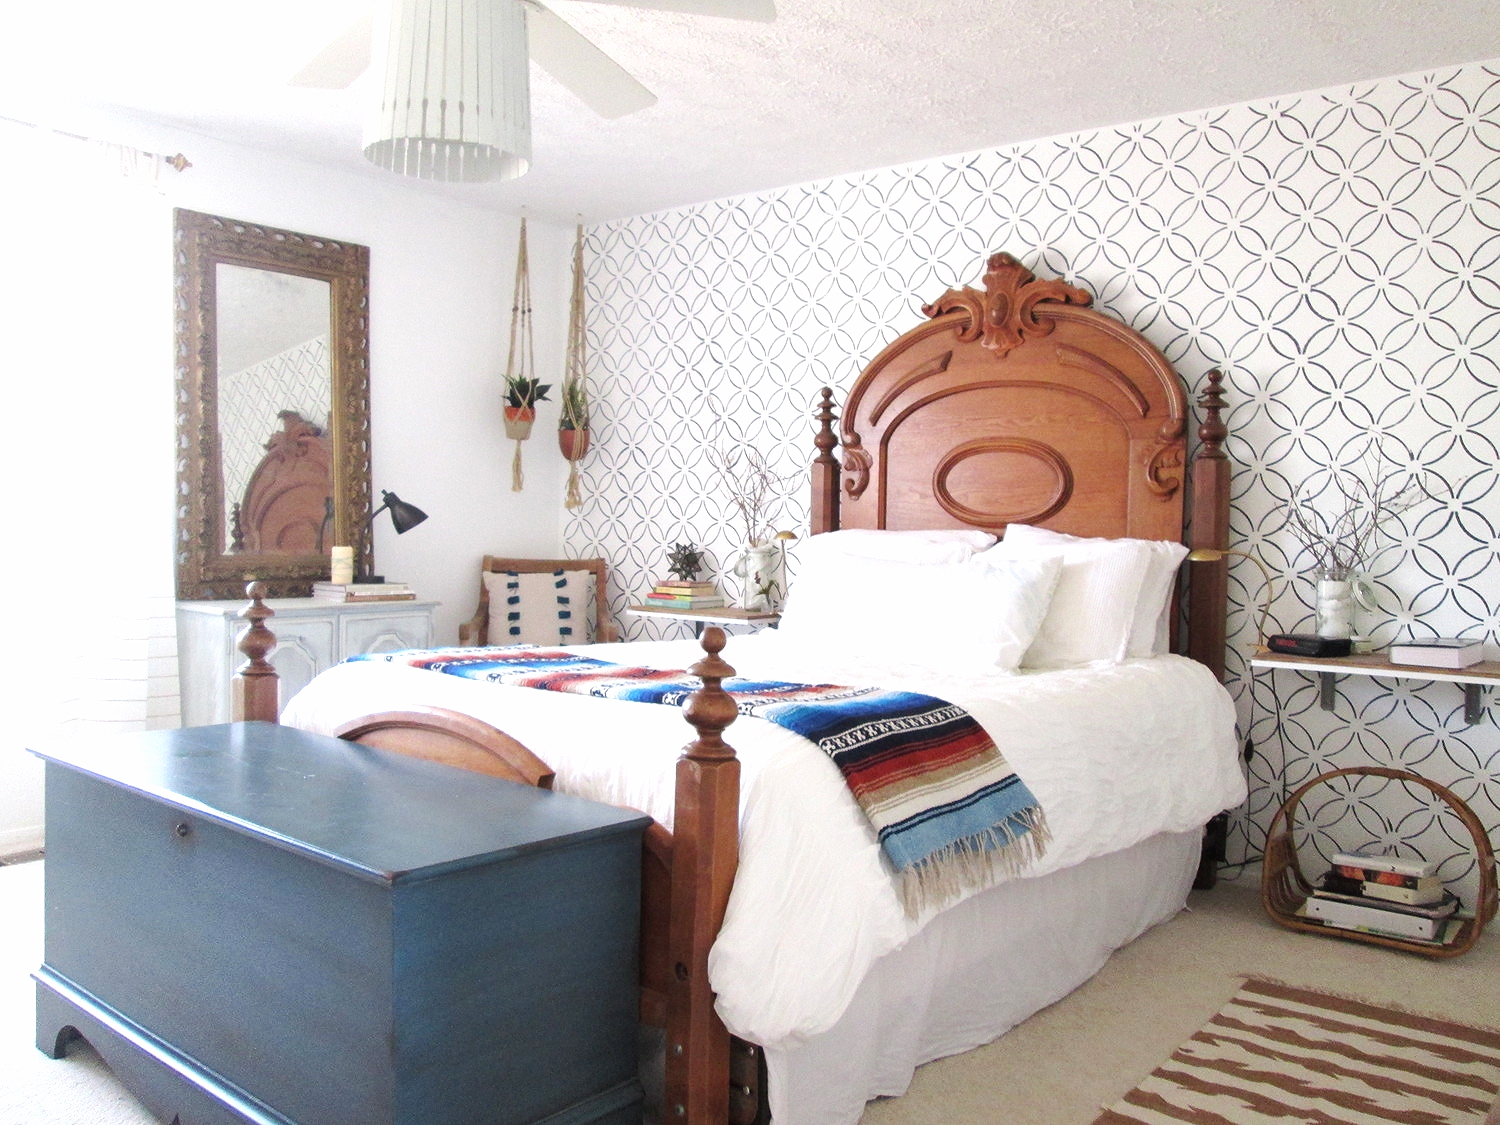
And then there's our master bedroom. A couple weeks ago I shared our bedroom after stenciling the accent wall behind the bed, but I didn't talk about any other details in our room. If you caught that stenciled wall post, you might recall me saying the bed is an antique family heirloom which has been passed through my family over several generations. With my bohemian driven style, I just couldn't see anything holding it's own right next to that headboard. So, I decided to do something minimalistic and just float a pair of shelves! 

We used basic white laminate board shelves from Lowes, but topped them with a piece of stained particle board cut to the exact same size for a customized two-tone look, (which we echoed on our floating wall shelves as well).

These shelves meet our surface needs and we never feel like we need more storage. I love how using something simple at either side lets the bed shine!

DONE6.jpg
DONE1.jpg

I'm not sure if our bedside solutions meets the criteria for the #HGTVmakeover contest, but I thought them worthy of sharing for anyone else who might be stumped on bedside surface space! 

Thank you all for stopping by!

Don't forget to tag your refinished bedside tables and nightstands with #HGTVmakeover on Twitter and Instagram! We'd love to hear if any of our friends get featured, so keep us posted!

Salvaged, Rustic Farm Table - Do It Yourself!

Hi friends! Just stopping by to share a quick and easy 'how-to' for achieving that weathered, salvaged finish for almost any dining table! We've all seen the gorgeous farm tables filling antique stores and box stores alike, but did you know that achieving that time-worn, storied finish doesn't take as many decades as you'd think?! In fact, it takes about 30 minutes.

I found this octagon table at a thrift store a few weeks ago and was drawn to it's shape and base more than anything.

My plan was to strip the top completely and then re-stain it in something rich, like an Espresso. But, upon closer inspection it looked like a fun piece to IMperfect, rather than perfect.

The first step was thinning out the stain on the surface, which I did by dampening a rag with mineral spirits and giving the top surface a good wipe down.

While the surface was still damp, I used fine 220 grit sandpaper in the electric sander to further lighten the surface and remove some of the stain.

The final product! A perfectly imperfect, uneven, textured looking surface. Sanding with a fine paper gave the table a completely smooth and glassy surface, despite it's rustic, weathered look.

For the base, I used Rustoleum Flat White spray paint to paint the inside white, then used Annie Sloan's Pure White Chalk Paint to complete the outside of the base and apron.

Before + After

geo table3.jpg

Two-tone Octagon Dining Table
Available for sale
$395

Thank you for stopping by!