DIY Nightstands || Flip List Item No.7 ||

Remember in 2015 when I vowed to build my own bakers rack and then flaked out?  Or when I tried again in 2016 and this happened:

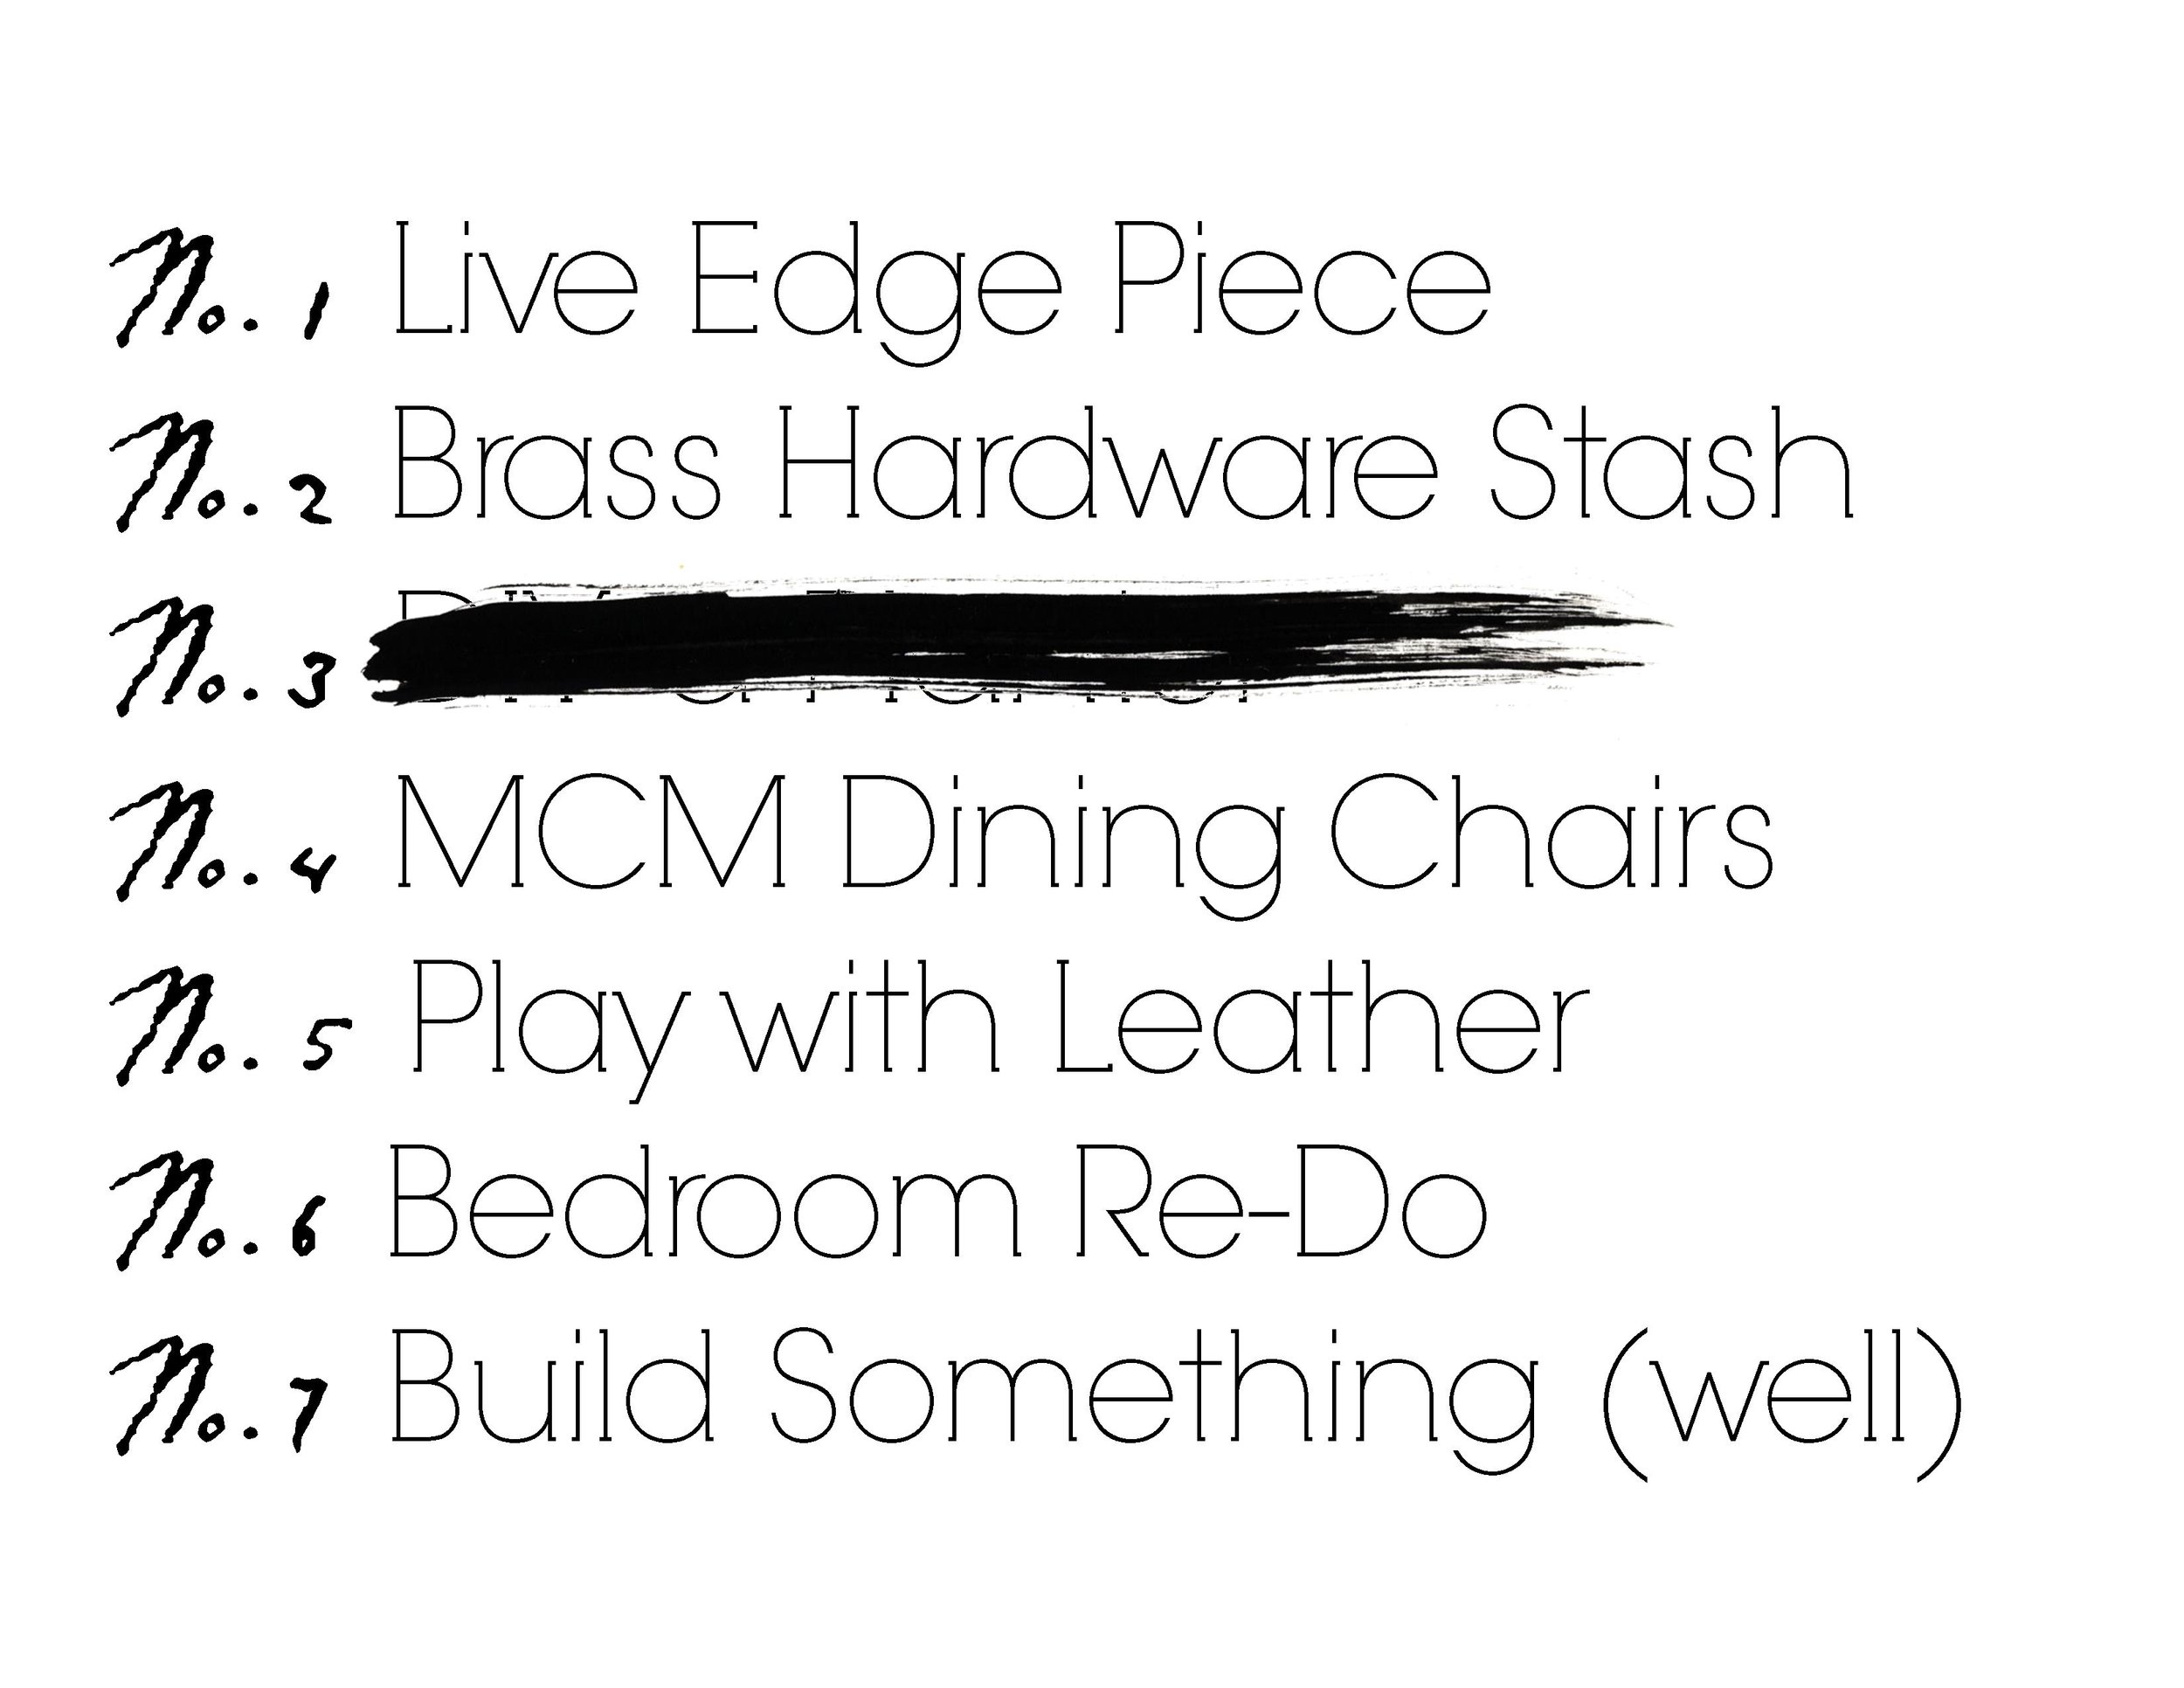
Well after this unfortunate fail, I realized lofty goals are all well and good but I should really build my carpentry skills from the ground up.  Hence item No.7 on my 2017 Furniture Flip Bucket List.


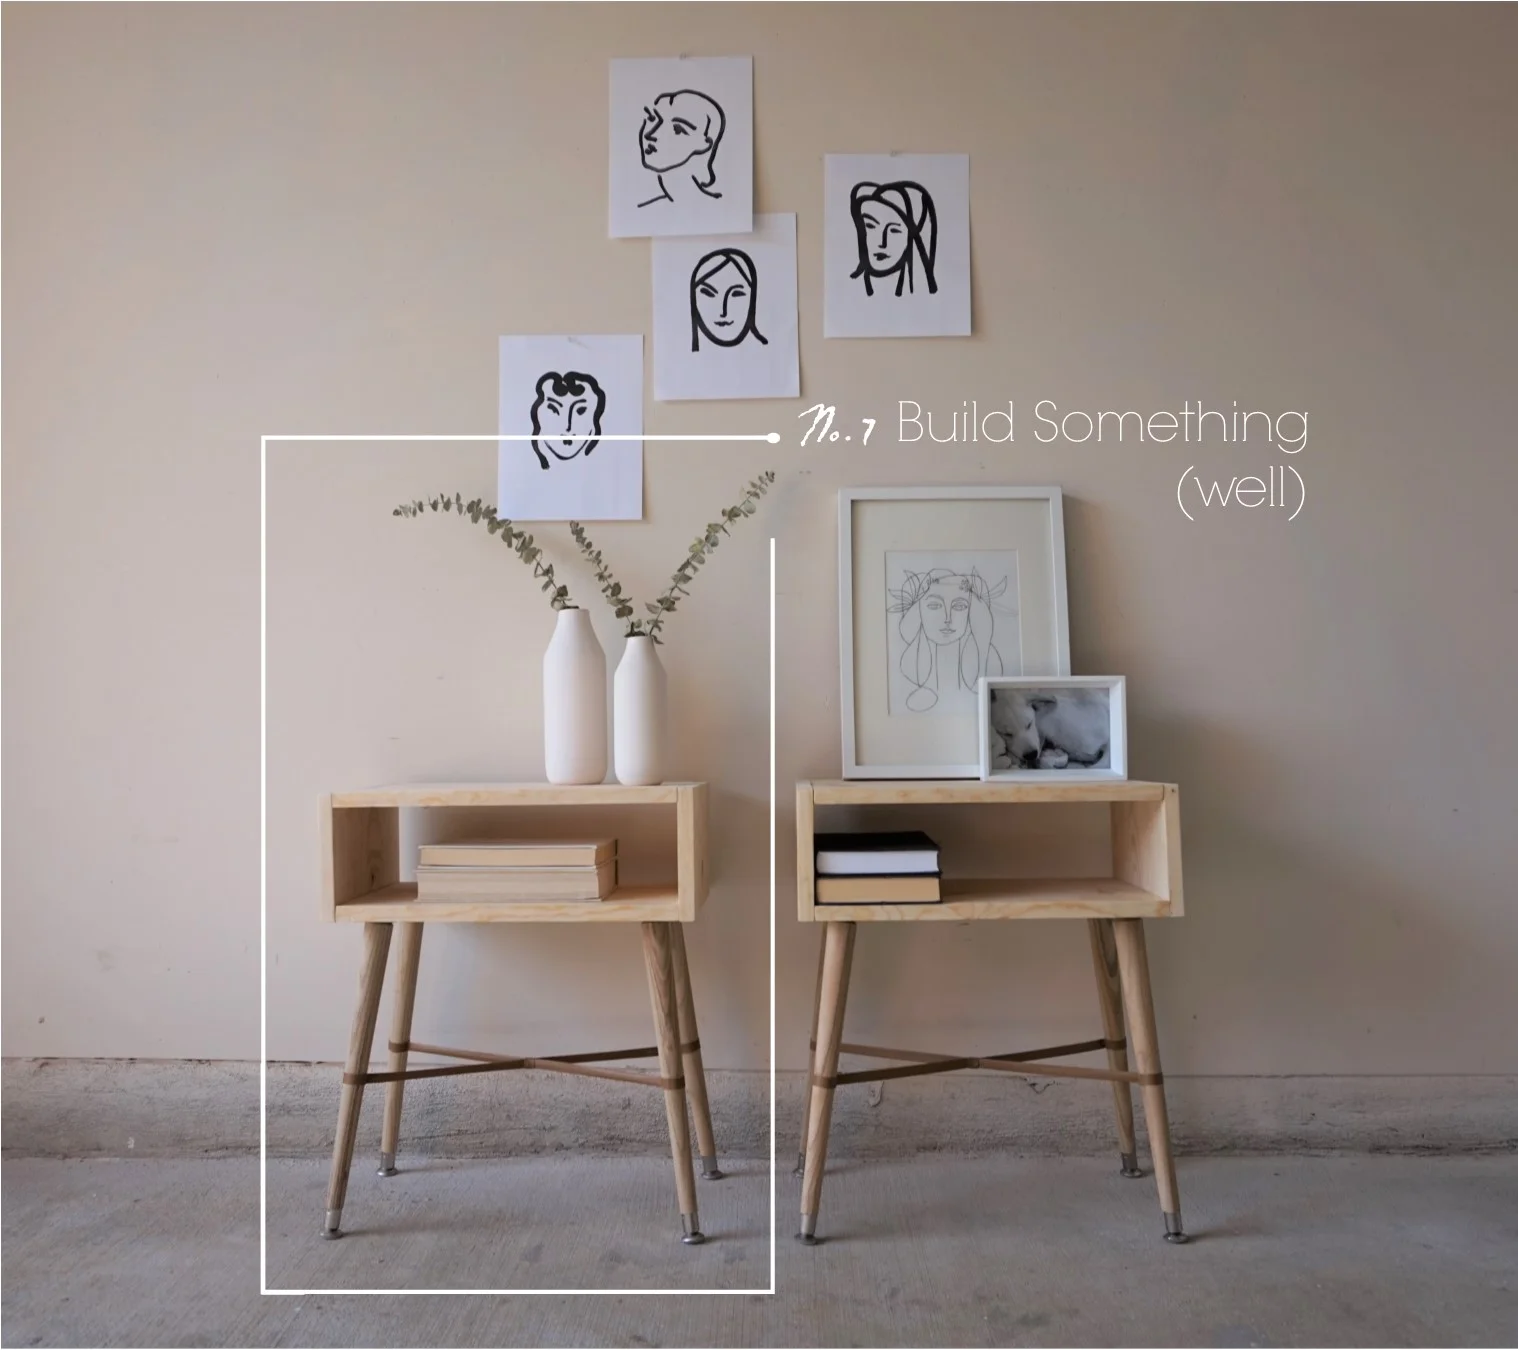
 But guess what guys...  I built something!  No really - I BUILT something (well).

No.7.jpg

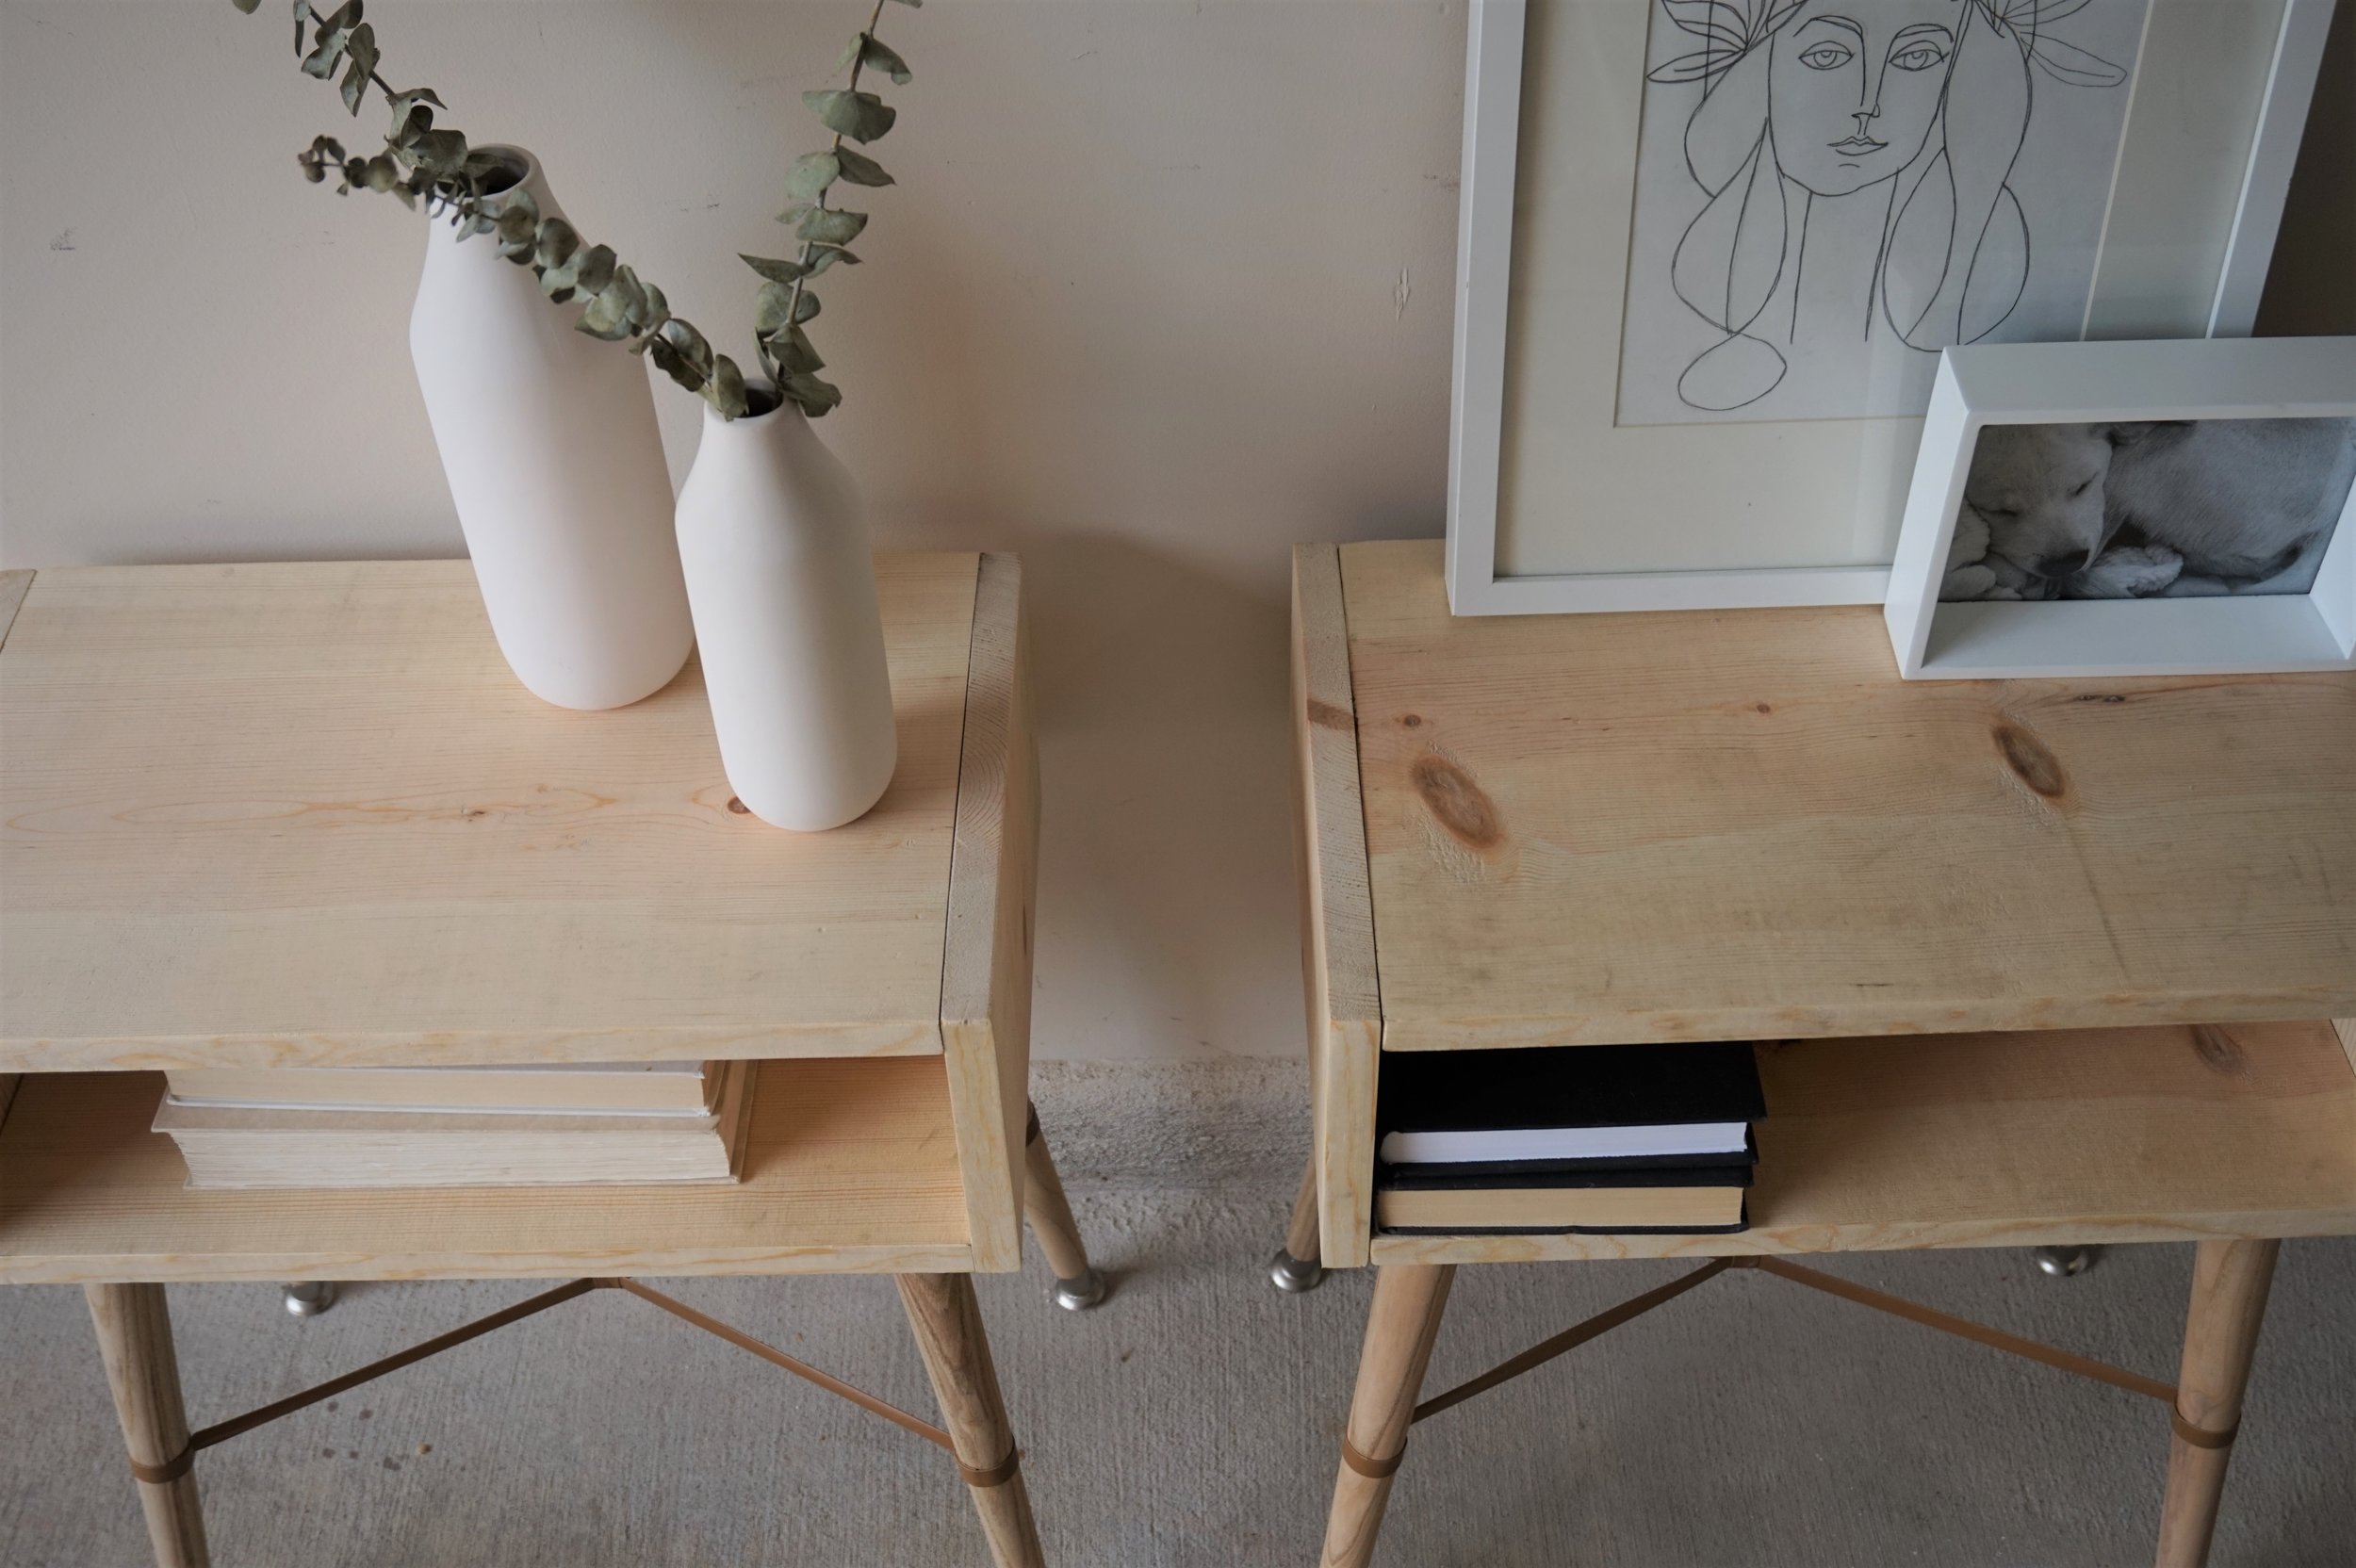
I used all the right tools in all the right places and I can't help but be so proud of how they turned out!  And the best part is, you can build these bad boys too.  I'm sharing the full tutorial over on Apartment Therapy today if you're game to hone your carpentry skills too.

Final 3.jpg
DSC02123.jpg
DSC02091.jpg

And if you're local to the DC Metro area (but not quite ready to roll up your sleeves and build your own), this pair is available for purchase!

Final 1.jpg

Pair of Scandi-Style Nightstands
Now Available for Sale
19"W x 11"D x 22"H each
$345 for the pair

If you are interested in this pair or a custom order like it, please contact me at cate@stylemutthome.com.

Cate.jpg

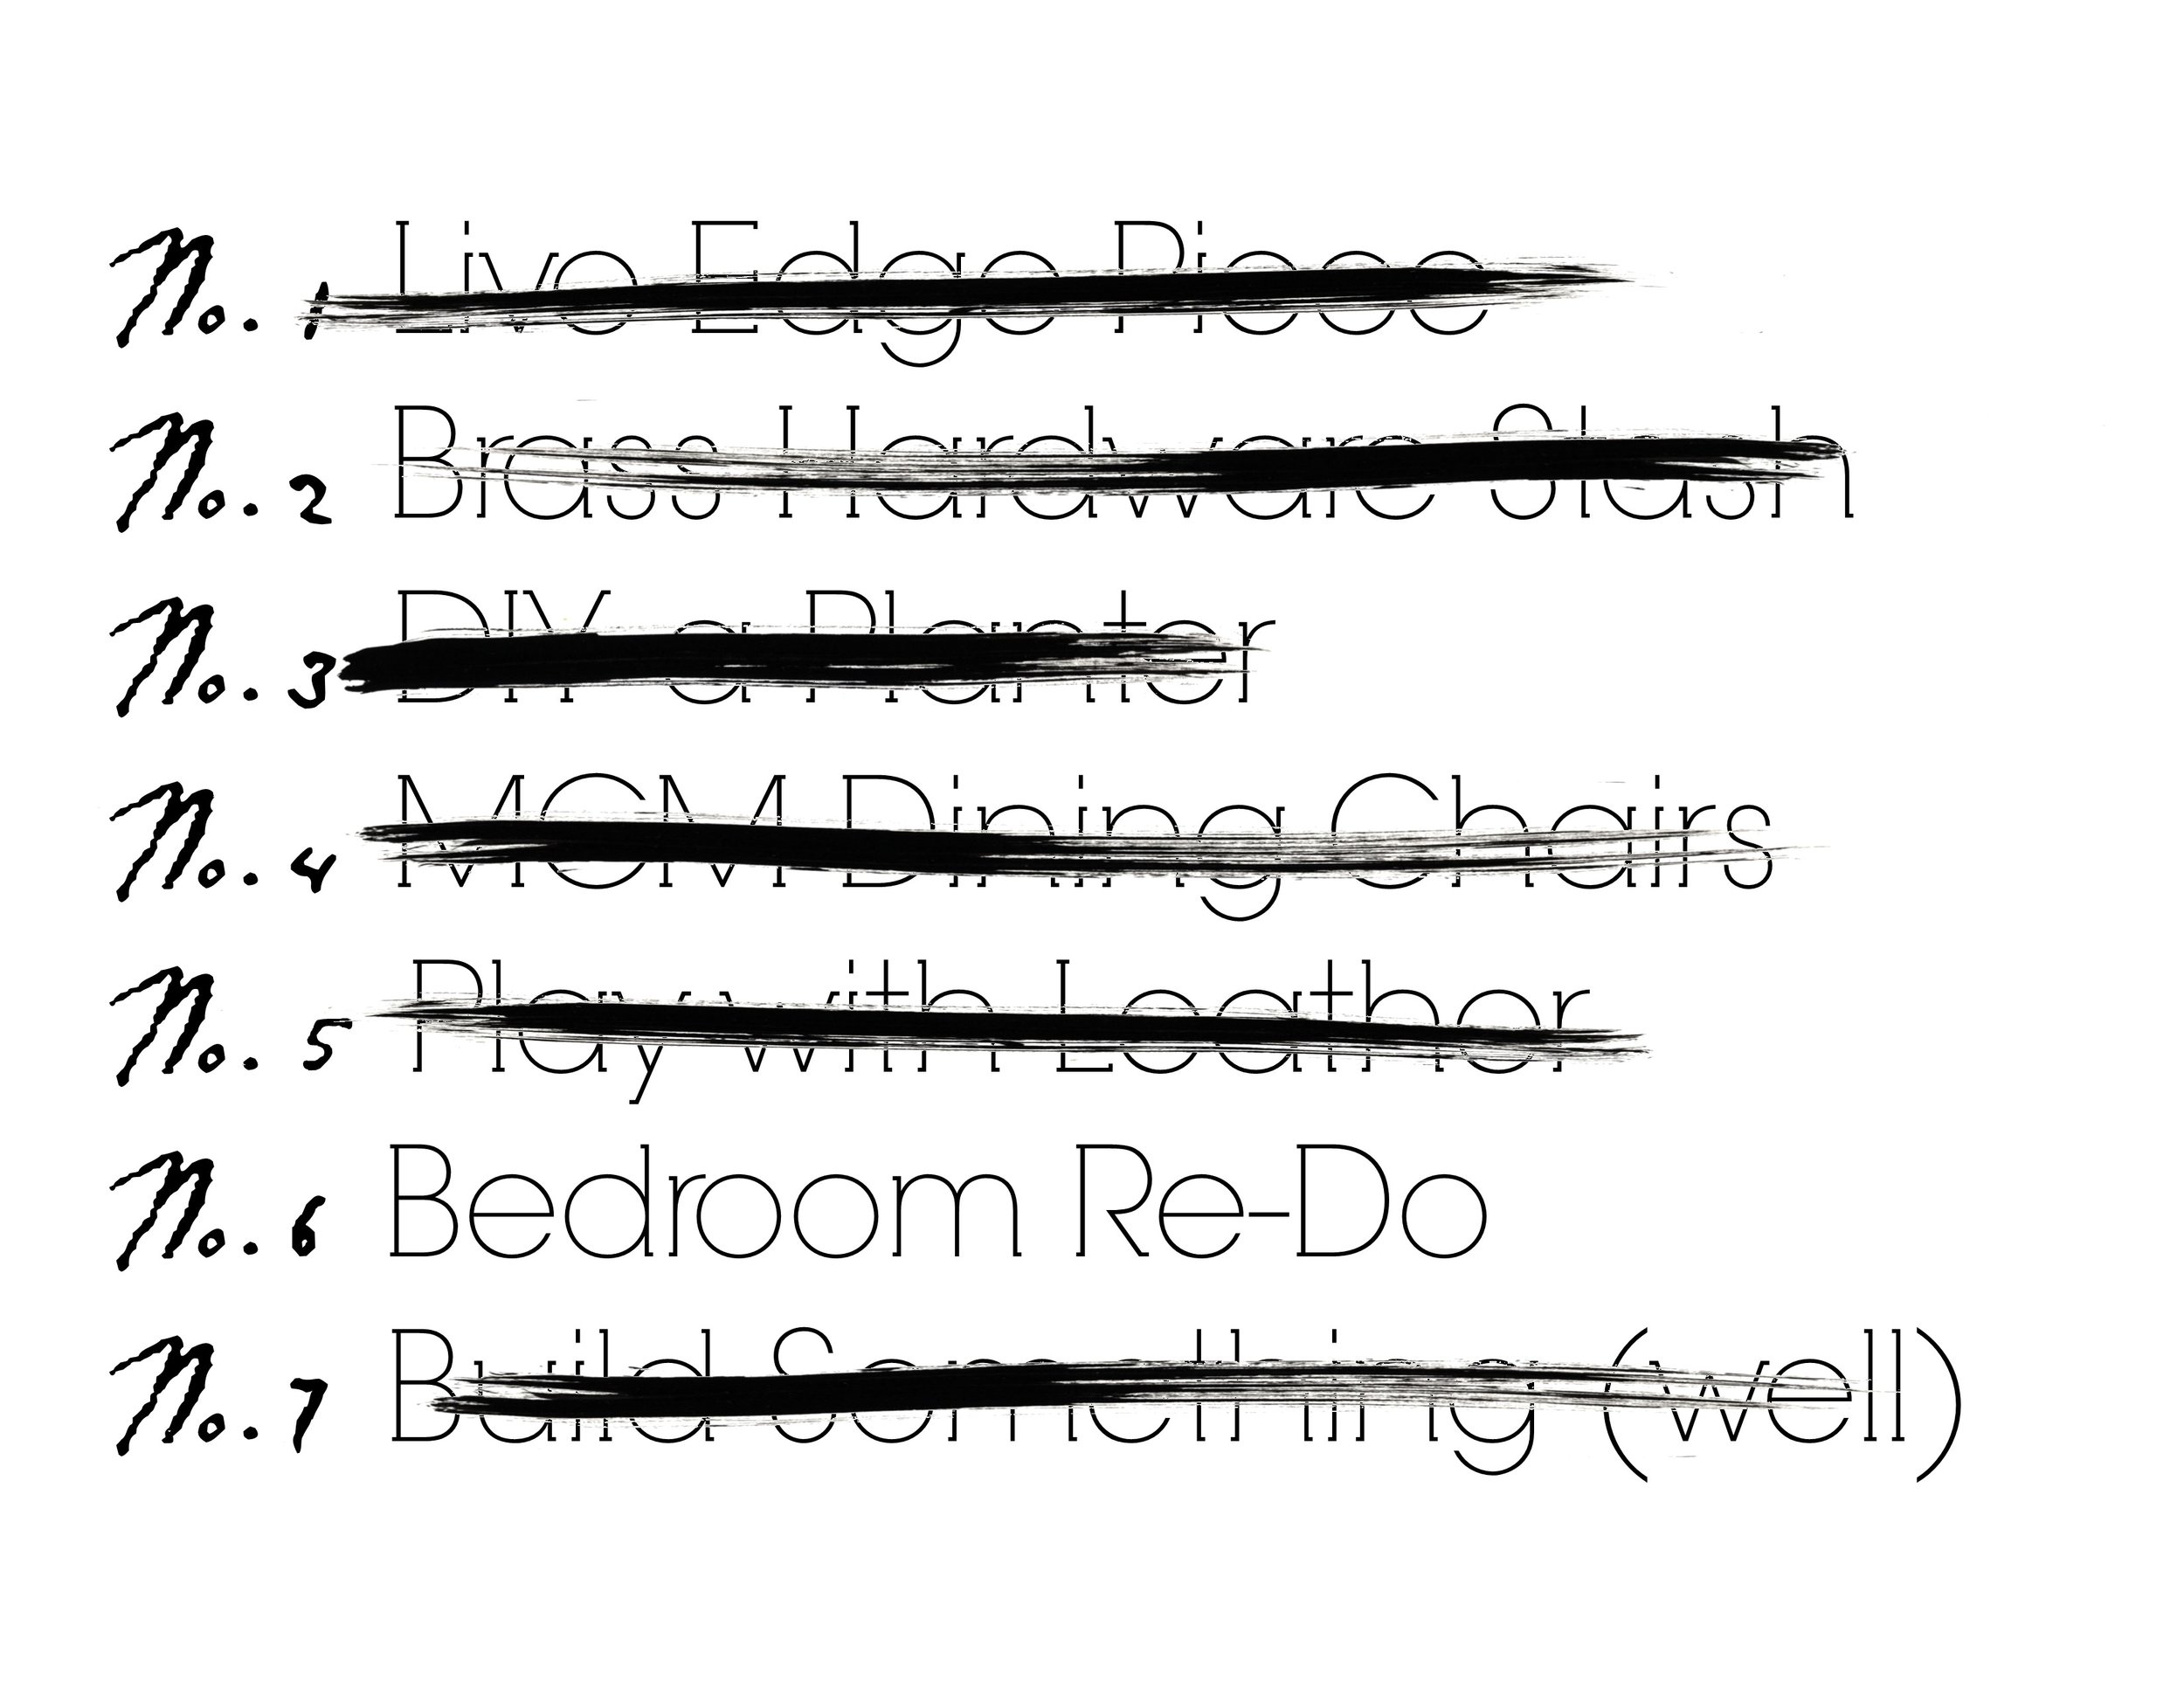
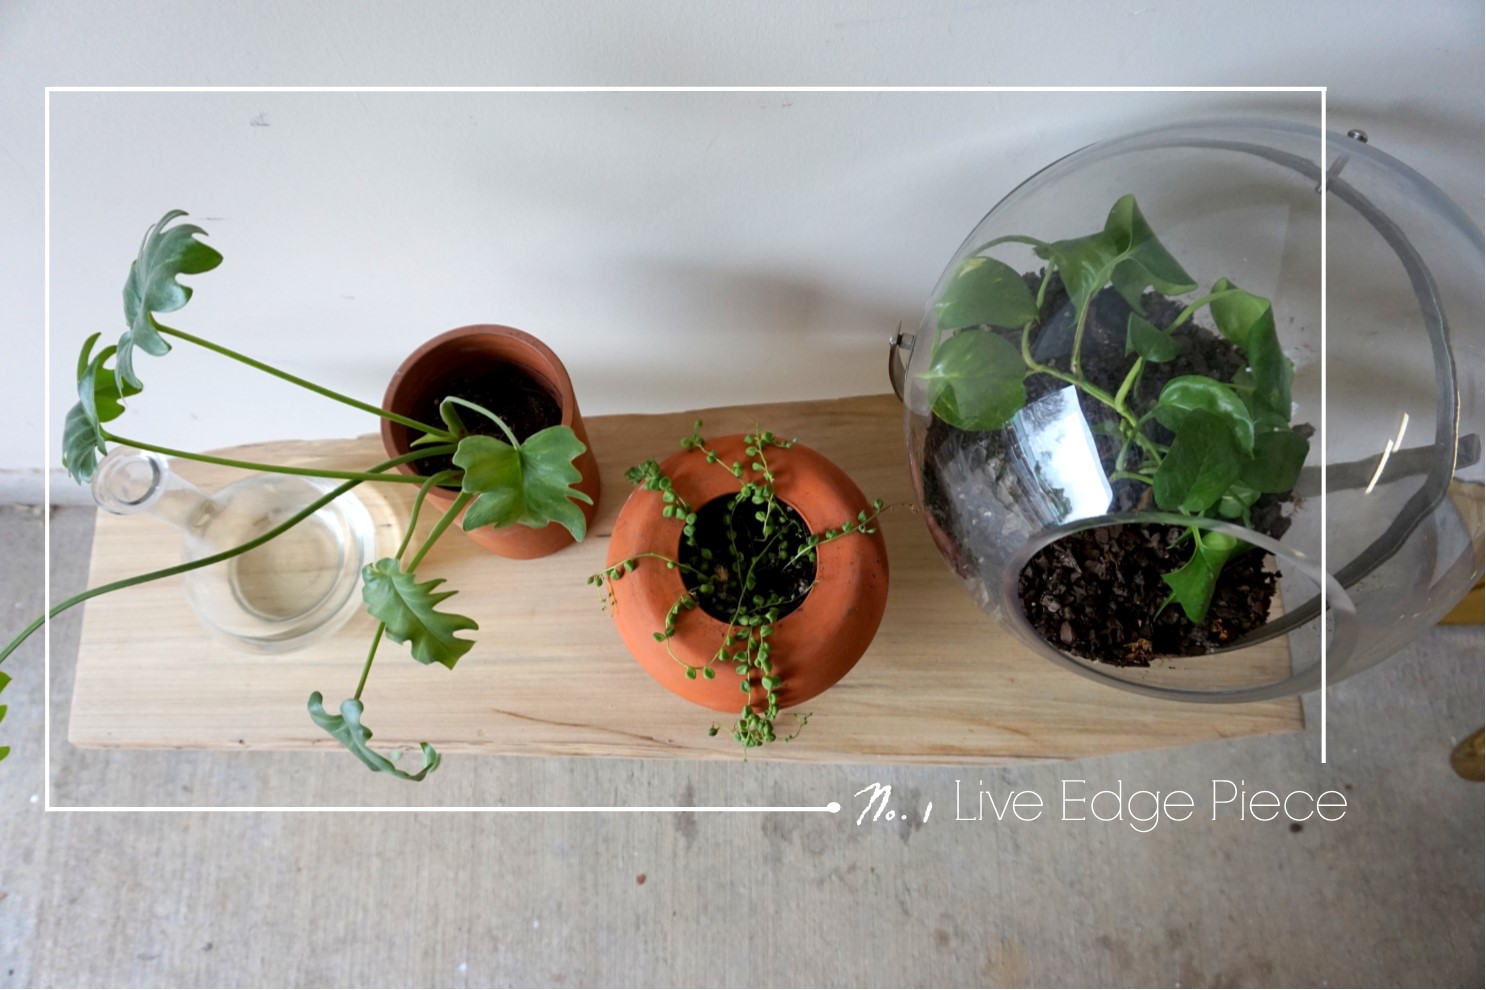
Six down, one to go.  Catch up on the 2017 Furniture Flip Bucket List.

DIY Planter ||Furniture Flip Bucket List||

Ok so something magical happened.  I made something I've always wanted to make using only the items I already had lying around.  That's a project with like no risk and all reward.  Hey-Oh!  Even better, this project also fulfills one of the items on my 2017 Furniture Flip Bucket List.  Double Hey-Oh!

So which item is the first I shall be crossing off this year's list?


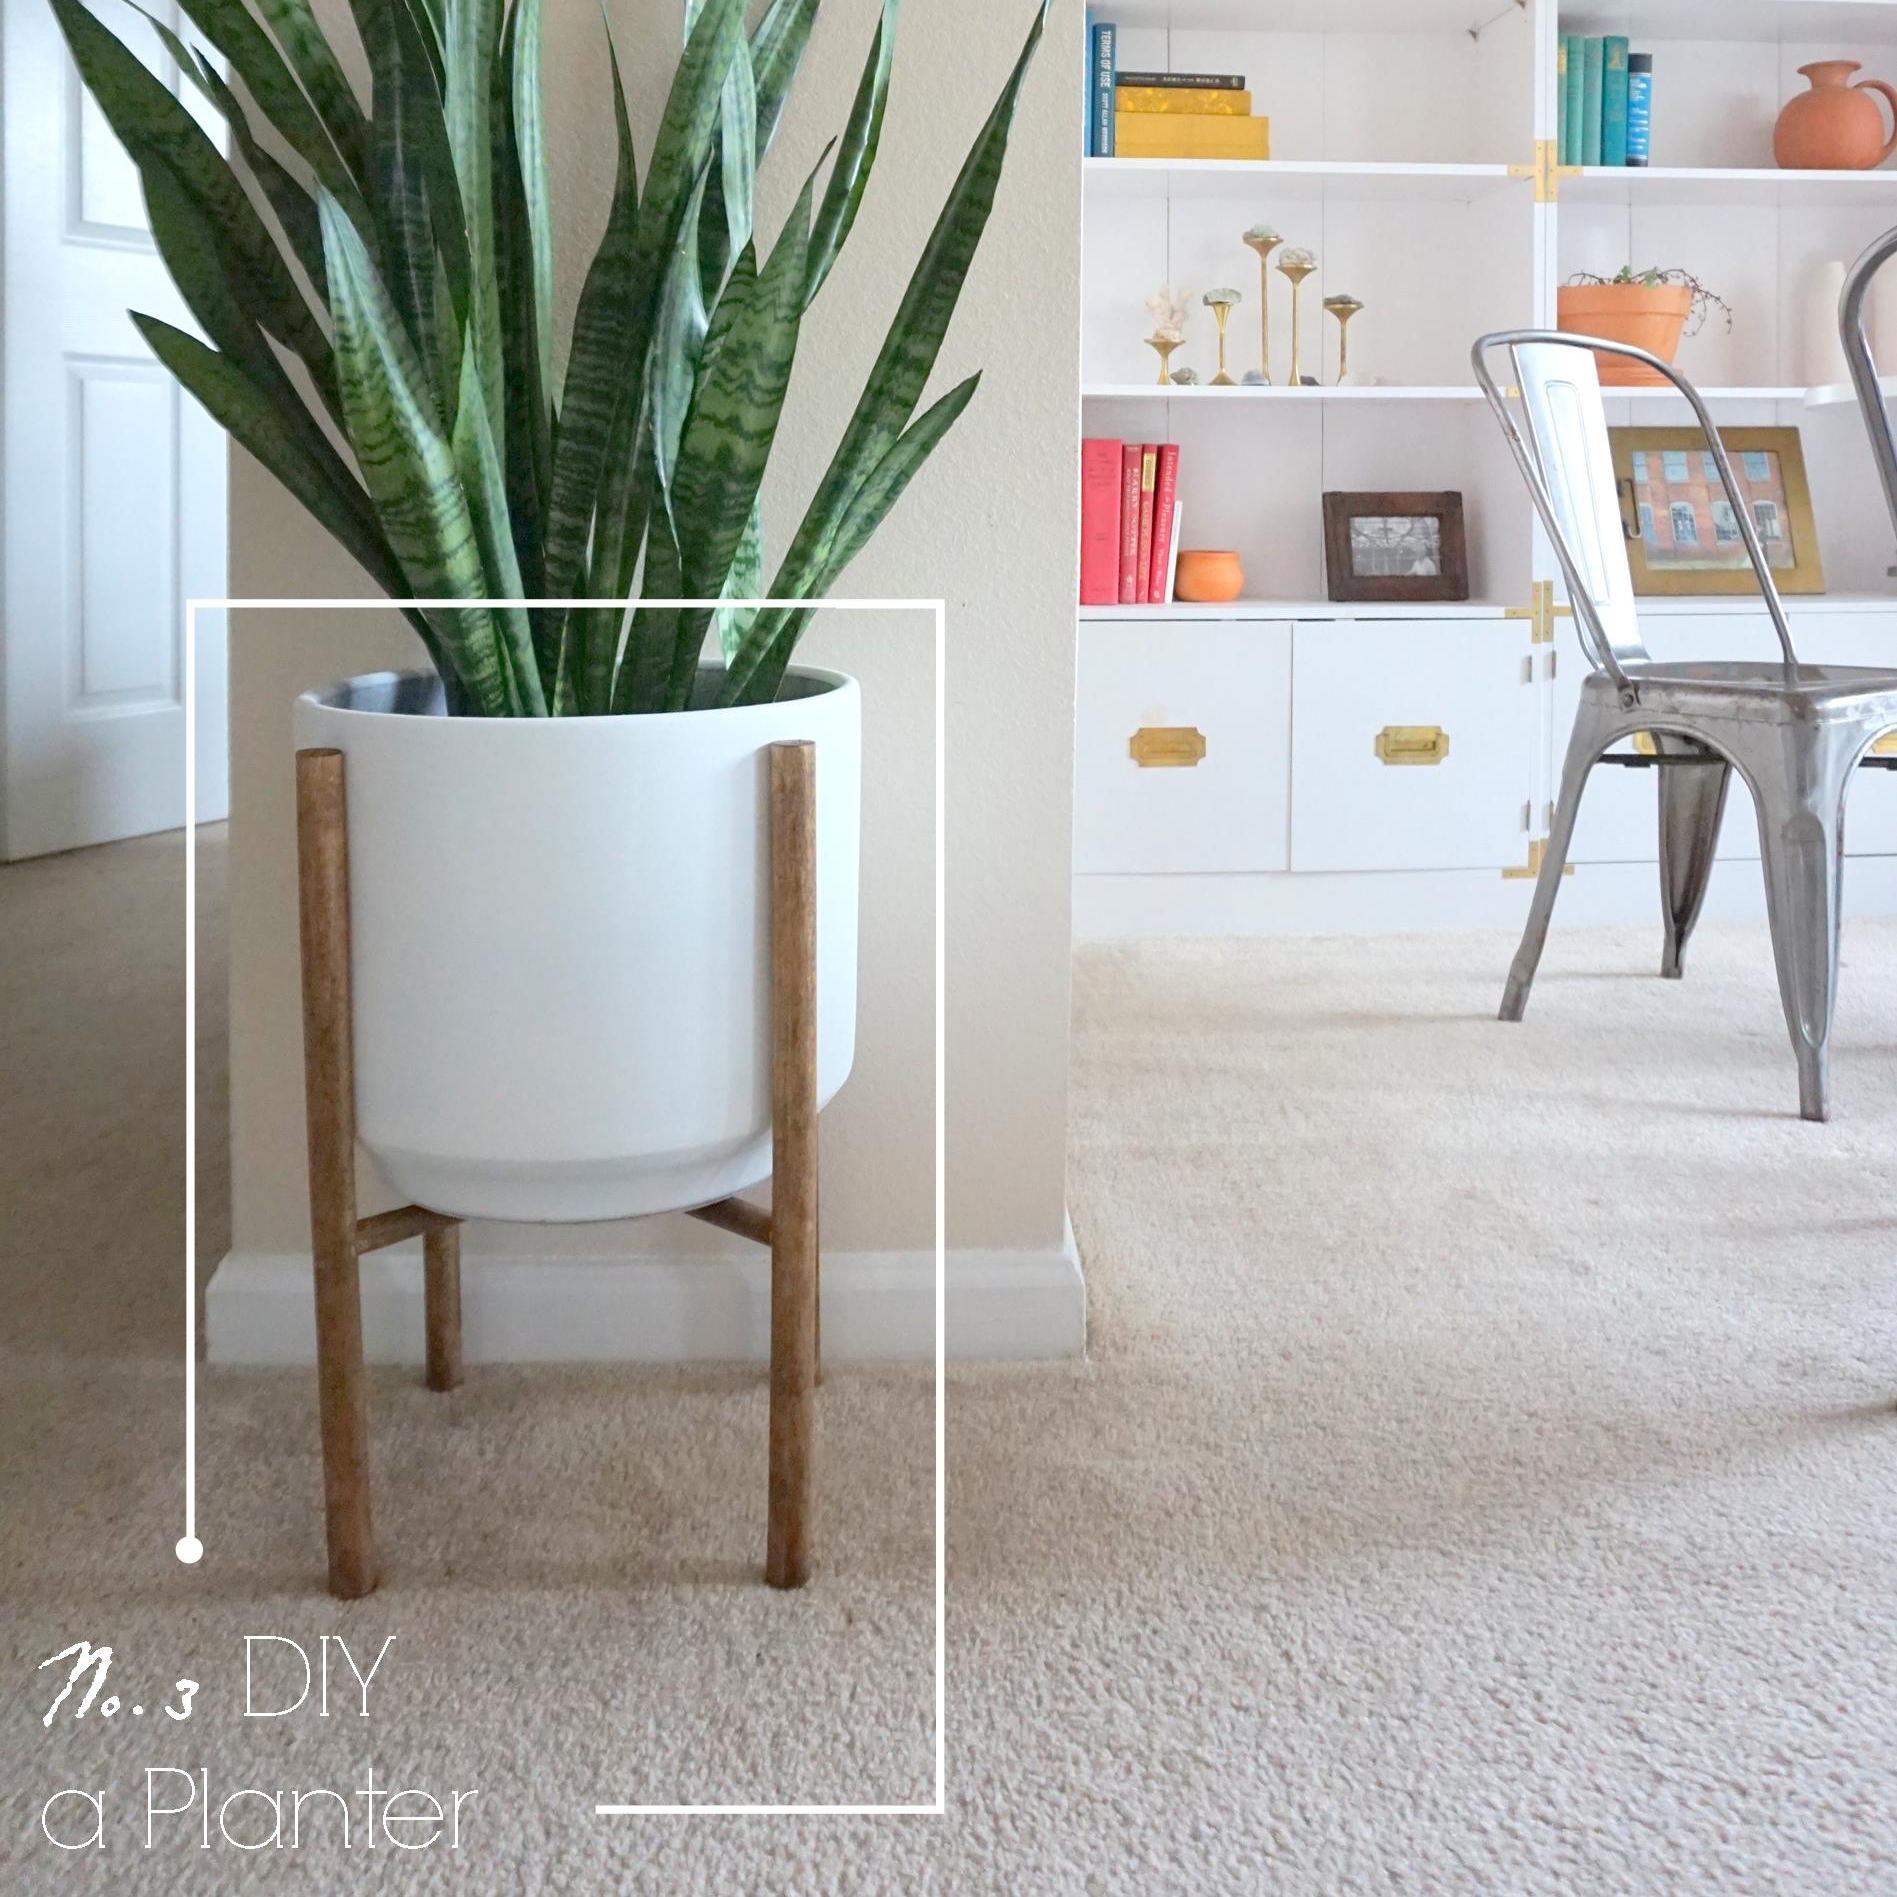
Why No.3 of course.

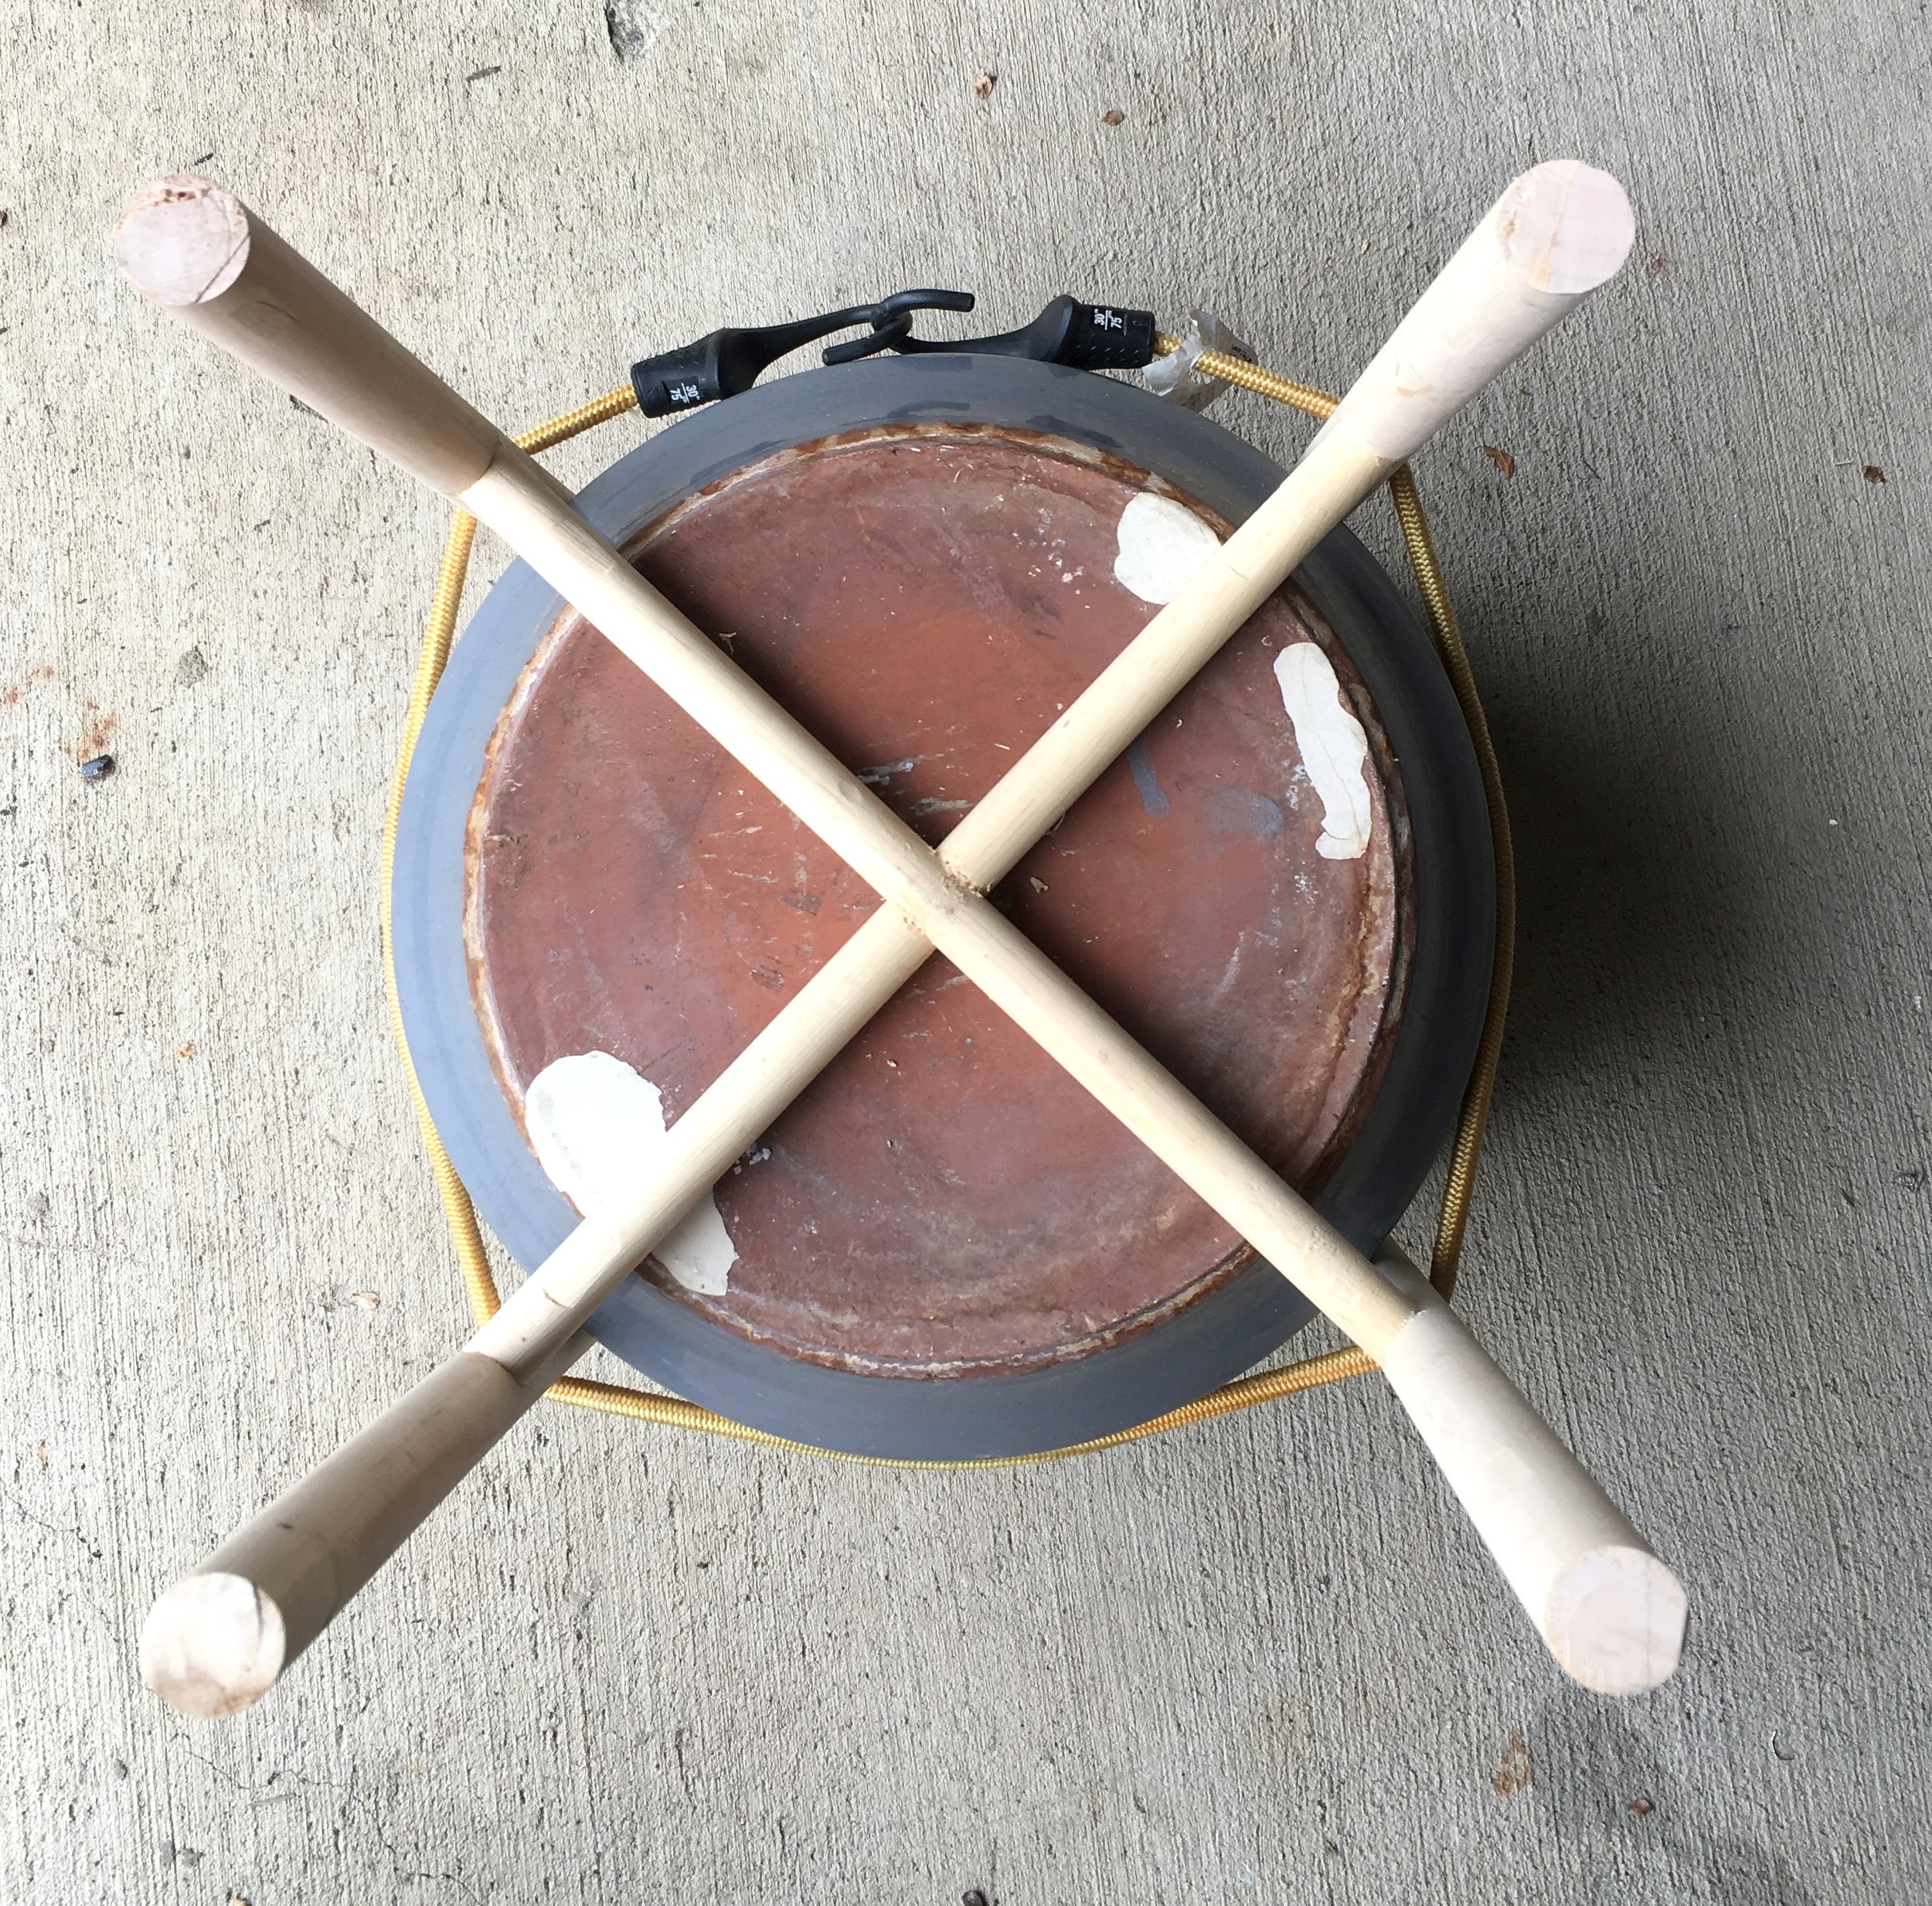
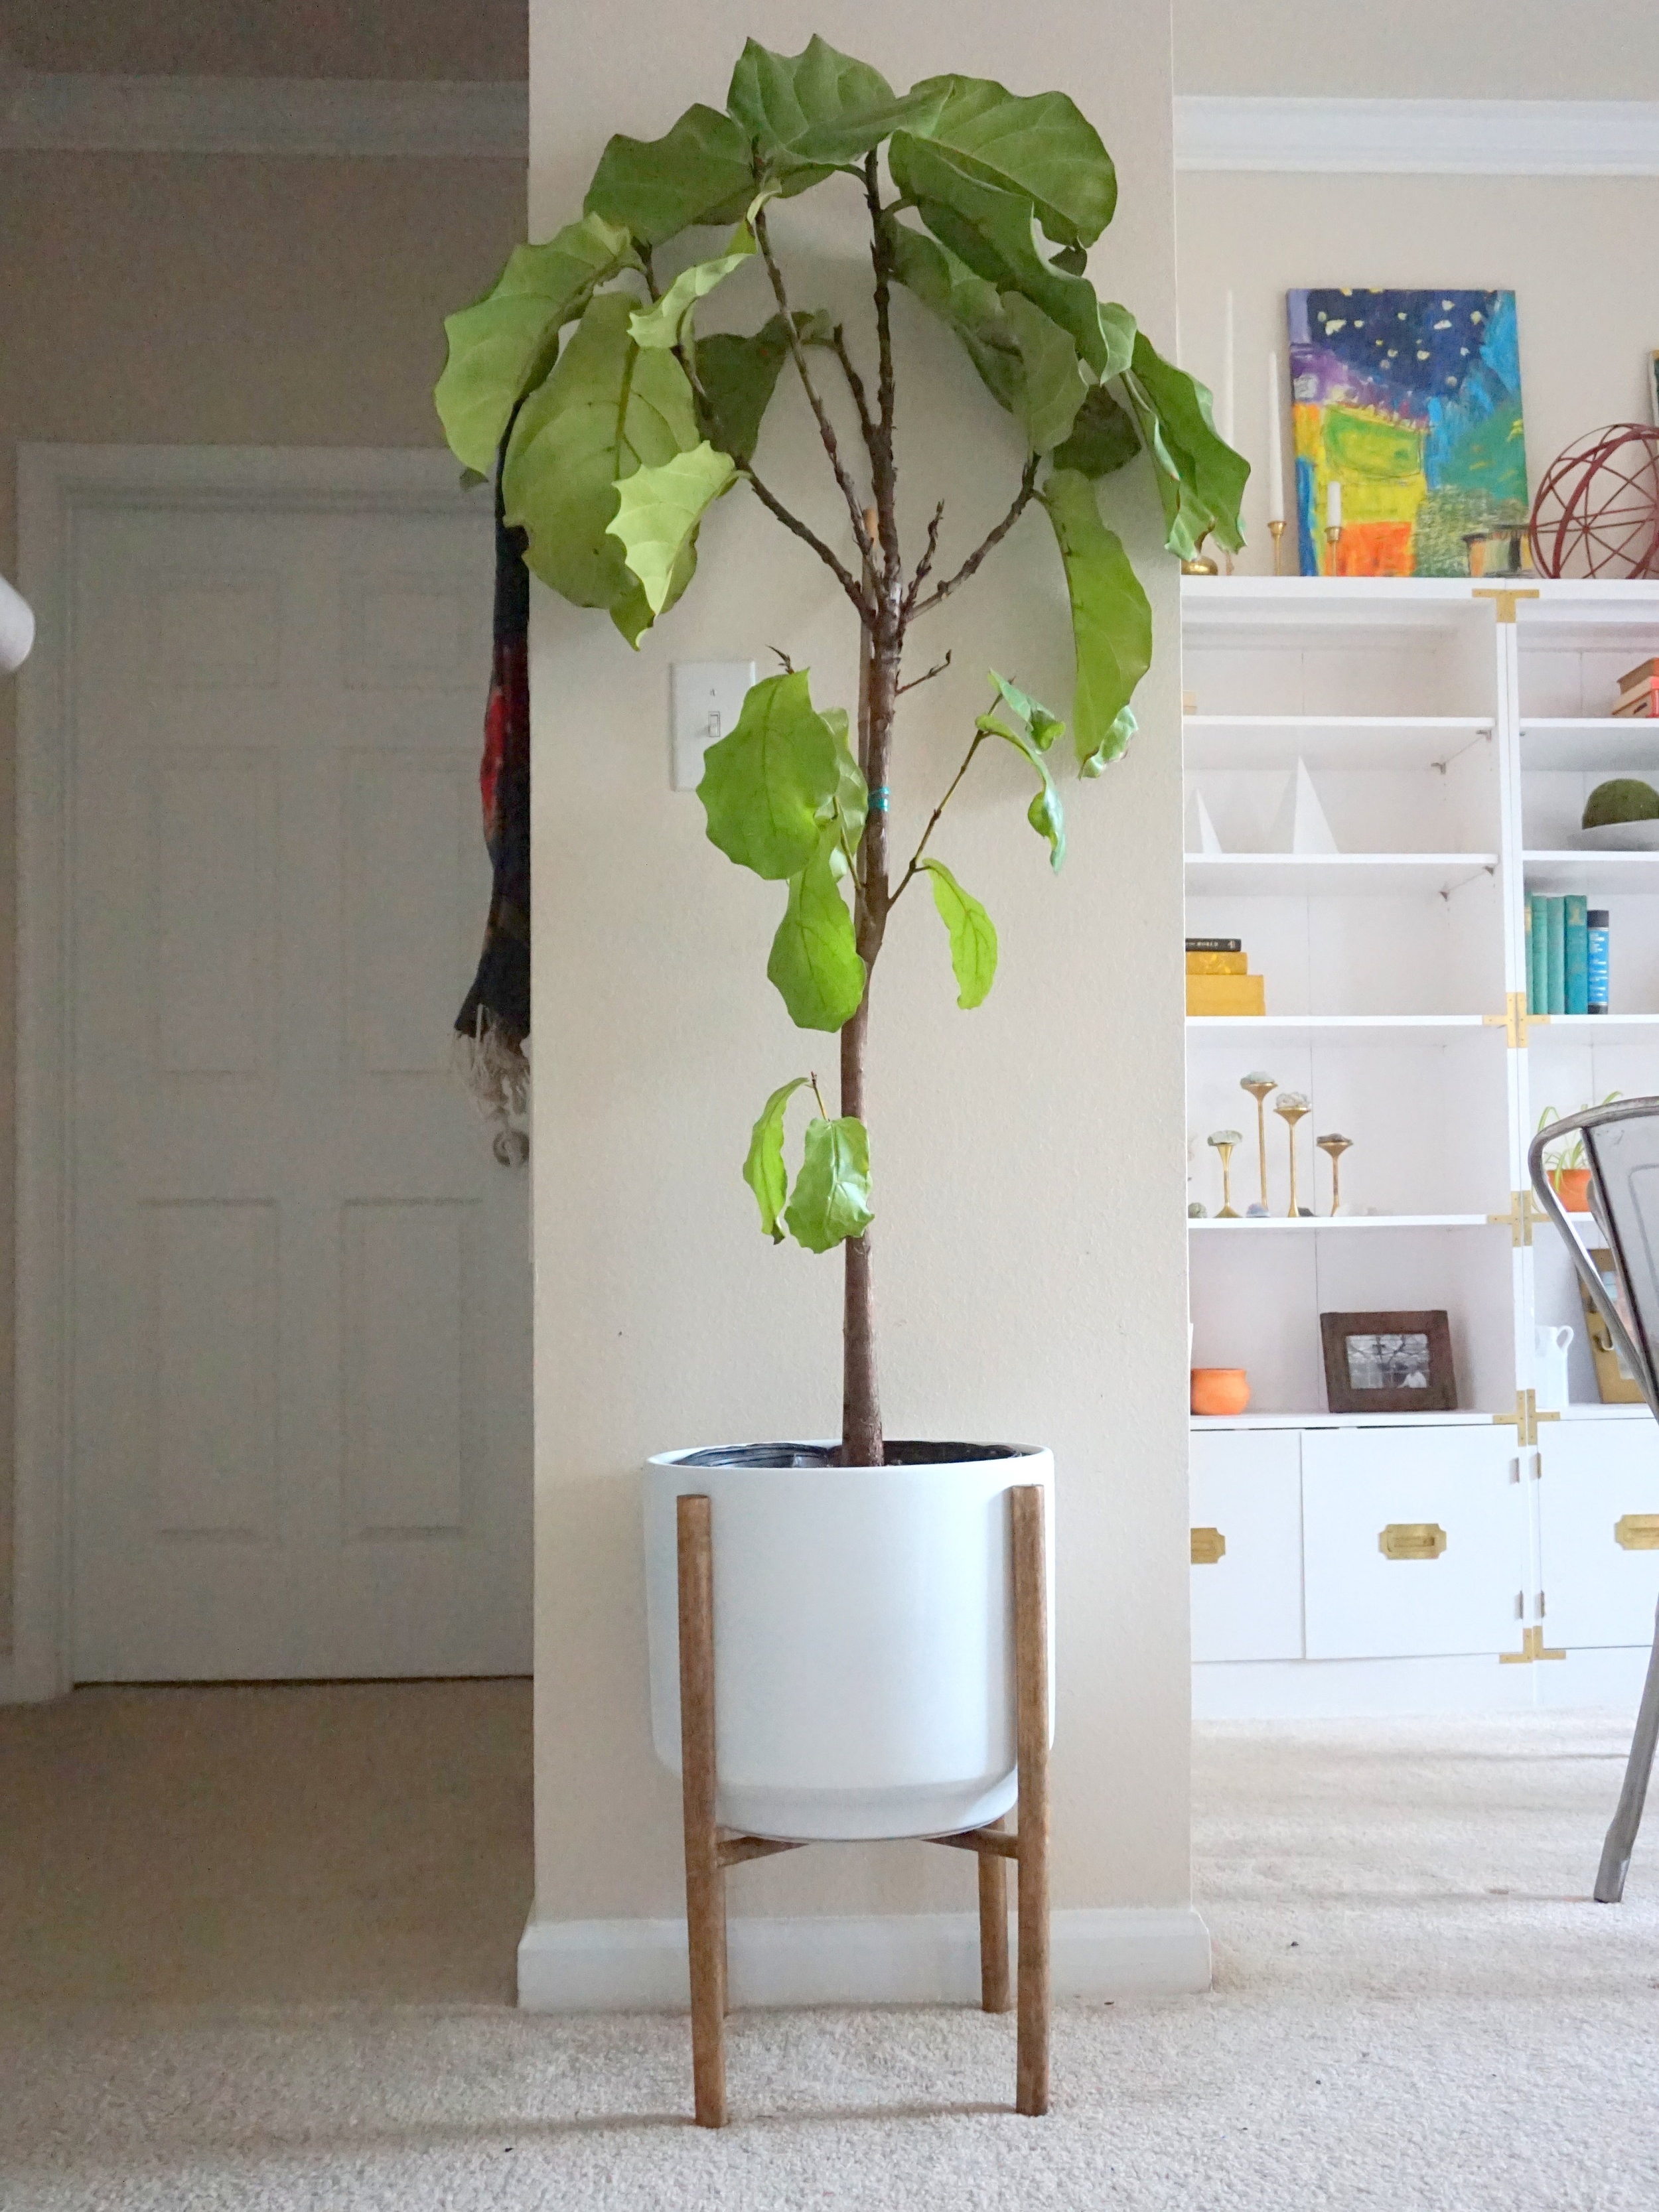
The construction of this little guy was relatively simple.  All I needed was some round wooden dowels, a dowel kit, some wood glue, and a large ceramic planter.  Following along with this handy tutorial, I was able to assemble the four legs and the joining cross section. 

I built the stand to fit a ceramic planter I had lying around (with a dead plant carcass inside).  For extra stability, I secured the joints with wood glue and strapped the base in place to set.

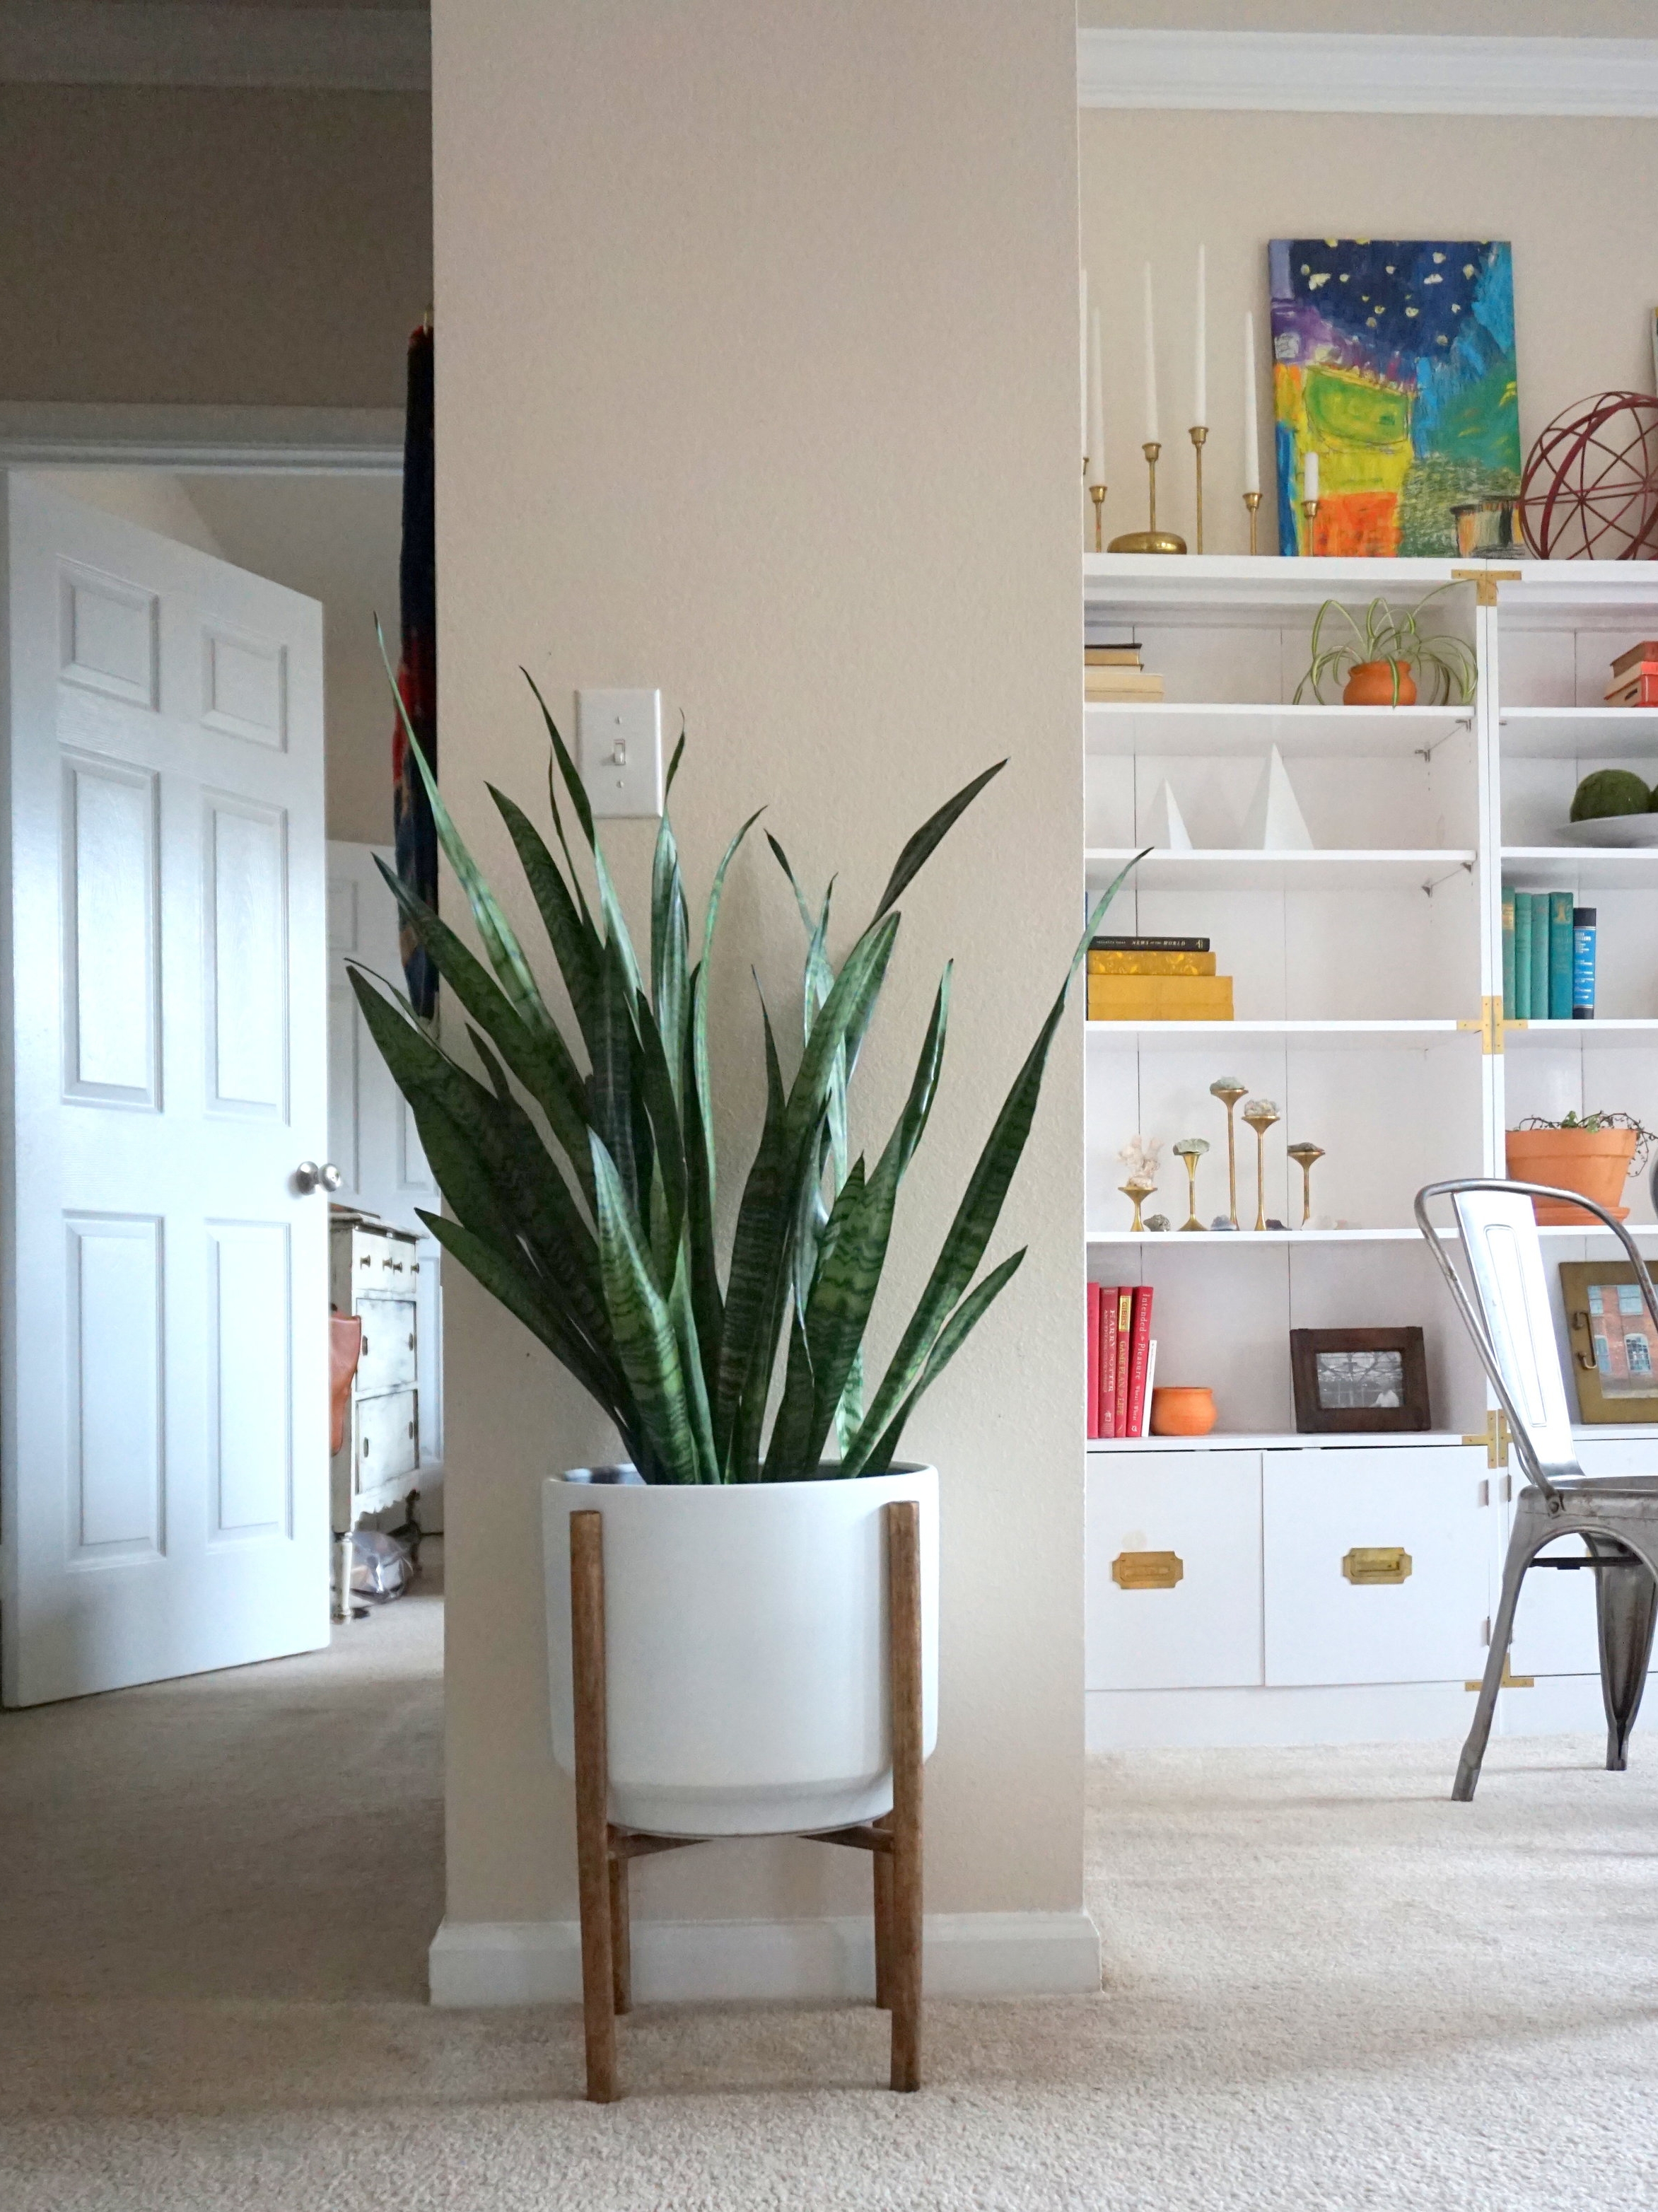
Once the glue dried, I spray-painted the planter white and stained the legs a warm brown to get that iconic MCM planter look.

Now my plant children have a place of honor to reside.

Despite the glue, he's still not the sturdiest but I am proud I built him nonetheless.  And I still plan to improve my carpentry skills and build something SUPER solid to fulfill item No.7 this year.

But of course in the spirit of the upcoming Oscar's, let's play a little round of

WHO WORE IT BEST?

Leave your votes in the comments below xoxo.

One down, six to go.  Catch up on the 2017 Furniture Flip Bucket List: