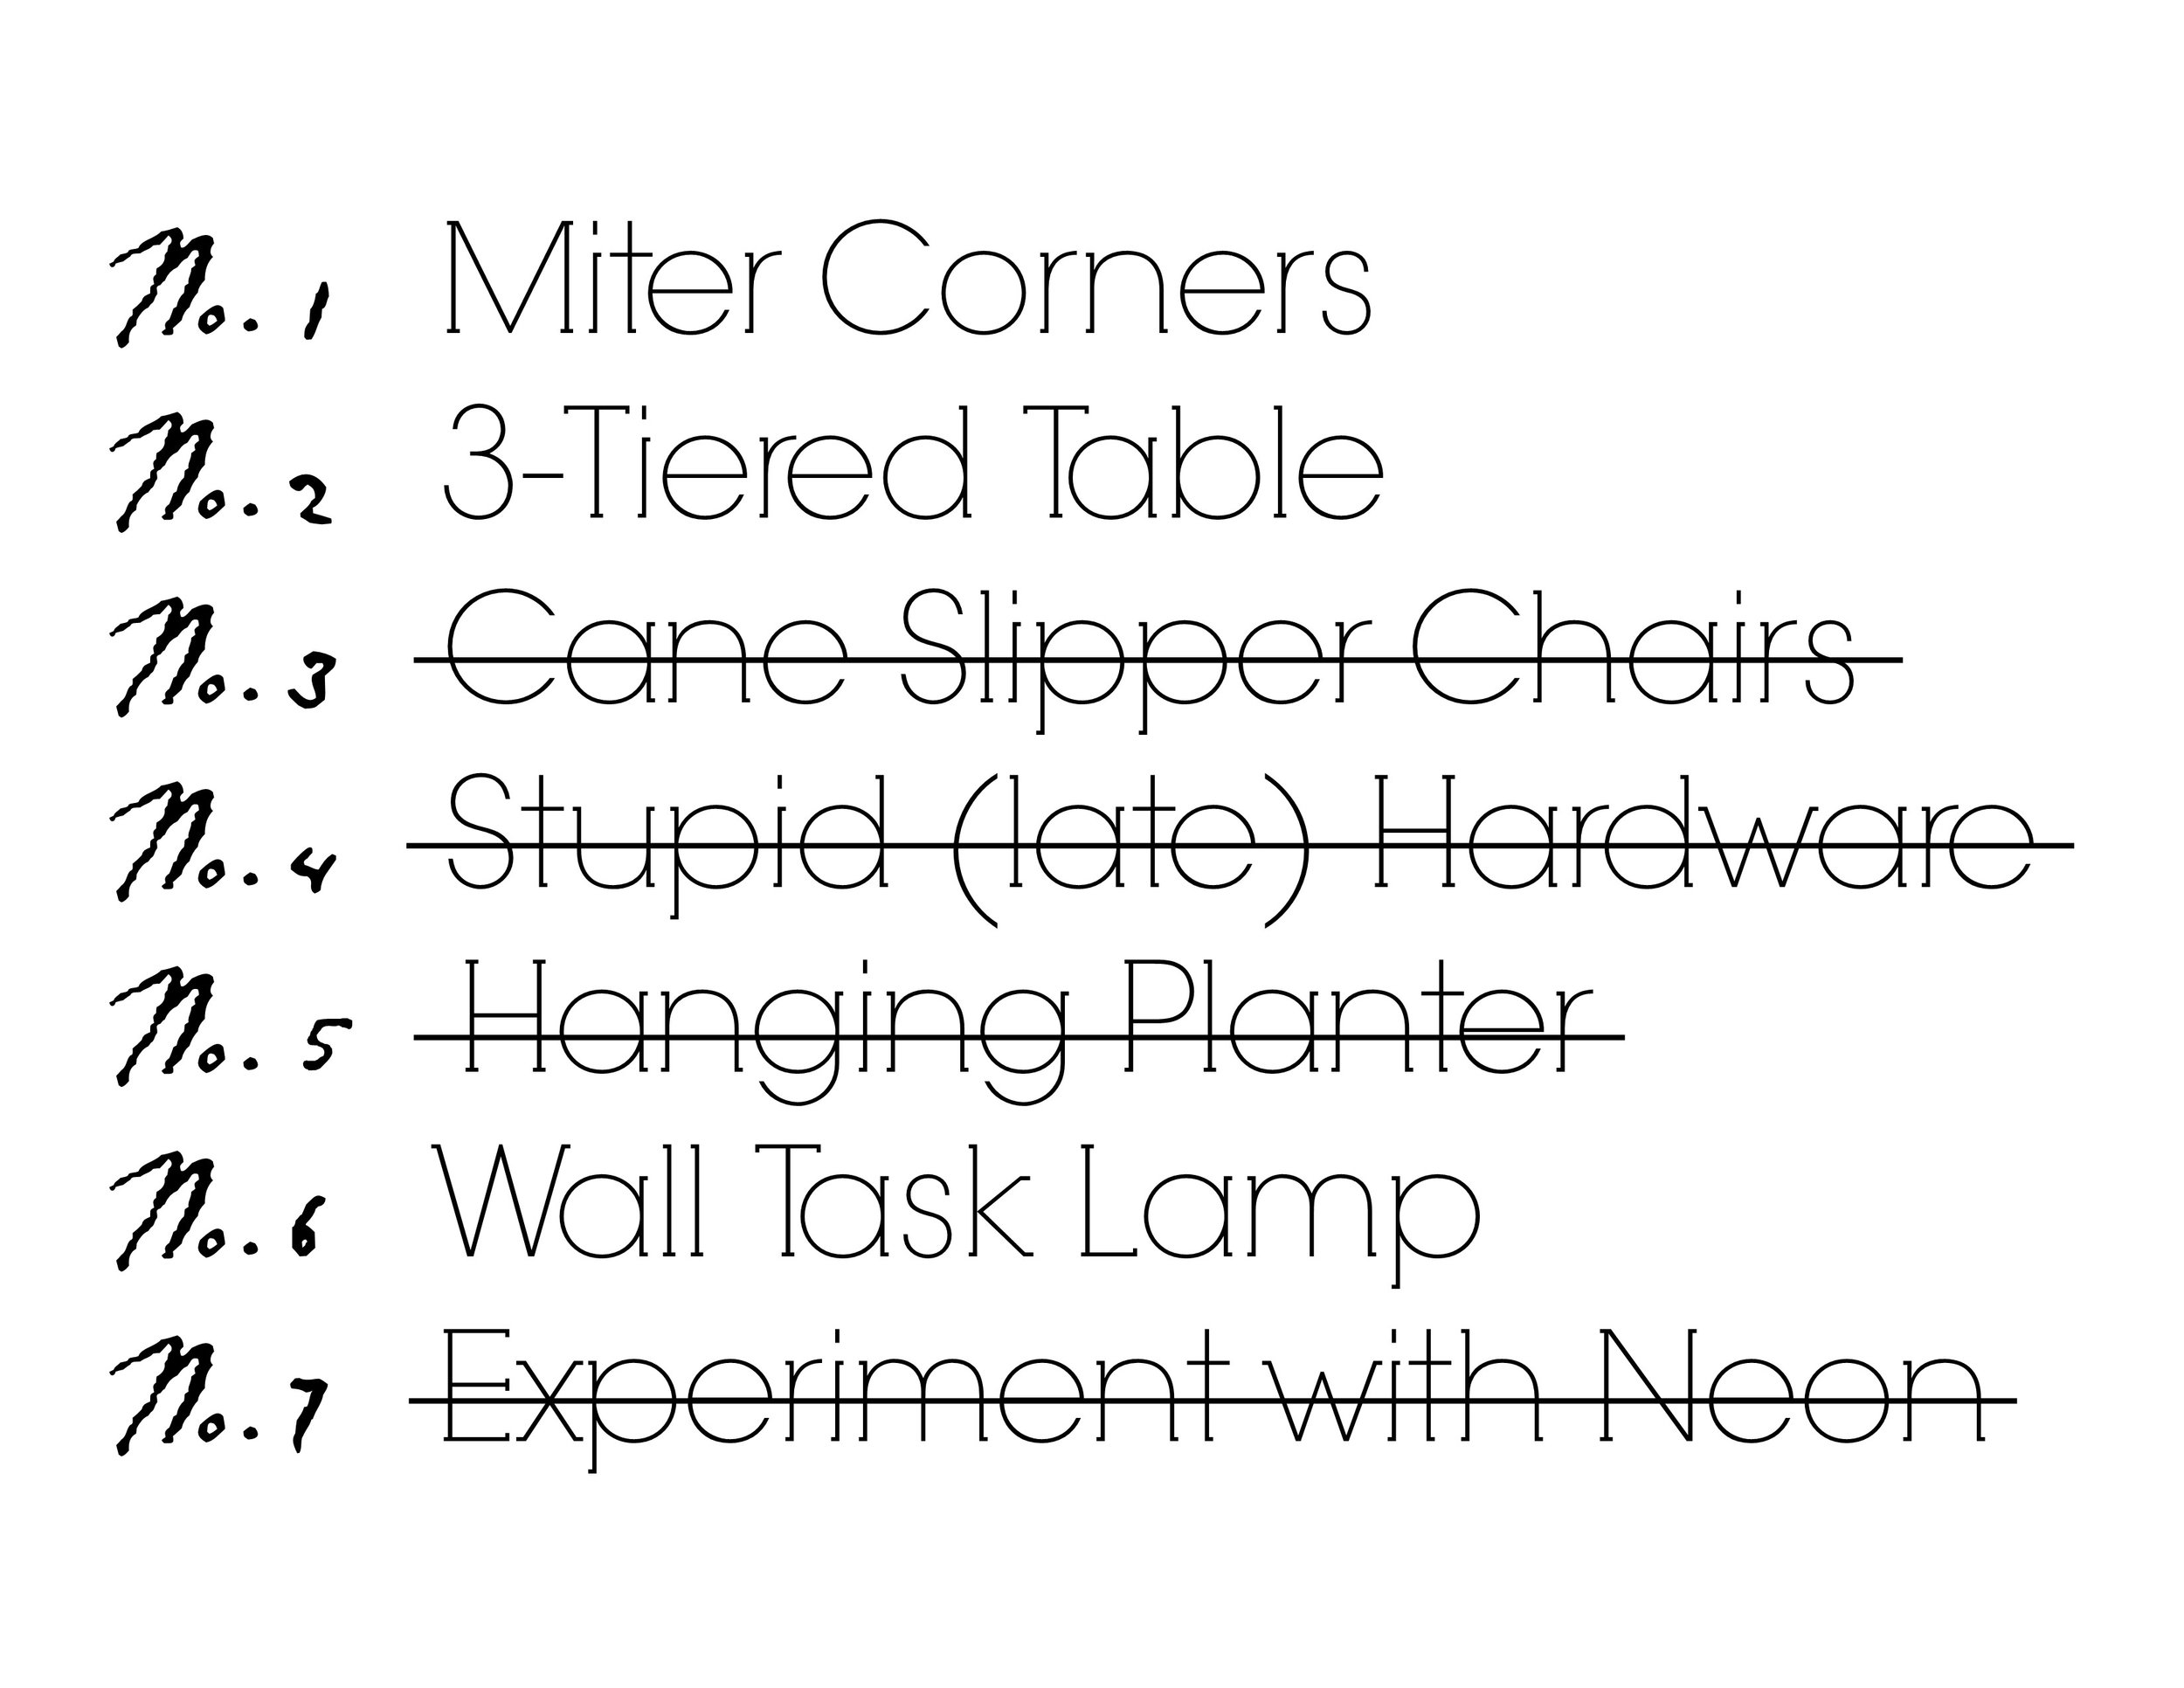
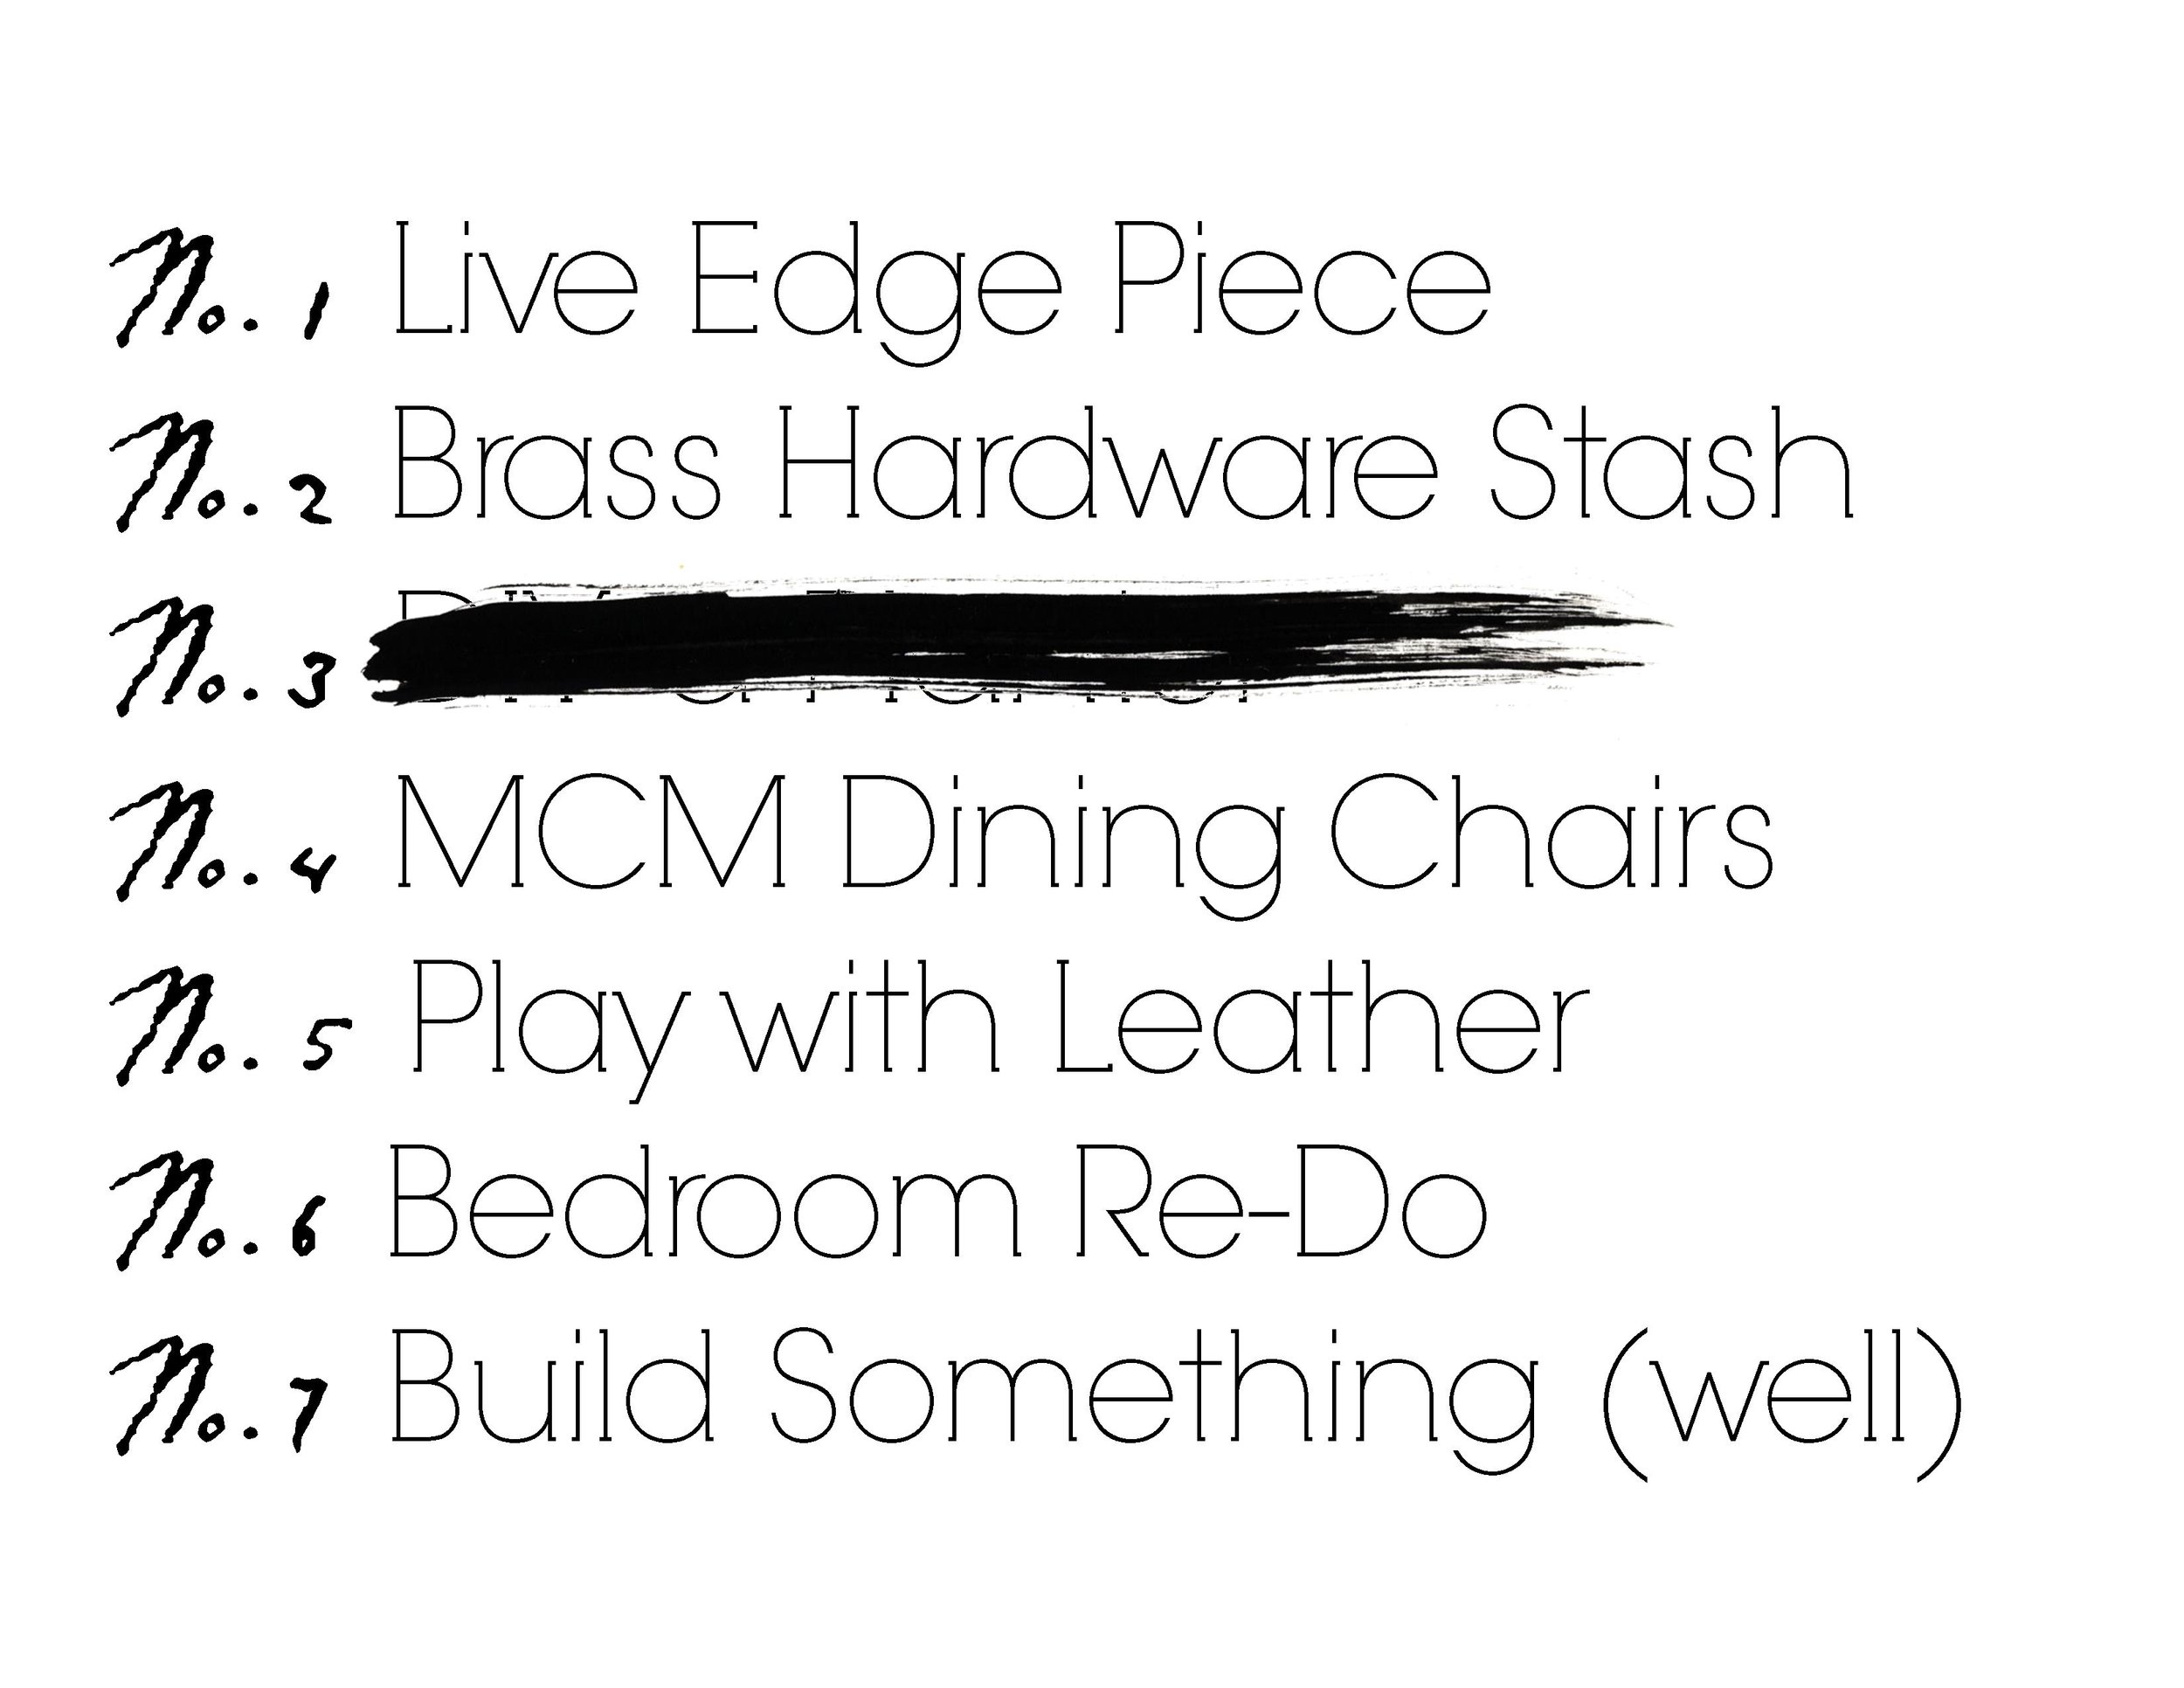
If you've been following us for a while then you've probably heard me talk about my annual Furniture Flip Bucket List and for those of you who aren't in the loop - it's basically a declaration of what I'd like to accomplish each year. Well my friends, this post is about crossing one of those items off this years list plus crossing a secret bucket list item off as well.
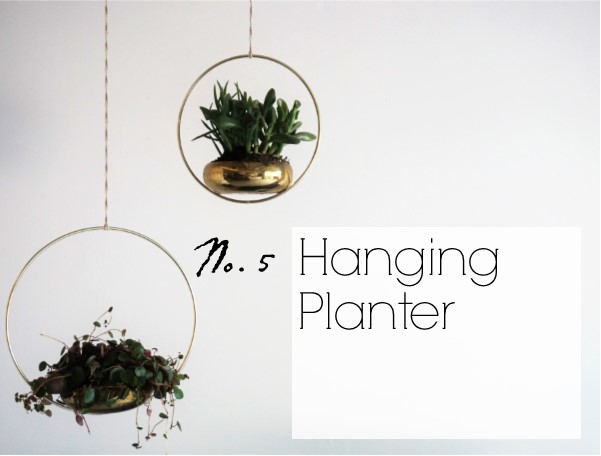
Ok so before we get to item No.5: Hanging Planter, we need to talk about a dresser - what else?
I recently saw this 5-drawer beauty on Facebook and picked it up with a very particular plan in mind - I wanted to straight up copy Chelsea's take on this piece:
Ok. So I admit that I have tried to copy her once before when I refinished this piece but struck out when I found the base was made with two different types of wood that I had to stain in order to match. So when I brought this tallboy home, sanding the legs was like scratching a winning lotto ticket.
Finally, I could cross this secret bucket list item off: refinish a piece in a green and bare wood two-tone!
It's no secret that this green is our favorite.
Oh you dark and moody minx! How your velvety emerald make my heart pitter-patter especially contrasted against those buttery naked tapered legs.
The five drawers make for lots of storage.
For styling, I deployed my favorite terra-cotta touch.
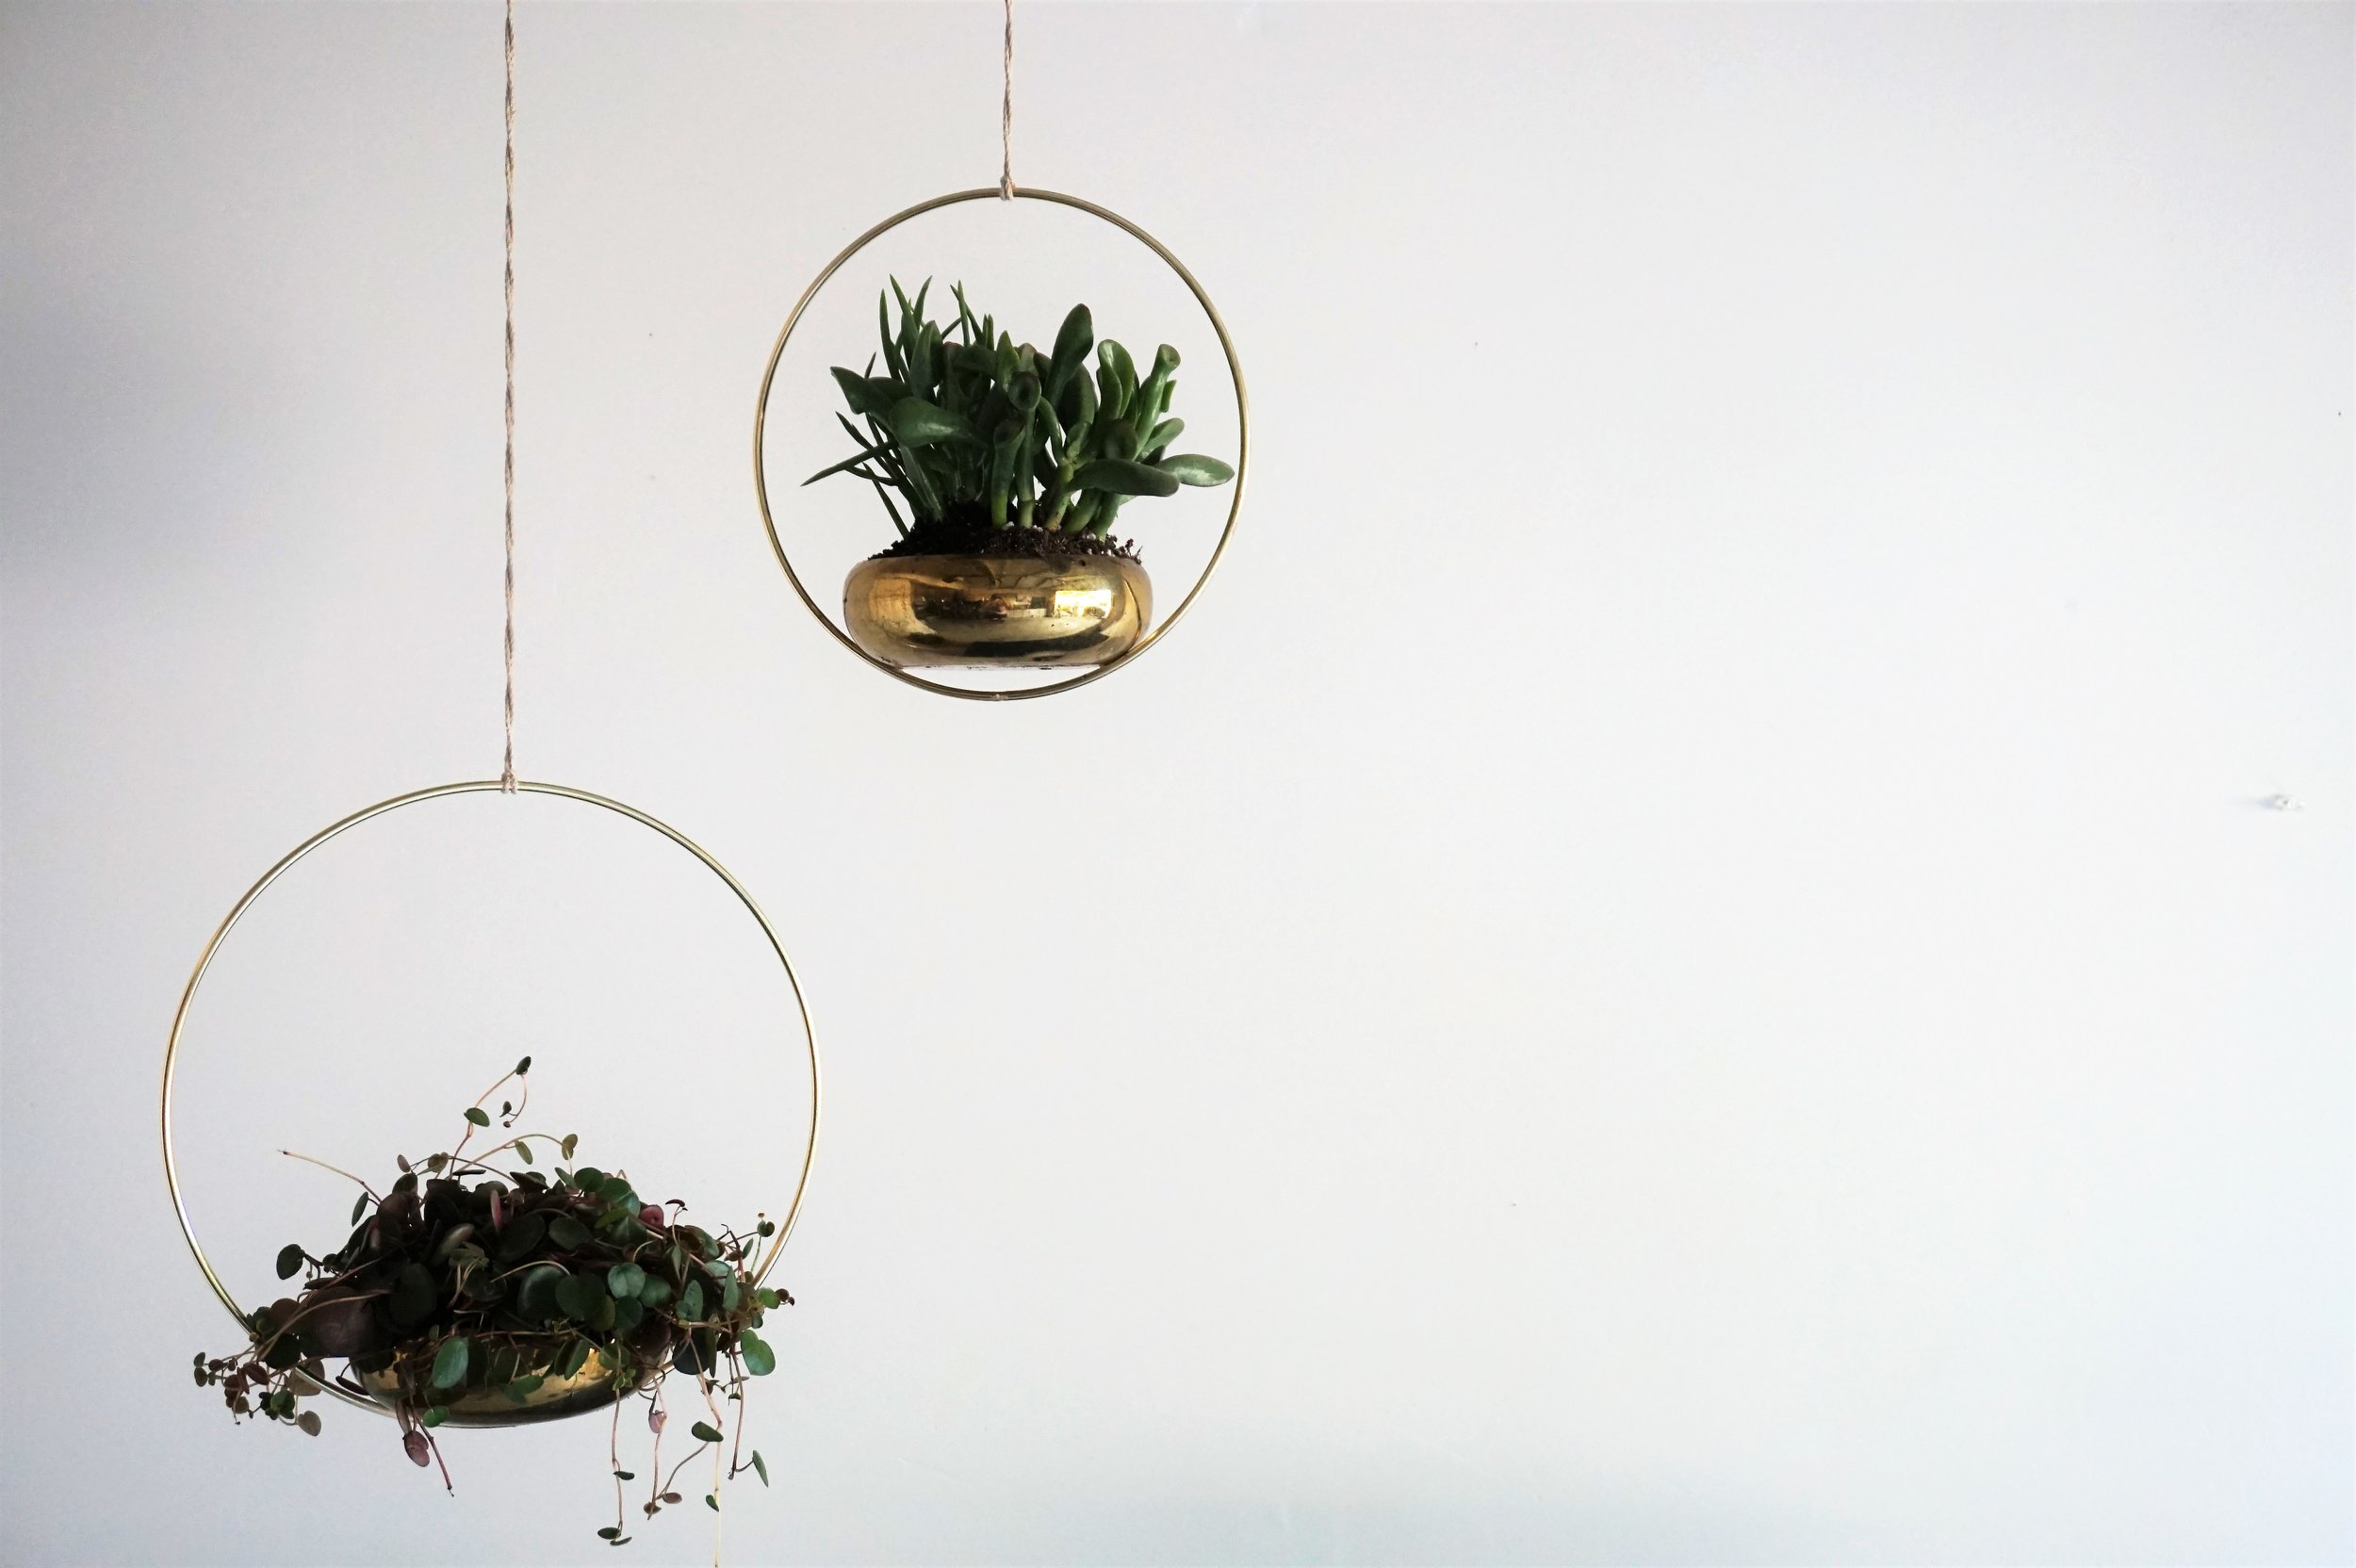
And, of course, the bucket list hanging planters!
These were surprisingly simple to make - start with some shallow brass bowls and two brass macramé hoops:
Supplies
Brass Bowls + Macramé Hoops
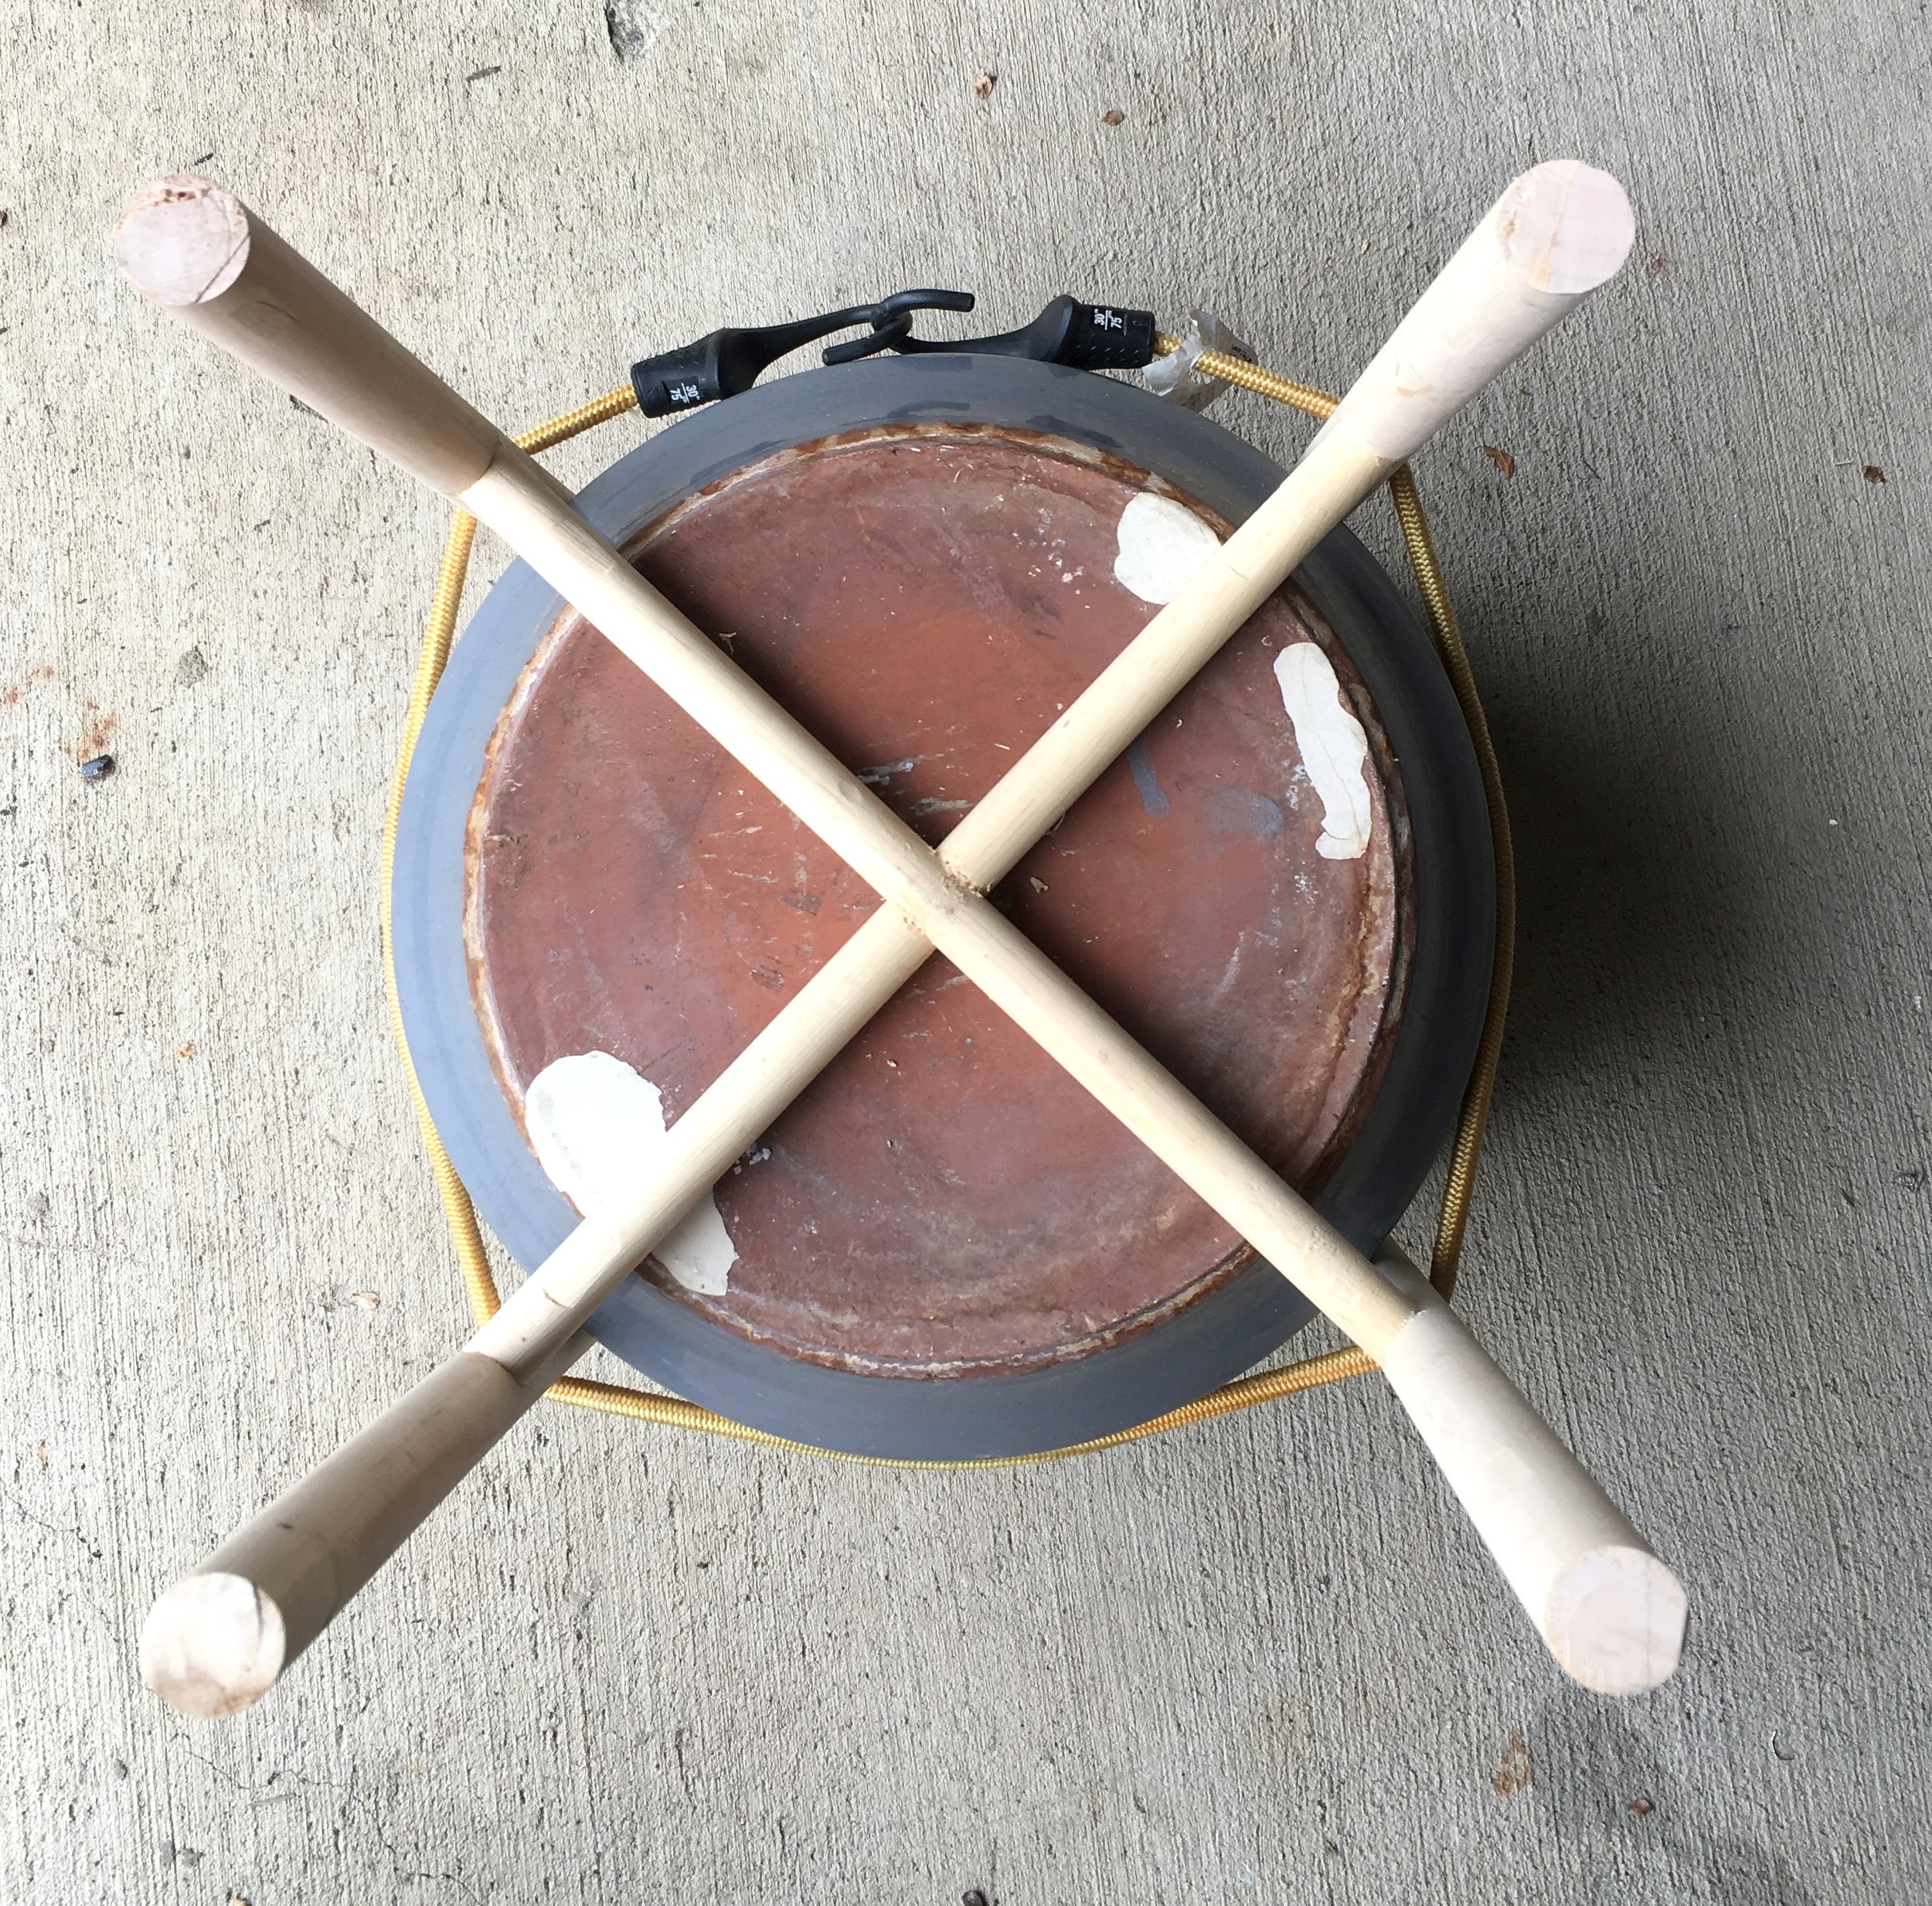
Flip the bowls upside down and brace the brass rings between to pieces of wood allowing the ring to rest on the bottom of the bowls.
Step No.1
Position Upside Down
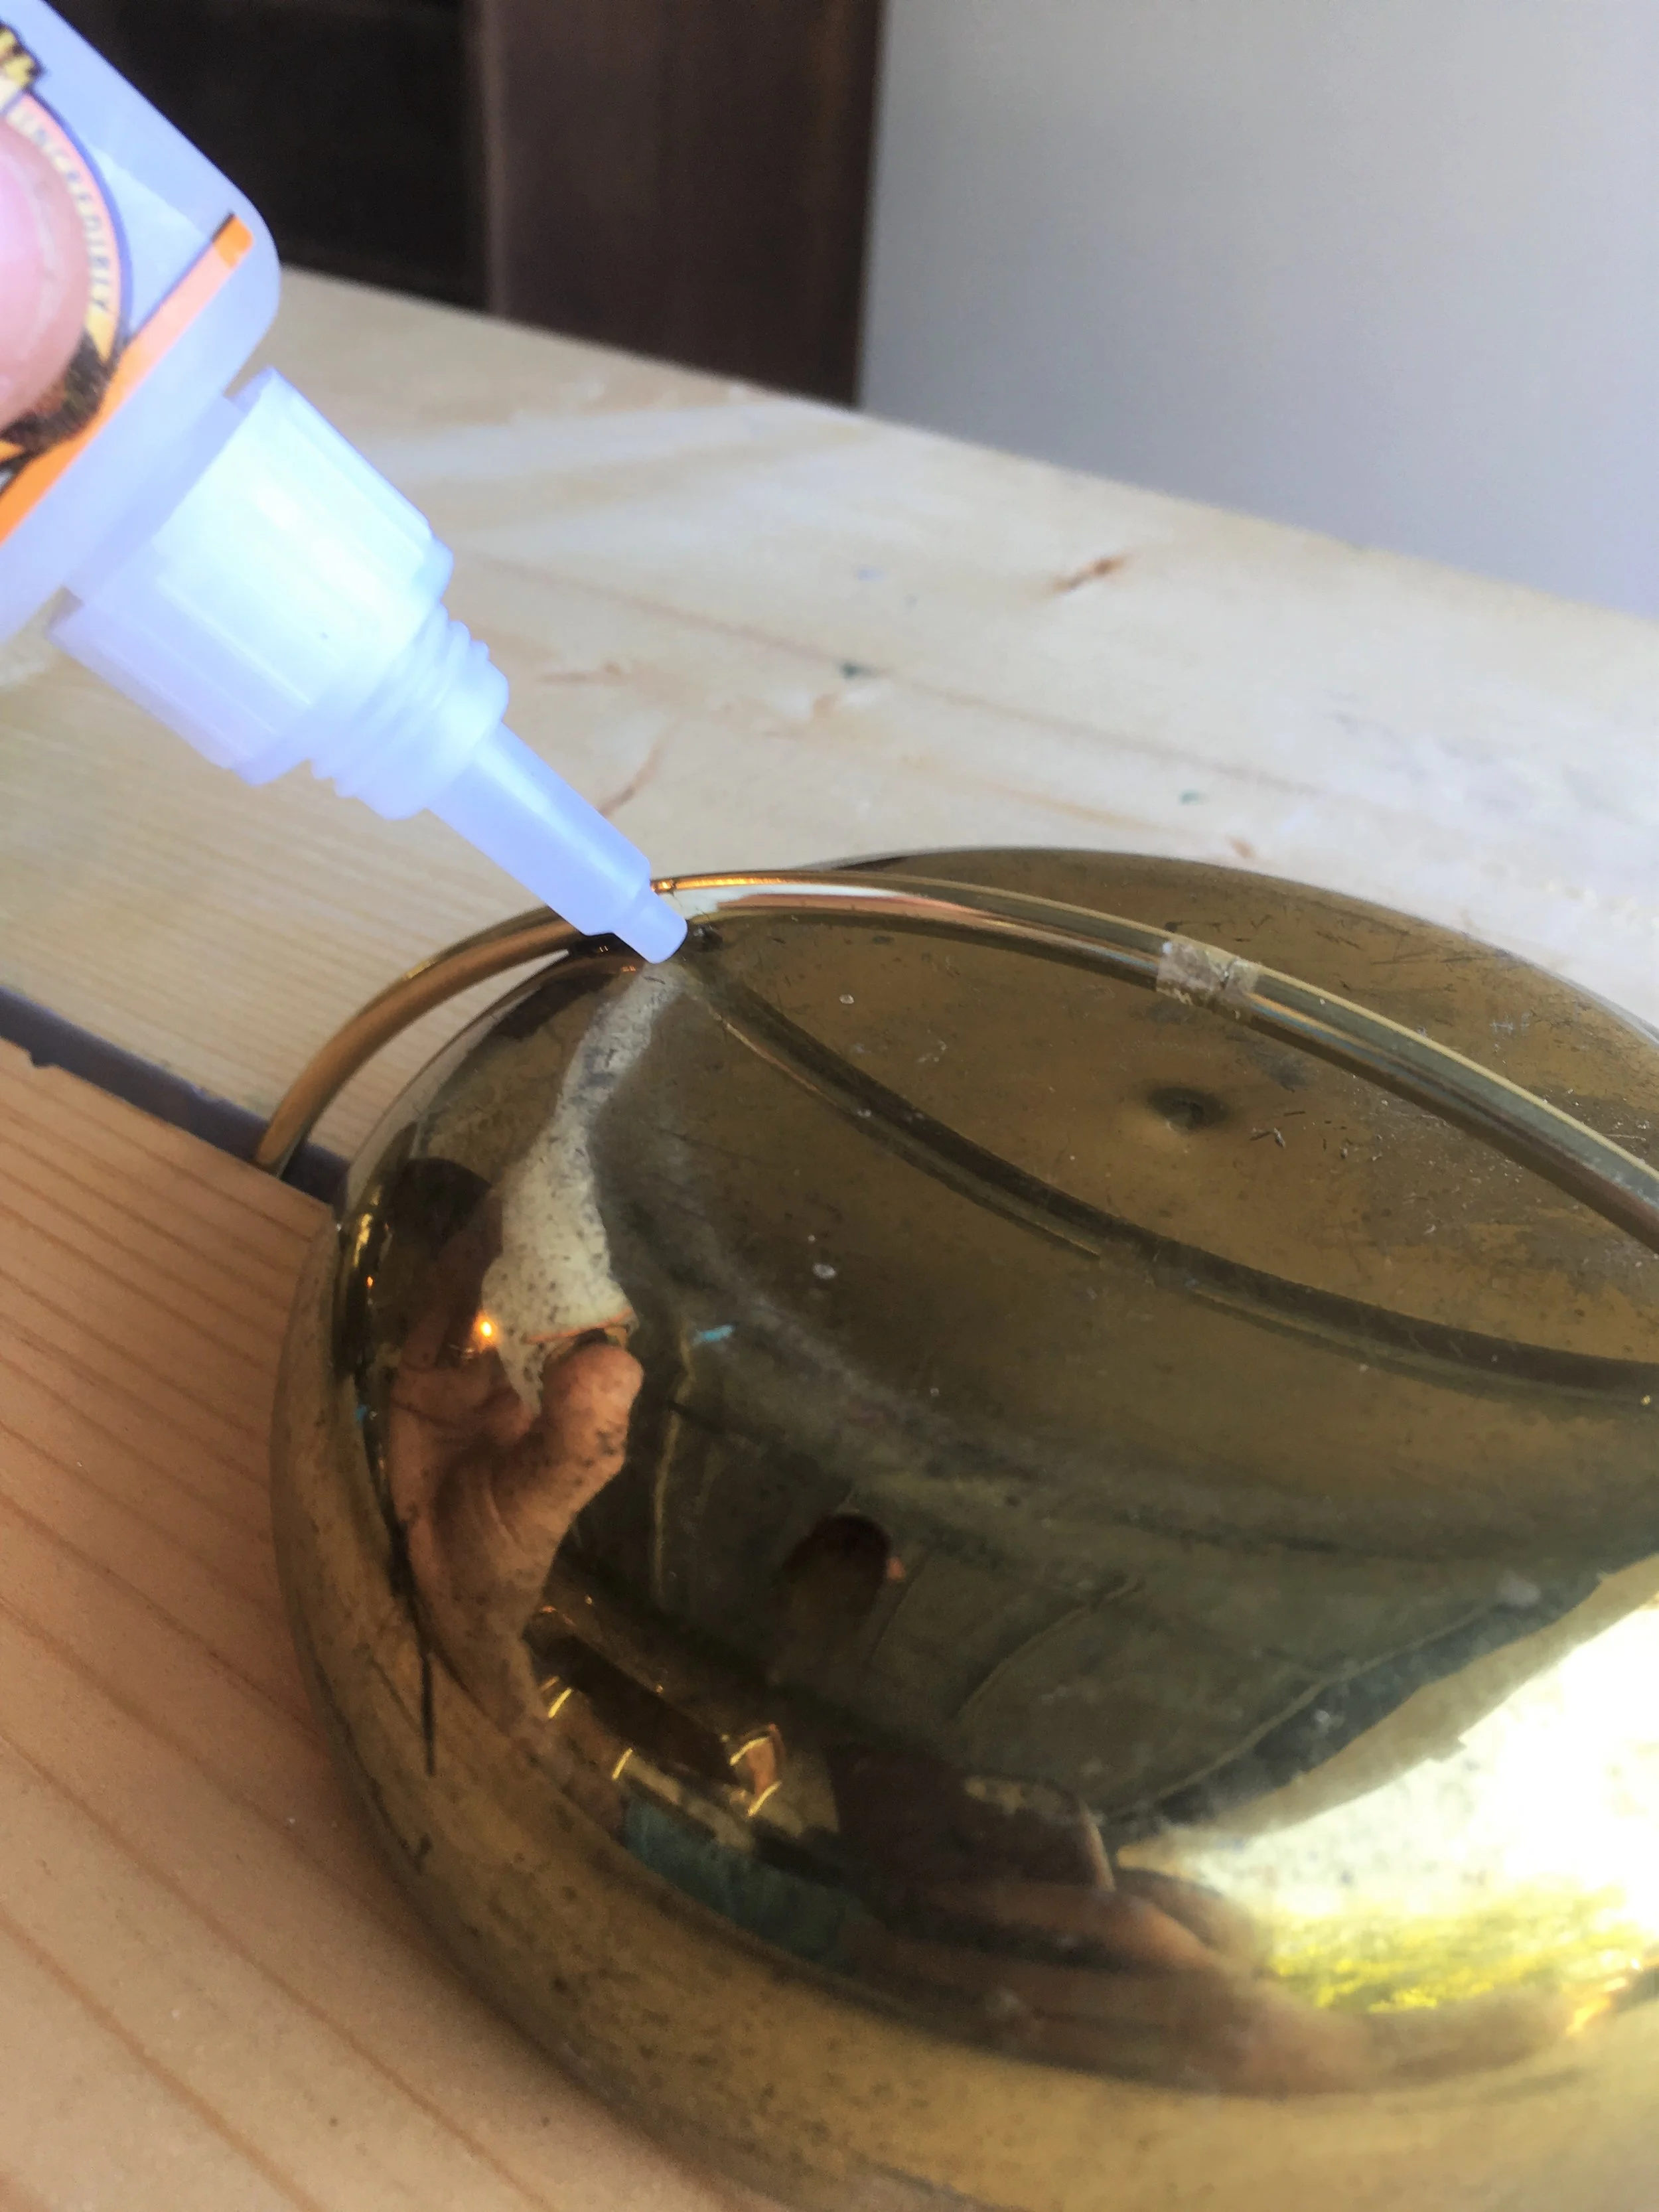
Apply a bead of super glue epoxy that's rated for bonding metal and dries clear.
Step No.2
Apply Glue
Allow it to dry for the recommended length of time to ensure they will be able to bear weight when flipped right-side up.
Step No.3
Let Dry
Tie a string to the top of the ring then I fill with your favorite plant babies.
Step No.4
Hang with String + Fill with Plants
Hit me up with any questions if you decide to make some of your own planters! And if you're shopping for a gorgeous green tallboy - hit me up for shipping or purchase options!
Hunter Green 5 Drawer Tallboy
34"W x 19"D x 45"H
Now Available for Sale
$495
If you are interested in this piece or a custom order like it, please contact me at cate@stylemutthome.com.
Four down, Three to go. Catch up on the 2018 Furniture Flip Bucket List:


