Moody Blue Dresser

NEW DRESSER! That’s right - I’m finally breaking my radio silence to bring you a fresh flip. A lot has happened since I last debuted a piece so I am WELL overdue to get back on here. Let’s do a quick bottle episode to recap what’s been keeping me from workshop all year:

Jan 2021 Took a new role at my day job and found out we were pregnant with No.2
March 2021 Started house hunting
May 2021 Kicked-off a string of unexpected health challenges culminating with my husband’s mysterious partial hearing loss
July 2021 Moved into the new house
Oct 2021 Had another baby

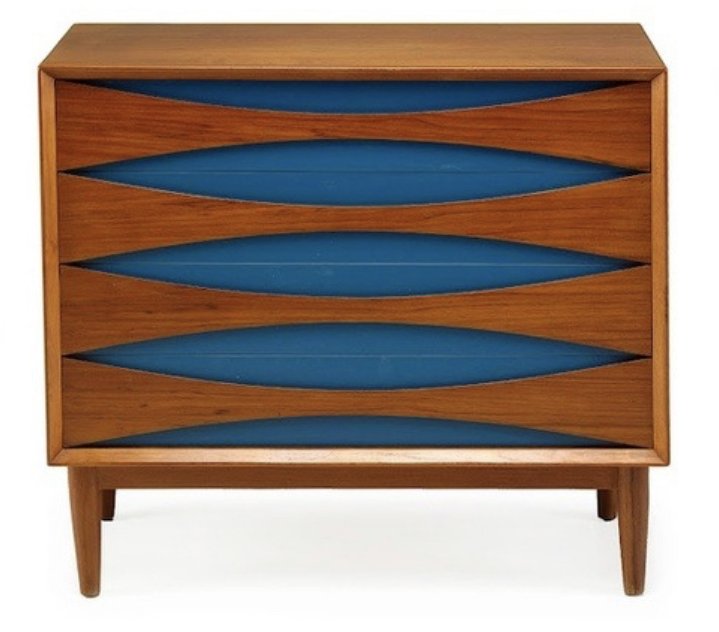
Whew. It’s doesn’t seem like much when you distill it down to bullet points but it was enough to keep me from tackling many new projects or sharing any of the ones I did. Maybe I’ll get around to posting about those before the new year, but in the meantime I at least have a pop of color to splash on here. Dusting off my old MO, let’s start with a quick before:


If you thought that dresser looked familiar, then good eye!

It is from the same line as the one and only 2020 Flip List Item I shared in August of last year.


Yup, in the turbulence of the pandemic, I shared one flip list item and then completely abandoned my furniture goals of 2020. I didn’t even pick up the mantle to set any goals for 2021. But, I am trying to be gentle with myself. And as I have stated from the get-go, my annual Flip List comes with automatic grace if I fail or falter.

If you’ve been following my work for a while, you may already know that I often like to preserve wood finishes as often as I can. I’ve been painting furniture since 2013 and have come to appreciate a beautiful wood grain over time - mostly because I can appreciate how much work it is to strip a painted piece to restore it back to its wooden skivvies. I typically choose what to paint on a piece and what to leave alone based on repairs. If the veneer is damaged or a drawer chipped, they I am likely using a high-performance wood filler which will never blend in perfectly if left un-painted.


Inspired by MCM Furniture Designer Arne Vodder,

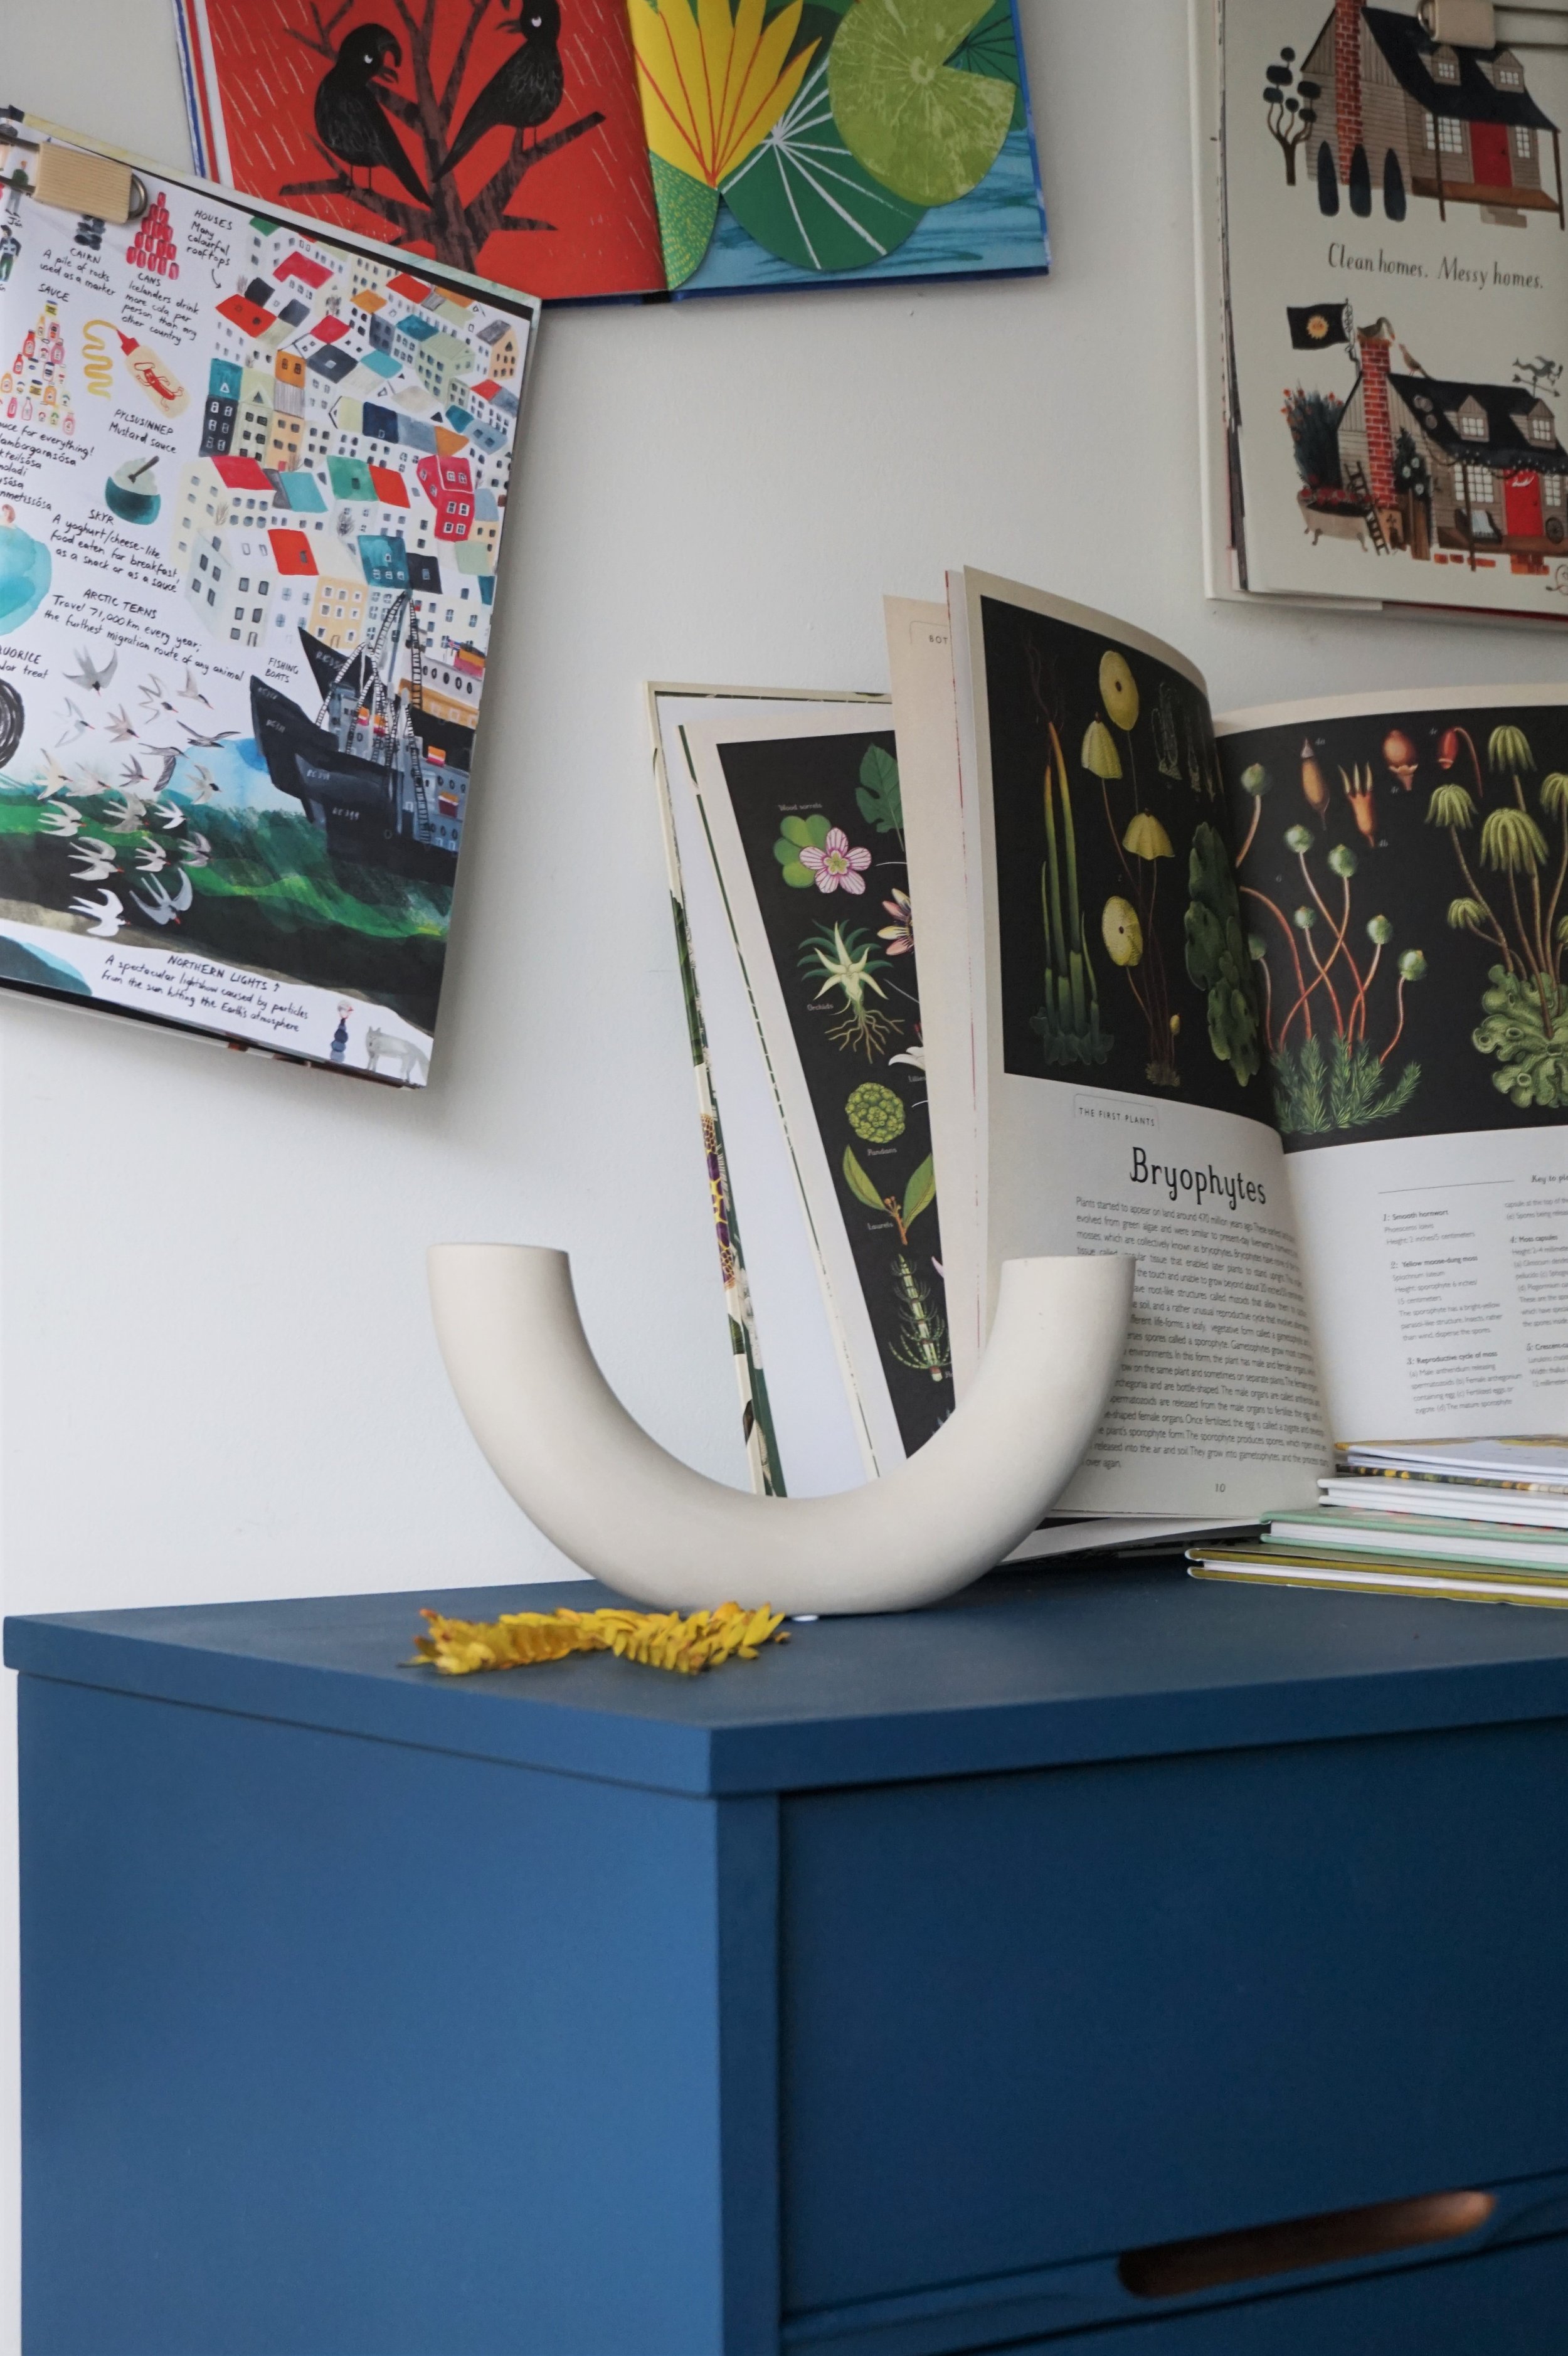
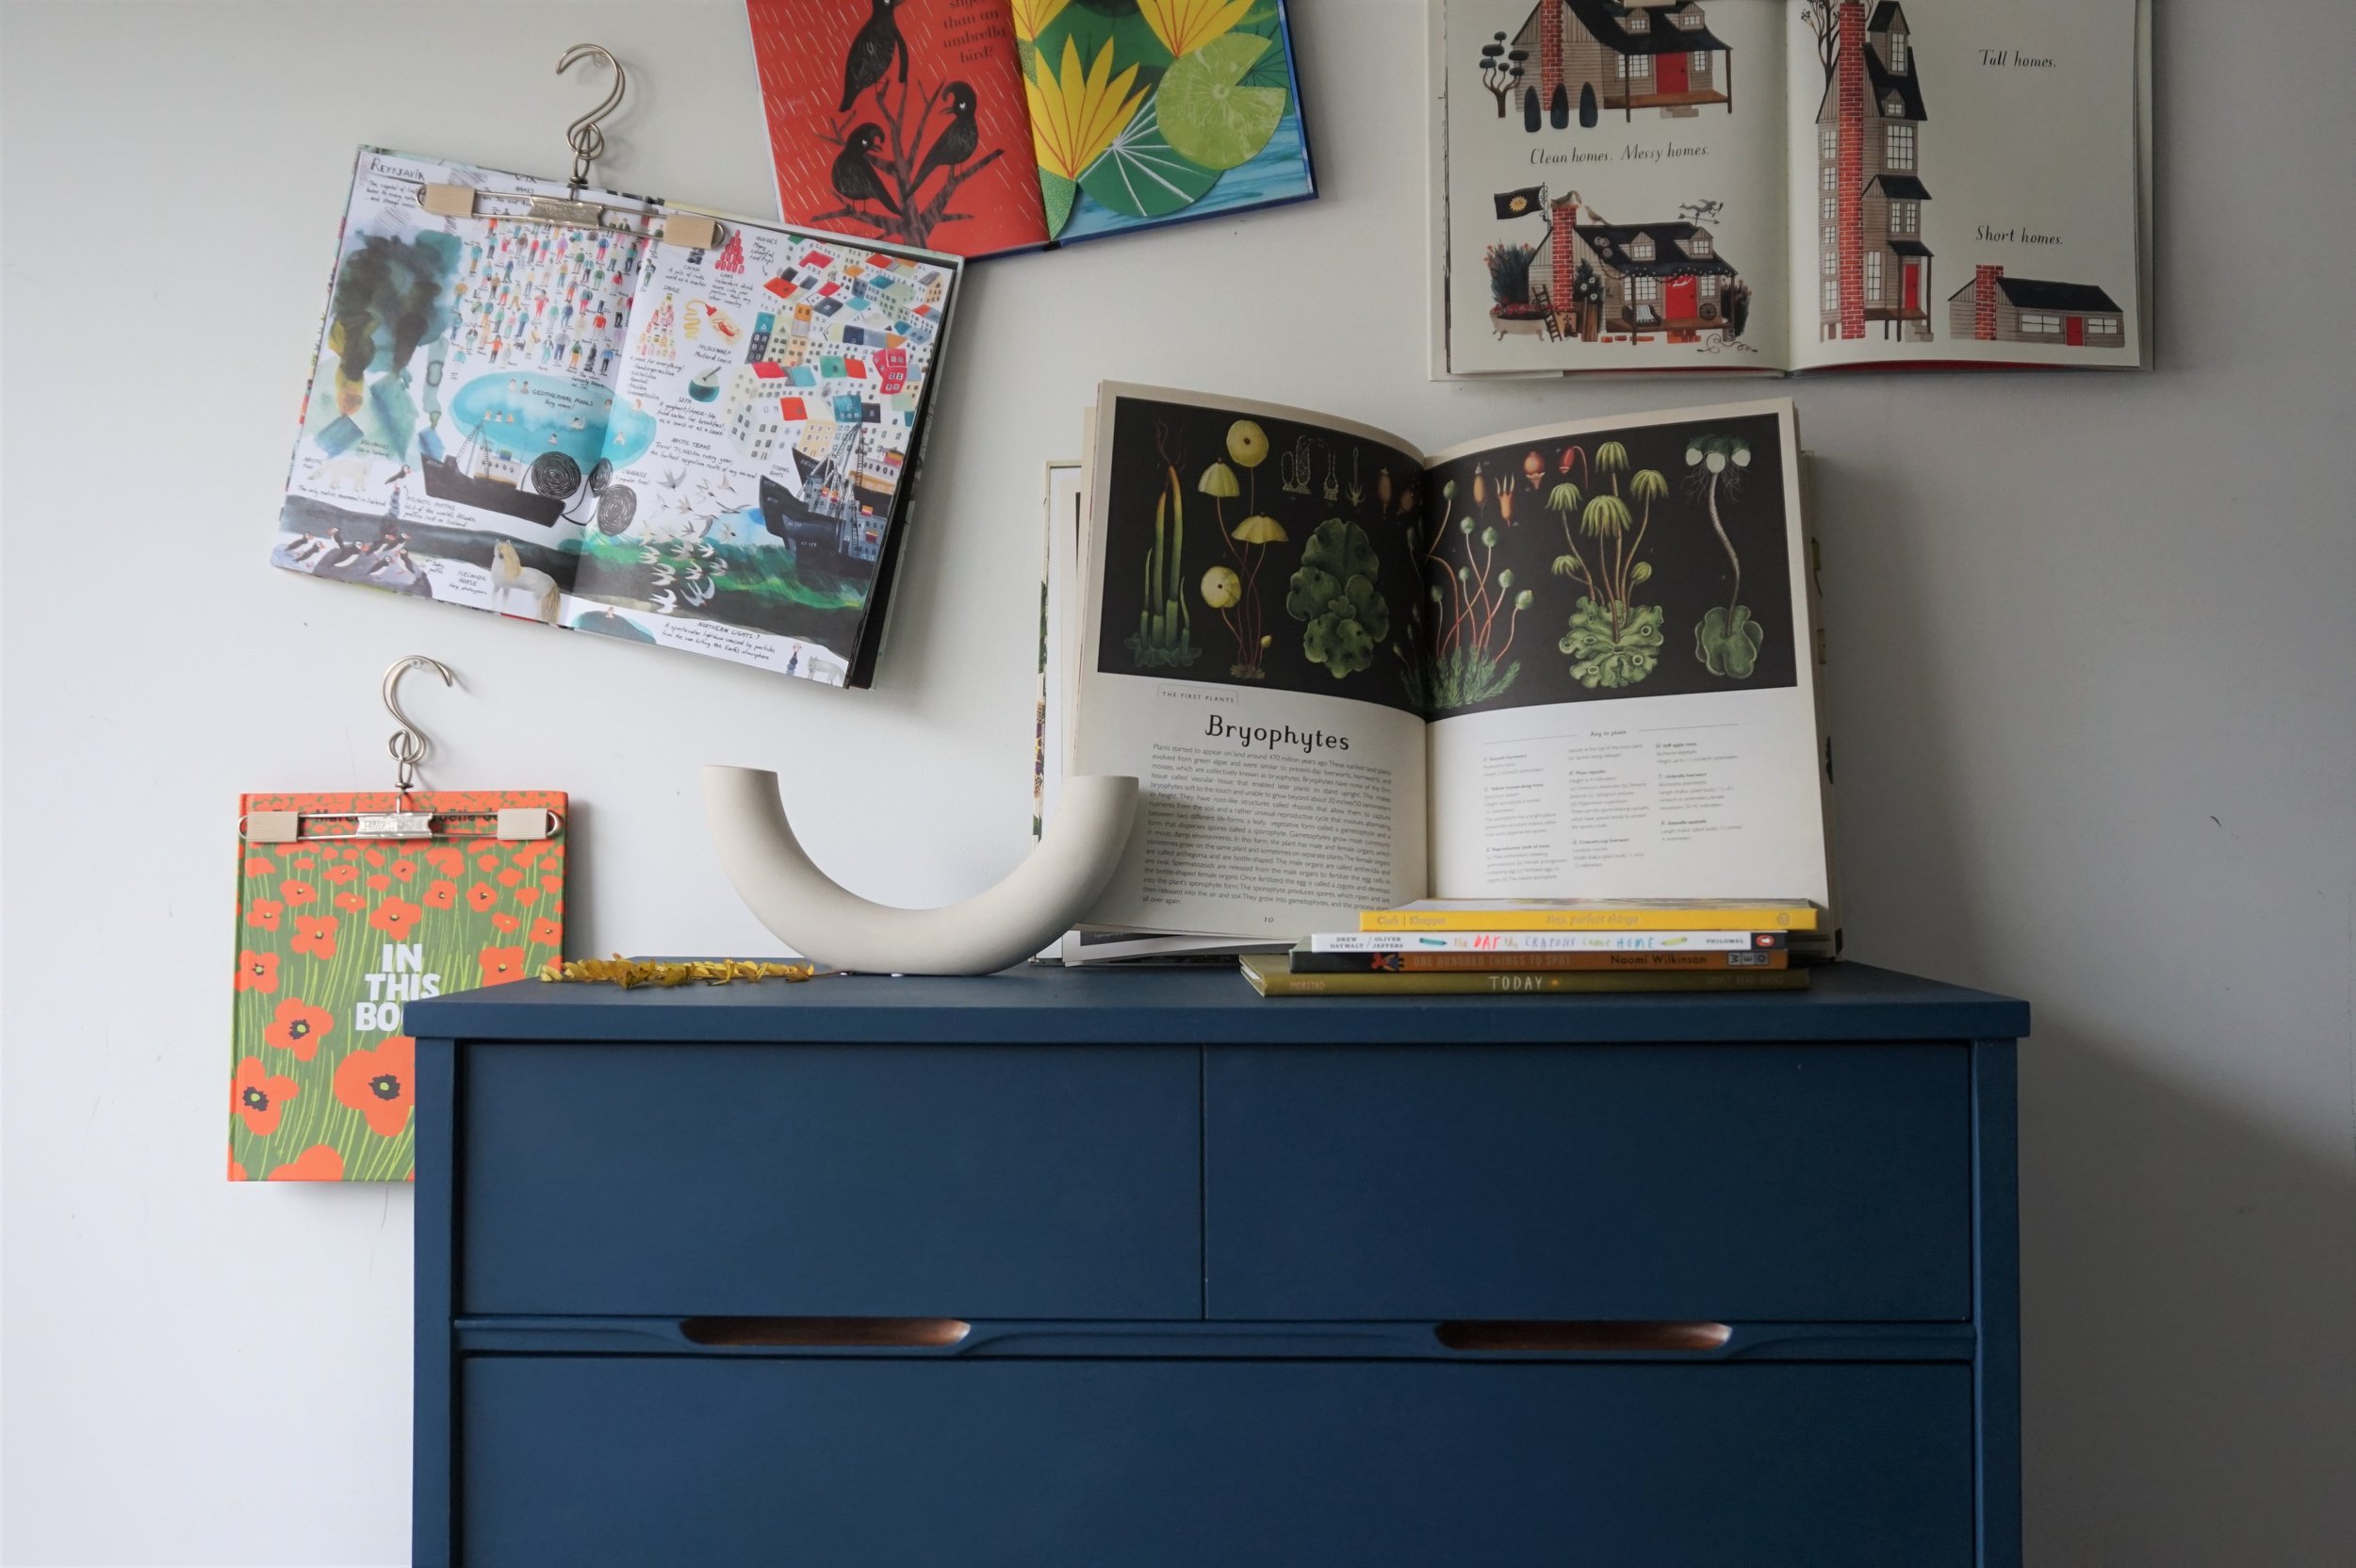
I chose a moody blue. This dresser is serving as a pop of color in our guestroom/ nursery.


And this piece had all that and a laminate top. So I painted the body in Nocture Blue by Behr - adding wood legs to match the sculpted divots for the finger pulls which I left in the original wood finish.

To me, a dresser without legs feels like you might as well leave your clothes in a box on the floor. I think the leg-lift allows a piece to not feel as heavy in a space and for-sure makes vacuuming the dog hair easier (if that’s your vice).

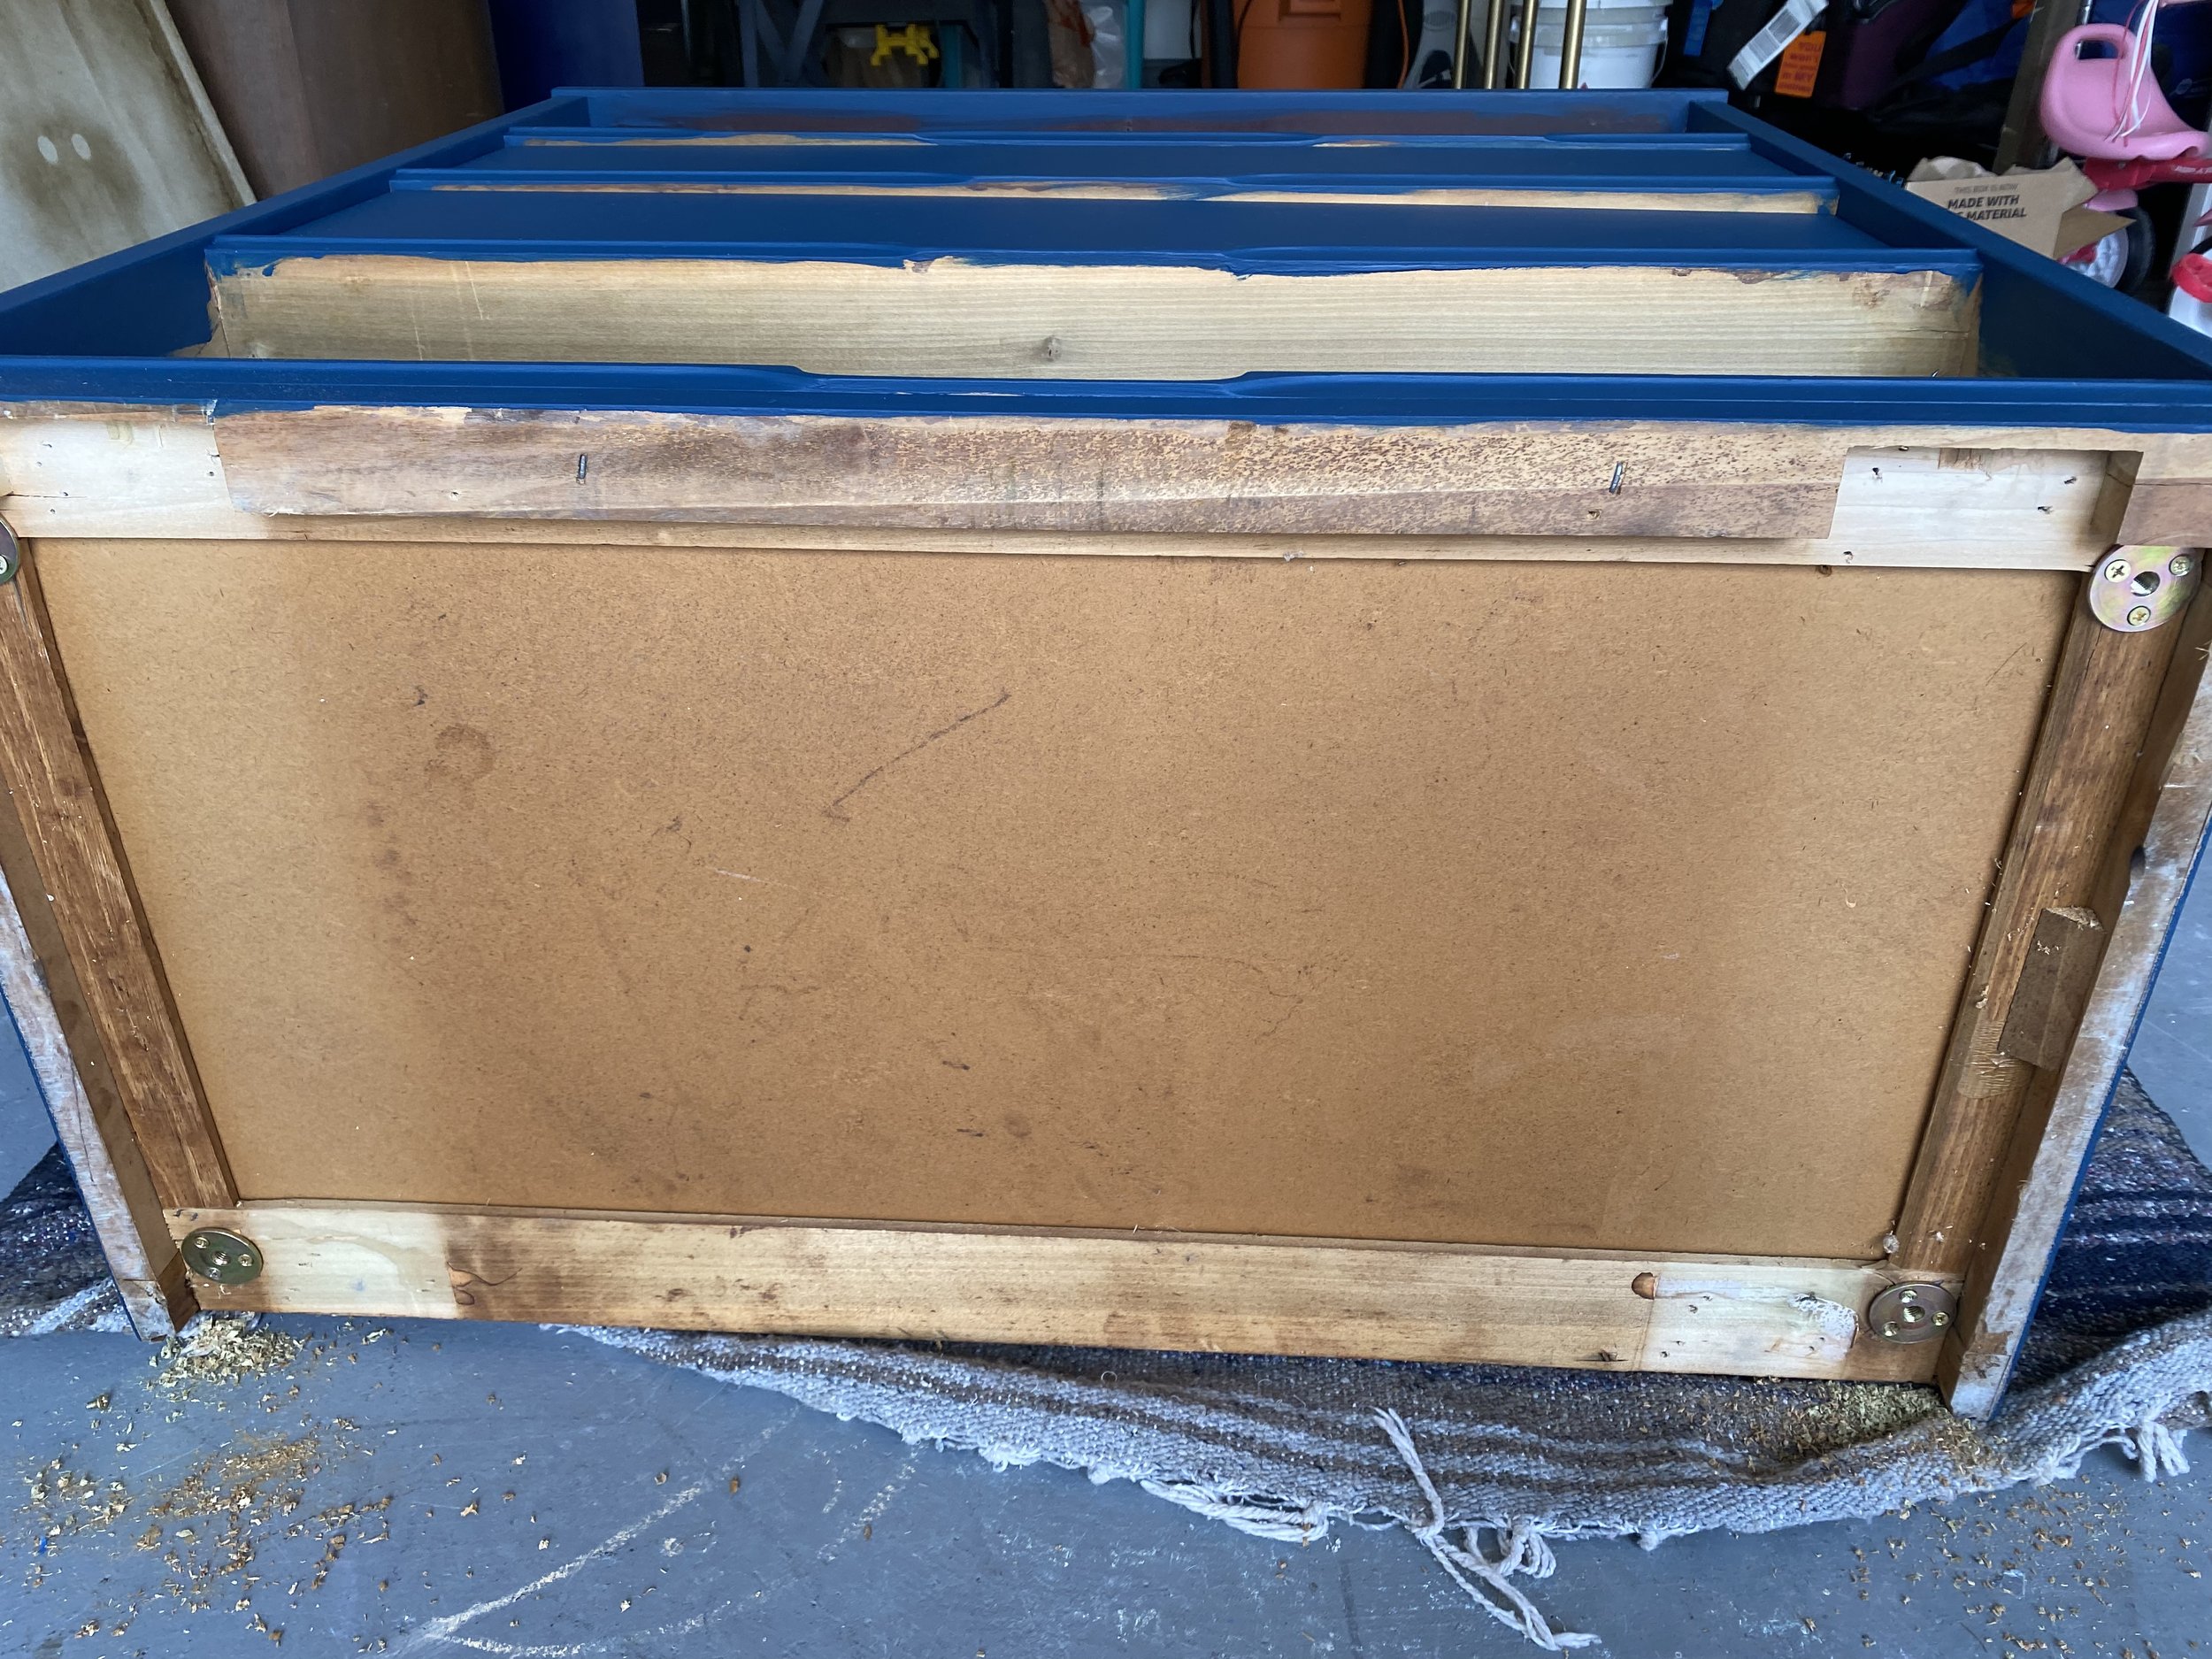
I ordered the same legs as it’s 5-drawer sibling but had some challenges upon install. These legs require the mounting hardware to be inset. Which means I need to drill a hole big enough to sink in a threaded brace that I can screw the leg into. I didn’t want the brace or the attachment screws to poke through the bottom of the dresser and compromise the bottom drawer’s functionality so I tried to inset them as close to the corners as possible where the inner frame of the dresser would provide more wood to screw in to.


A lot about what I do is trial and error

which is all part of the creative process. Fun fact, I accidentally screwed shut the bottom drawer of this map chest by installing the legs with the wrong length screws. I didn’t realize until the buyer came to pick up - which was t-minus 10 minutes before I was supposed to leave for the airport to go visit my sis. I had NO TIME to fix it and was mortally embarrassed. Luckily the buyer was handy and wasn’t intimidated by the quick fix and was willing to still buy it with a discount.


This dresser had a slight lip that prevented the wide legs I chose from screwing in flush to the base.

Leaving the legs like this would completely compromise their stability so I ended up cutting some scrap wood to recess into base.

I could then sink the mounting hardware into the scrap wood and attach the legs safely.

Since our guestroom is doing double duty as a nursery, I styled this piece with some of my favorite children’s books.

The illustrations are so beautiful that I put them on display using pant hangers (another frequently deployed trick of mine).

And in case you’re pondering the dimensions of this piece for scale, it’s a smidge taller than Huntleigh.

I’m a little rusty, but happy to be in the workshop again. As I mentioned earlier, I do have a few retro-active projects to share that got lost in flurry of house-hunting/ moving/ baby-birthing. I hope you all are well and will pop by again for more reveals.

CF0663CC-AF67-4B33-9762-F67E765E30A2.jpeg

Design Reveal: Color, But Make It Sophisticated

It’s a design reveal day! These are among my very favorite days of the year. The precious day when I get to share the fruit of many months, sometimes over a year, of work! I don’t share all of my work - 10% of it, in fact! So these projects that make it are truly special to me and I feel so humbled to get to share them with you friends.

Speaking of friends, the amazing client who owns this home has been an acquaintance for many, many years! Her older sister, Lori, was my Young Life leader in high school! In fact, it was Lori who suggested this effort together in the first place. Sure enough, Jenny and I hit it off right away and now is a sweet friend!

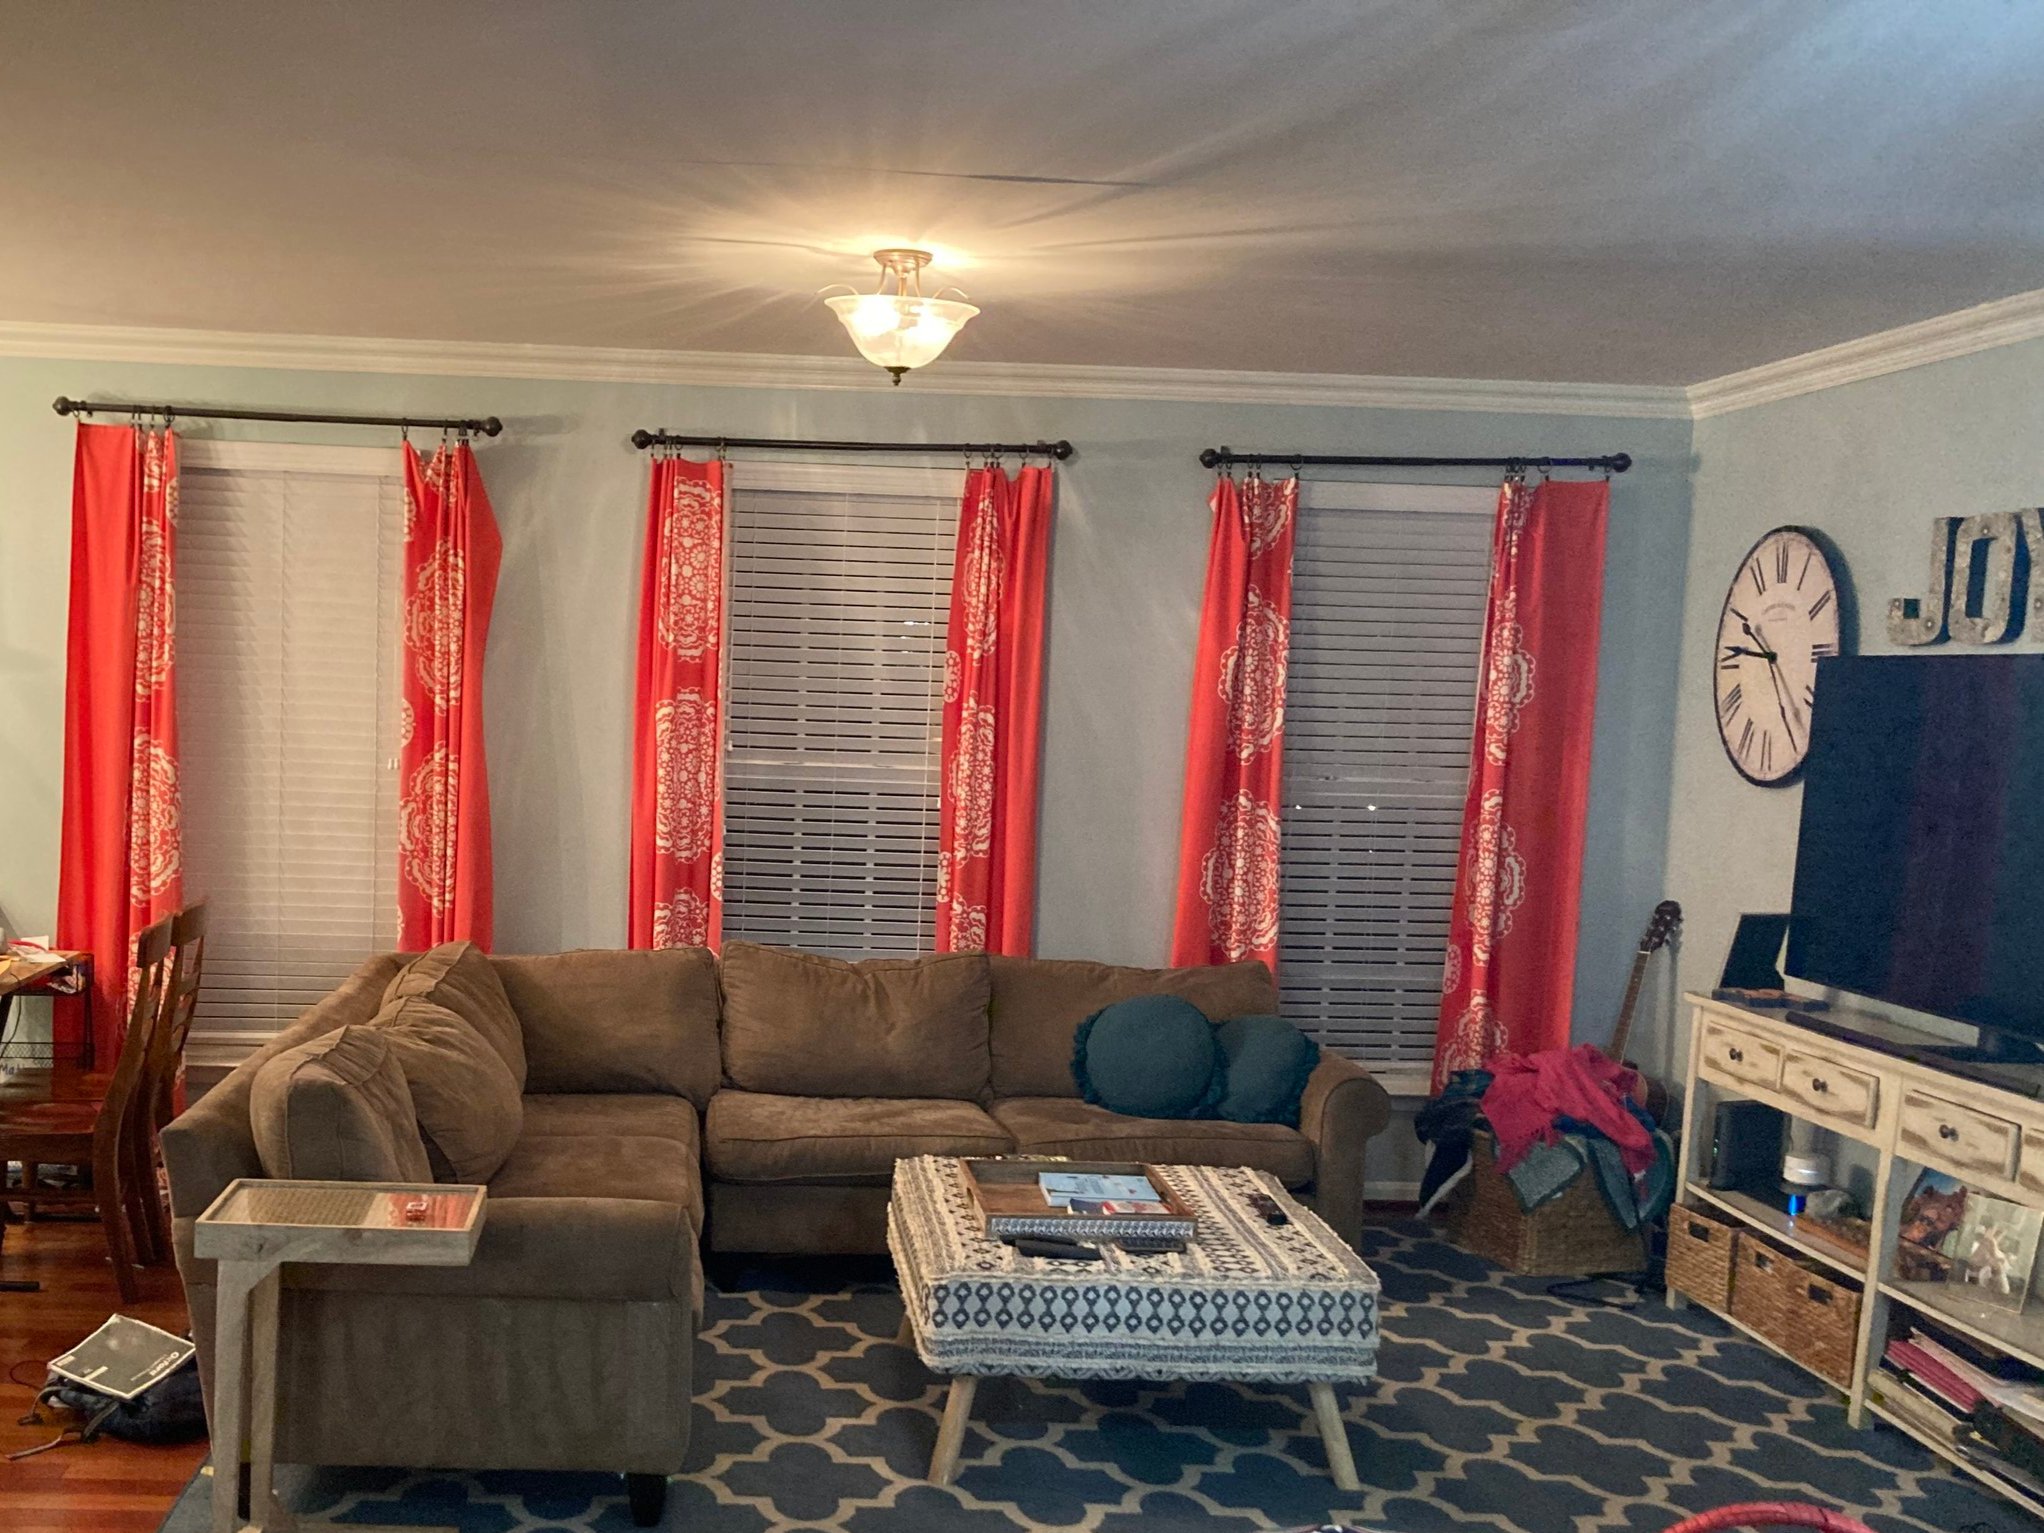
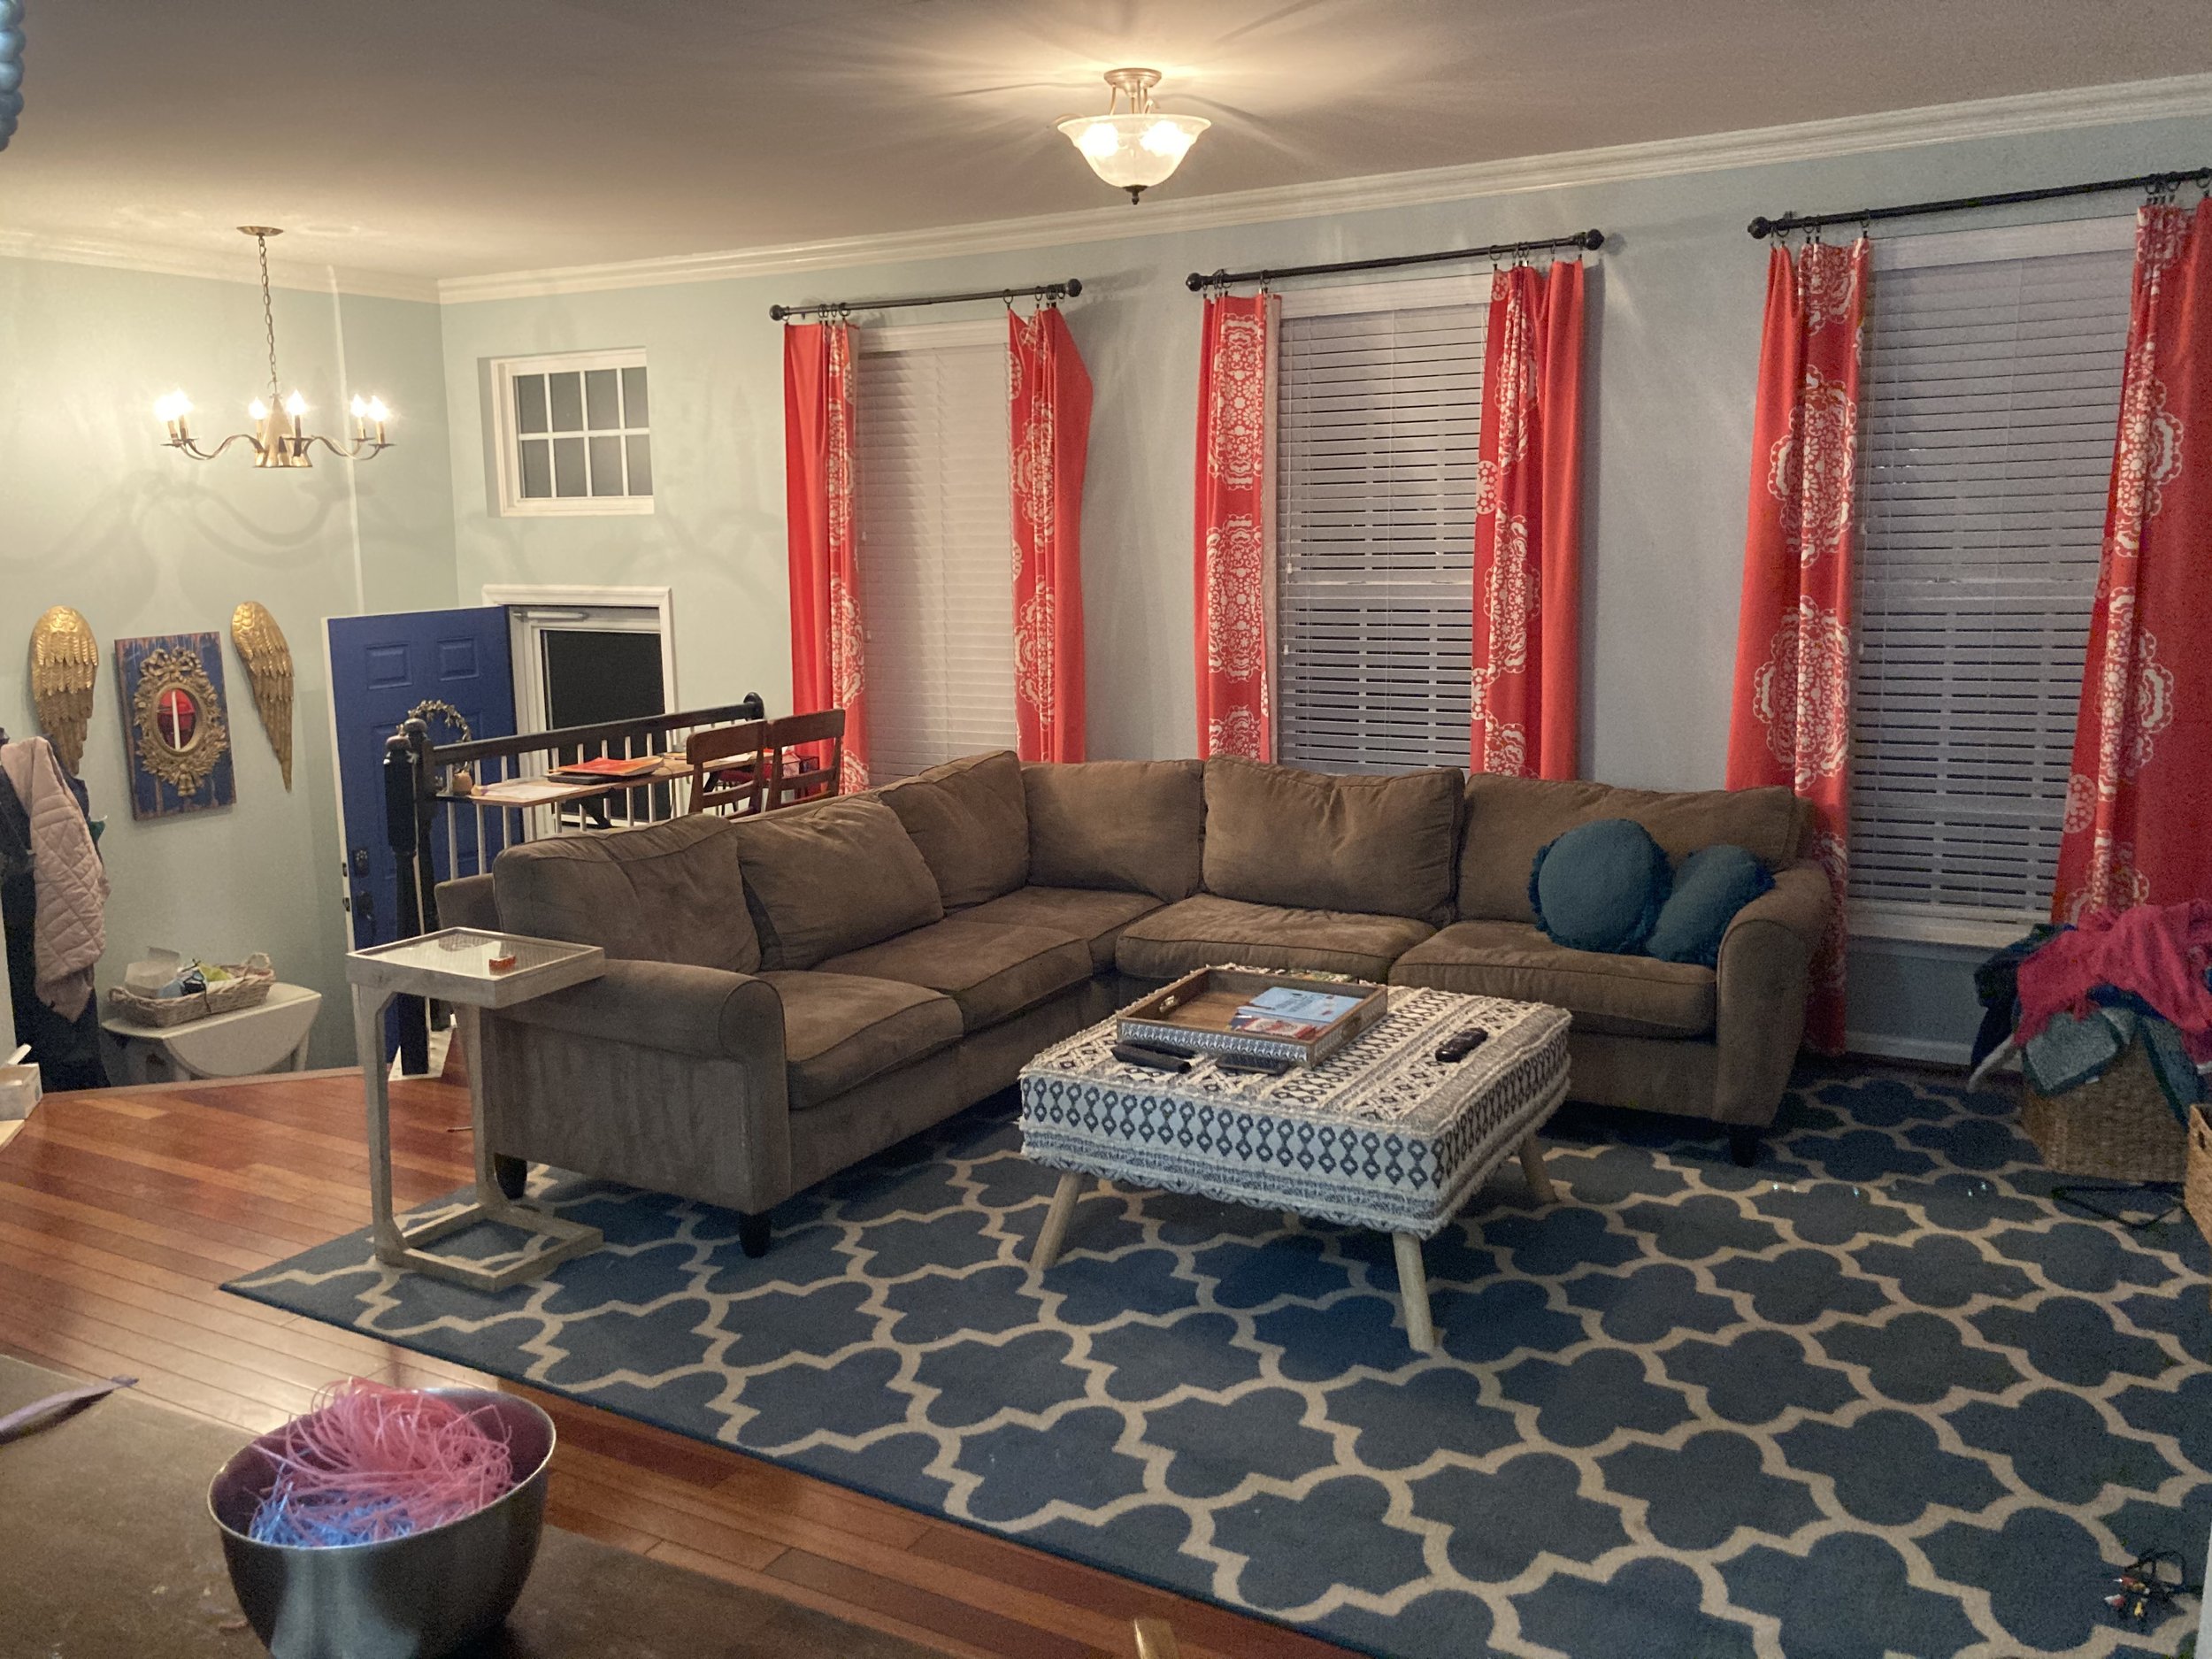
When we first connected, she wanted to completely transform her main floor, which includes a family room, dining room, den and kitchen. She had been saving up for this and was ready to hit the ground running! The main objective was to fill her home with color but make it feel grown up - whimsical yet sophisticated. Jenny realized she had gotten about as far as she could with the assortment of hand-me-downs and random pieces she’d found here and there, but (like many), the more she added to her home, the further she got from her vision.

Family Room

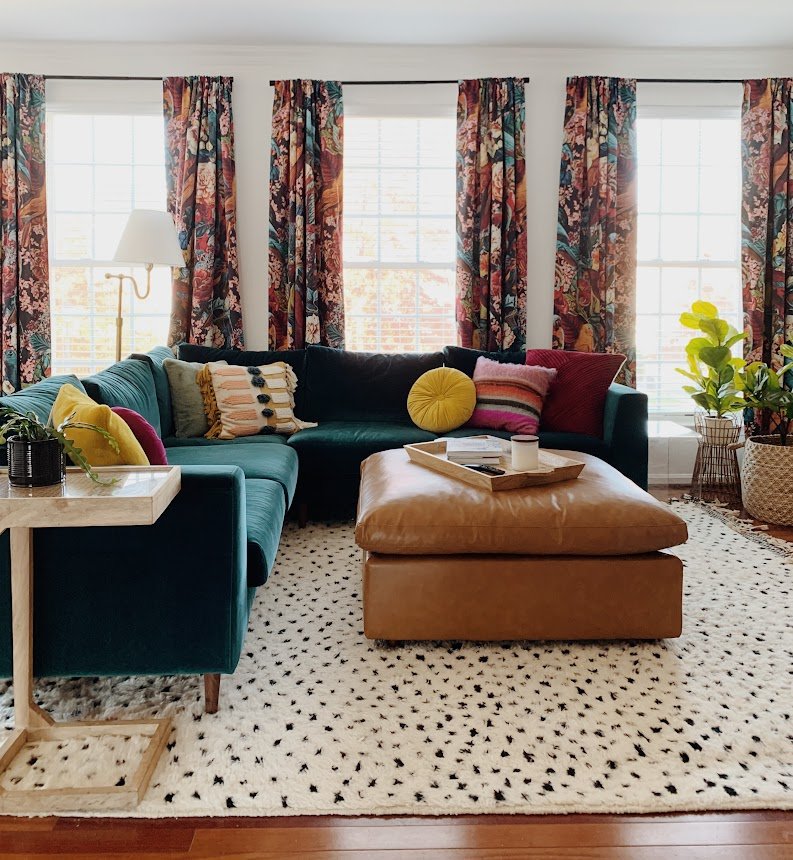
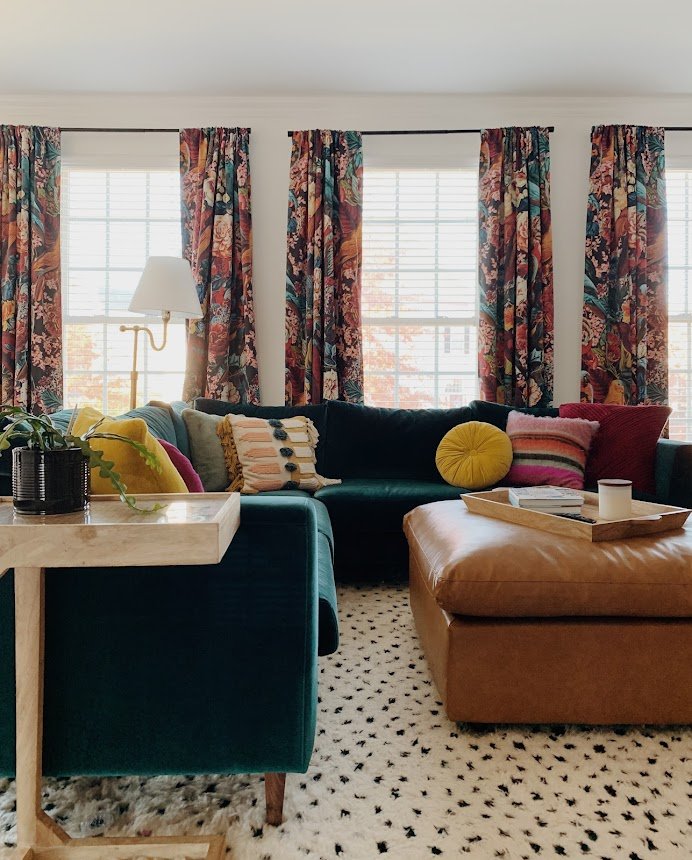
It may seem counterintuitive to get your walls white when you love color so much, but this was a move I really encouraged from the beginning. But not without a vision of what would come next:

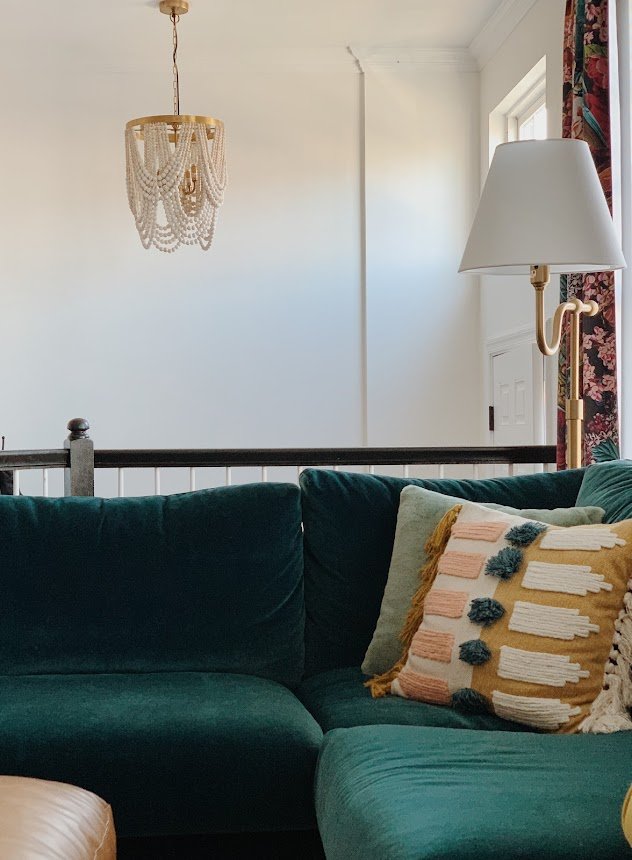
I don’t think white walls are the answer for every single project, but I knew that it would be the game changer for this home; the defining factor that would enhance all the colors we were about to explode. Now, this home glows like a sunset!

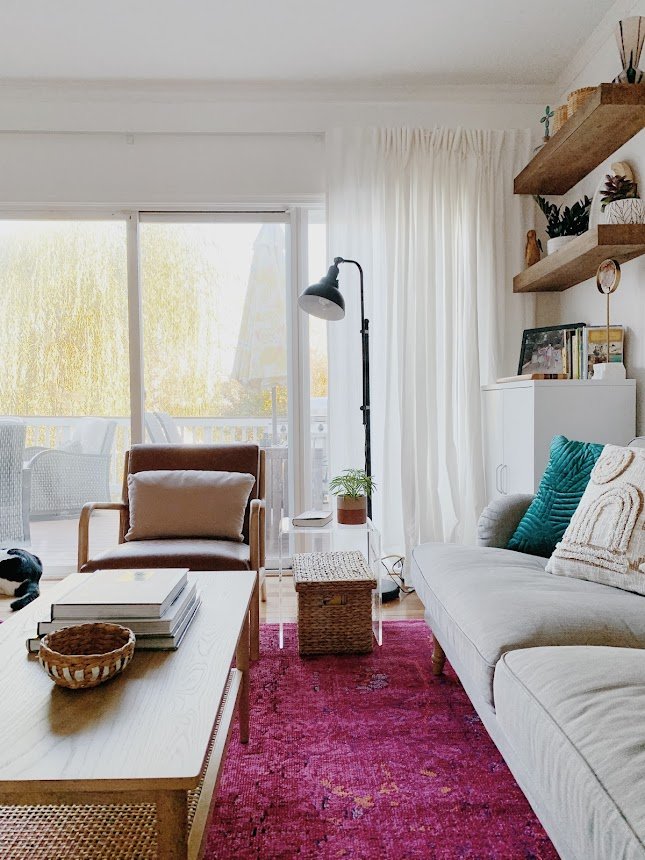
I mean, it absolutely GLOWS! And there was no laying out samples of patterns and fabrics together to come up with this. I stayed in the general family of jewel tones and then ran in every possible direction. Jenny wanted allthecolors so there was really no holding back. Of course, playing off the color well are very grounding elements like the black and white rug and the camel leather ottoman. It’s all about striking balance where it matters most!

Let’s shift to the dining room!

Dining Room

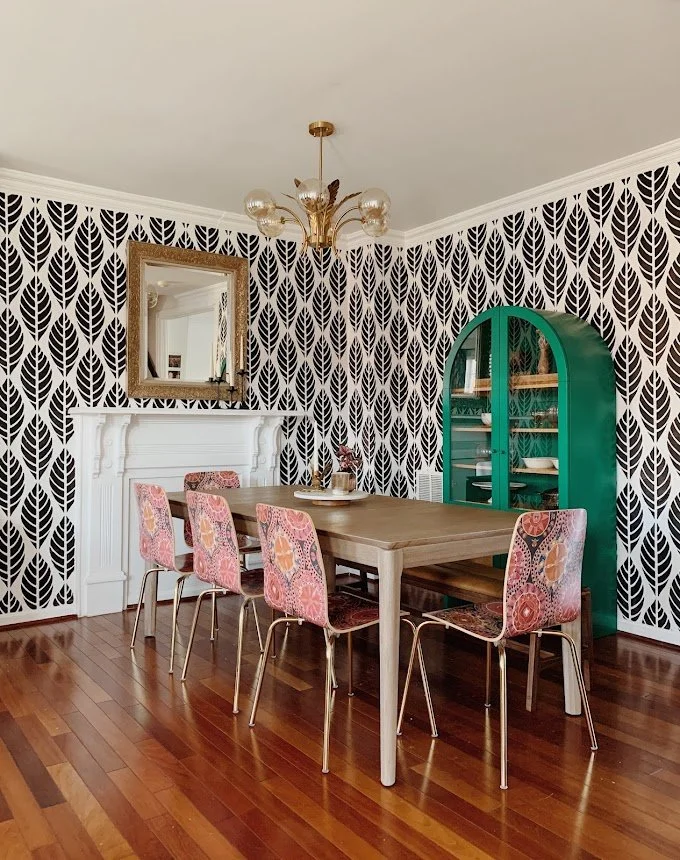
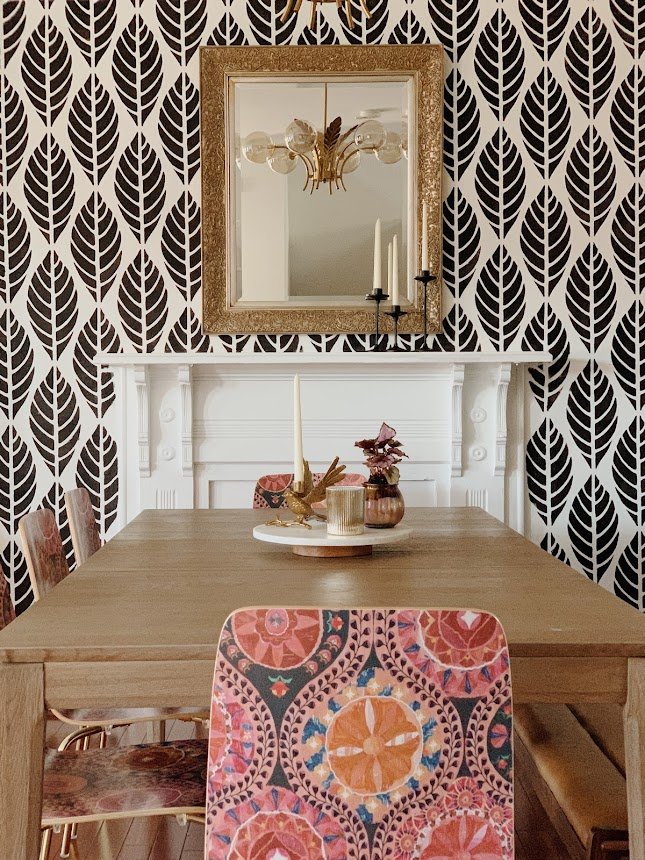
Since the dining room and family room are literally side by side, I wanted to carefully craft a TOTALLY separate space that felt as exciting as the family room, without making it feel like it was a completely different house. The objective here was more cohesion than matching. A playful but black and white pattern on the walls creates a balance to the family room, while the chairs and cabinet echo the jewel tones. Again, there was no matching or looking closely to be sure that the colors ‘went’, but it was staying in the jewel tone family that I knew would be enough.

There is not a dull line of sight from any point in this home!

Den/Kitchen

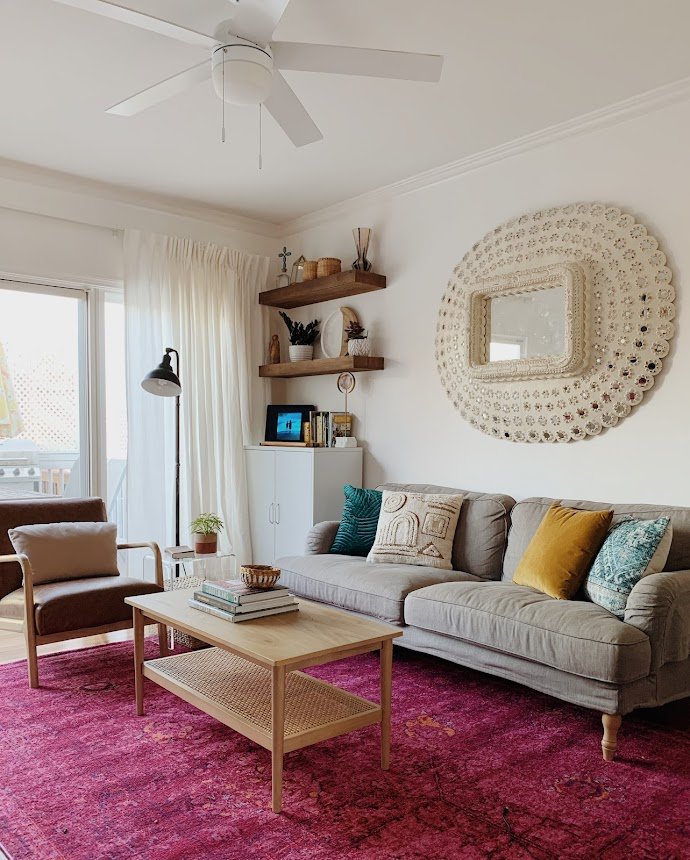
Like the other areas around this main floor, there was already quite a bit of color going on. Yet, the heavy wall color and the varying tones of color between the rug, chair and decor were all competing to make this room feel very heavy and dark. The strategy in here was the same as the other spaces - get the walls a nice clean white and then build up the color using jewel tones, balanced by beautiful uses of wood and leather.

Replacing the two lower floating wood shelves with a simple white cabinet decreased the visual weight of the space, providing a relaxed balance to the assortment of color used in the pillows and rug. I have never loved fuscia more in my life! I LOVE this rug in here!

The kitchen is still in a bit of progress until tile backsplash is installed, but painting all the lower cabinets and this accent wall in a saturated teal just creates the most incredible contrast to the freshly painted white uppers (with saturated teal knobs). And just look how rich the leather stools are against this color. Oh my word! It’s just stunning.

I absolutely delight in the work I get to do and feel so incredibly grateful to be trusted with peoples homes. To be given the opportunity to work on a project SO unique like this is just such a treat. If you’ve been a part of this community for any amount of time you know this is unlike any other project I’ve shared - and that’s what I’m feeling particularly proud of right at this moment. To go all out and deliver my best work in a style that is different from my own is what I love about design! Trying new things and having so much fun playing around! I don’t like feeling boxed in or delivering only what’s expected of me; rising to a challenge and even showing something surprising satisfies so much of who I am as a person.

Next week I get to go shoot my last project of the year! It’s another doozie, just a heads up :)

Thank you so much for coming by today!