Reader Design: Emily's Curated Creation

There's something about Emily, the focus of today's reader design spotlight, that makes me think we should be friends. Sure, there's the practical "we both live in Seattle" part. But, we also chose bright turquoise couches as the focal point of our living rooms. I mean, that has to mean something, right?!

west-elm-home-tour-EMILY-RUFF-004.jpg
west-elm-home-tour-EMILY-RUFF-007.jpg
west-elm-home-tour-EMILY-RUFF-001.jpg

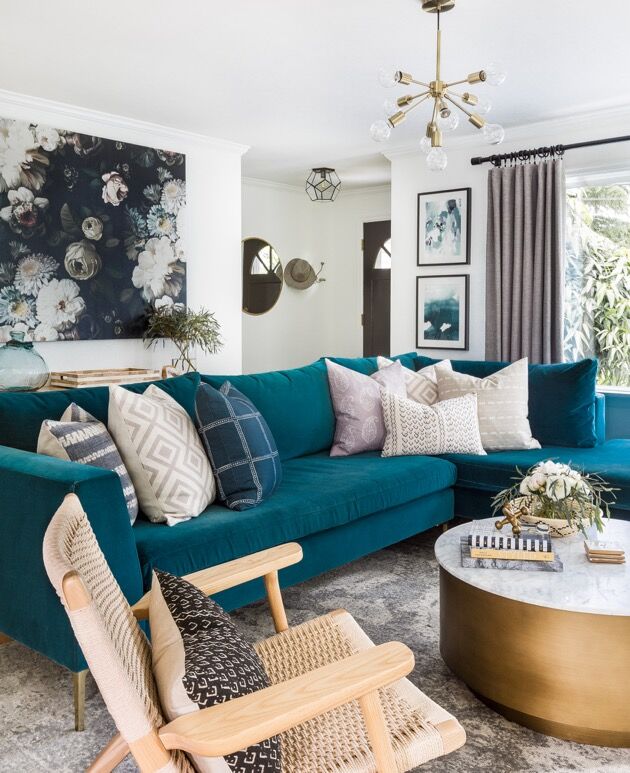
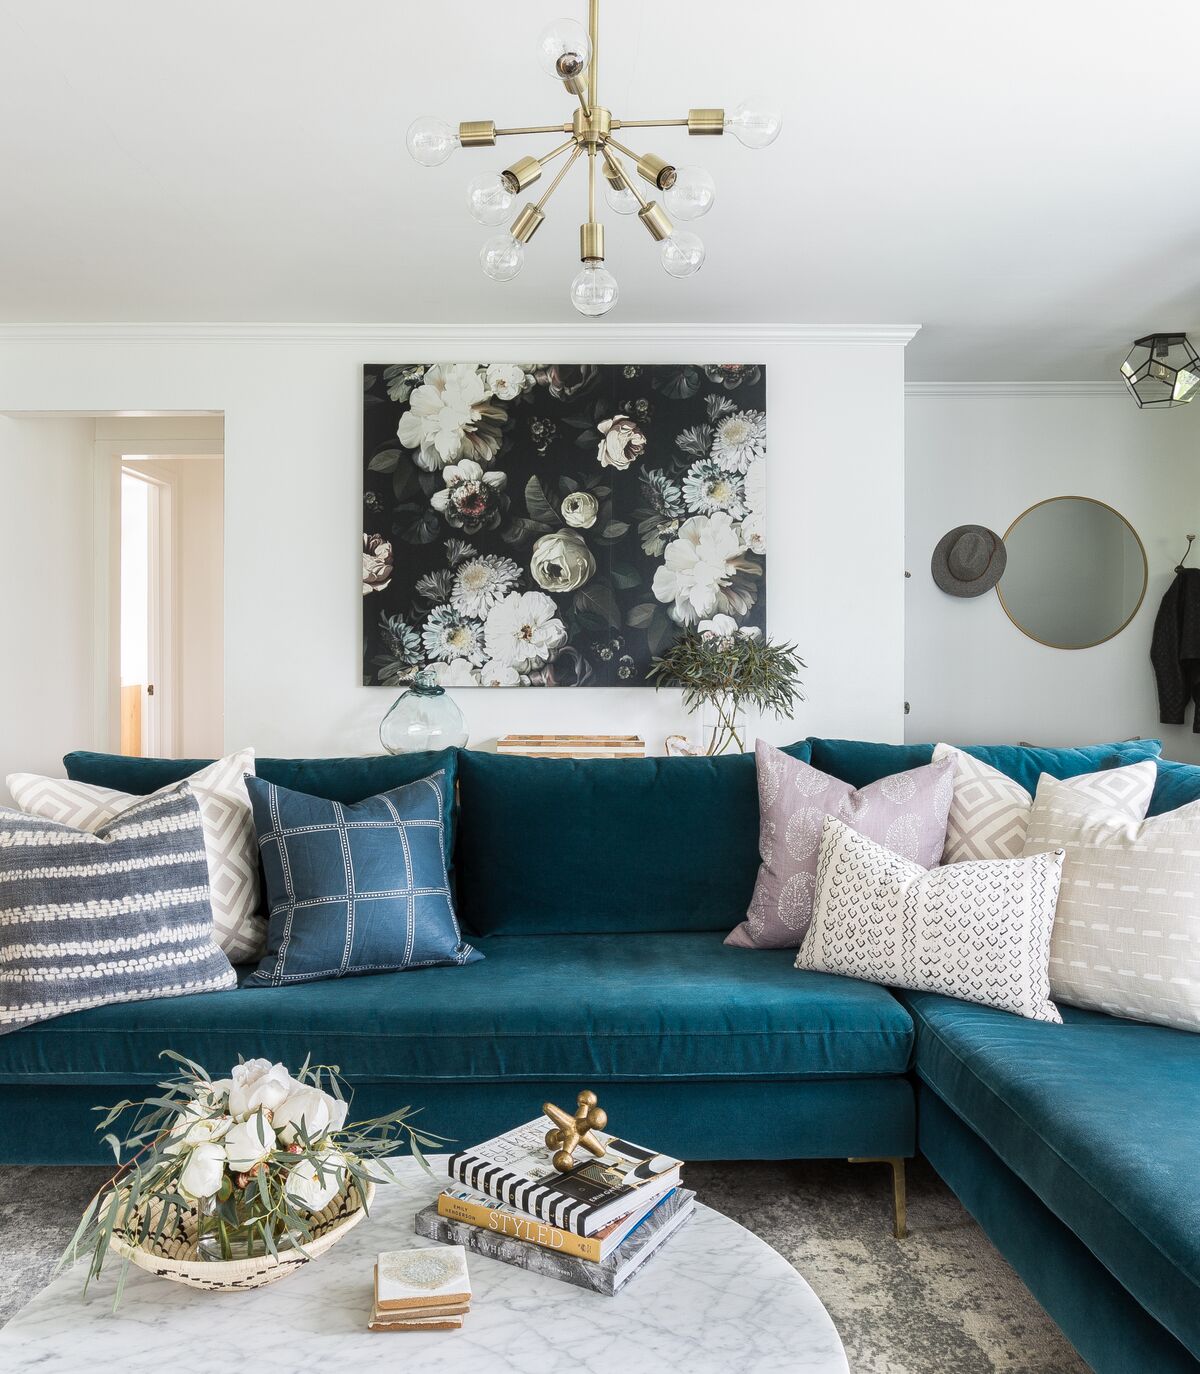
I saw Emily's home pop up on Instagram a few months ago and was immediately in awe. It is quite modern but still cozy, neutral while being bright and deep. 
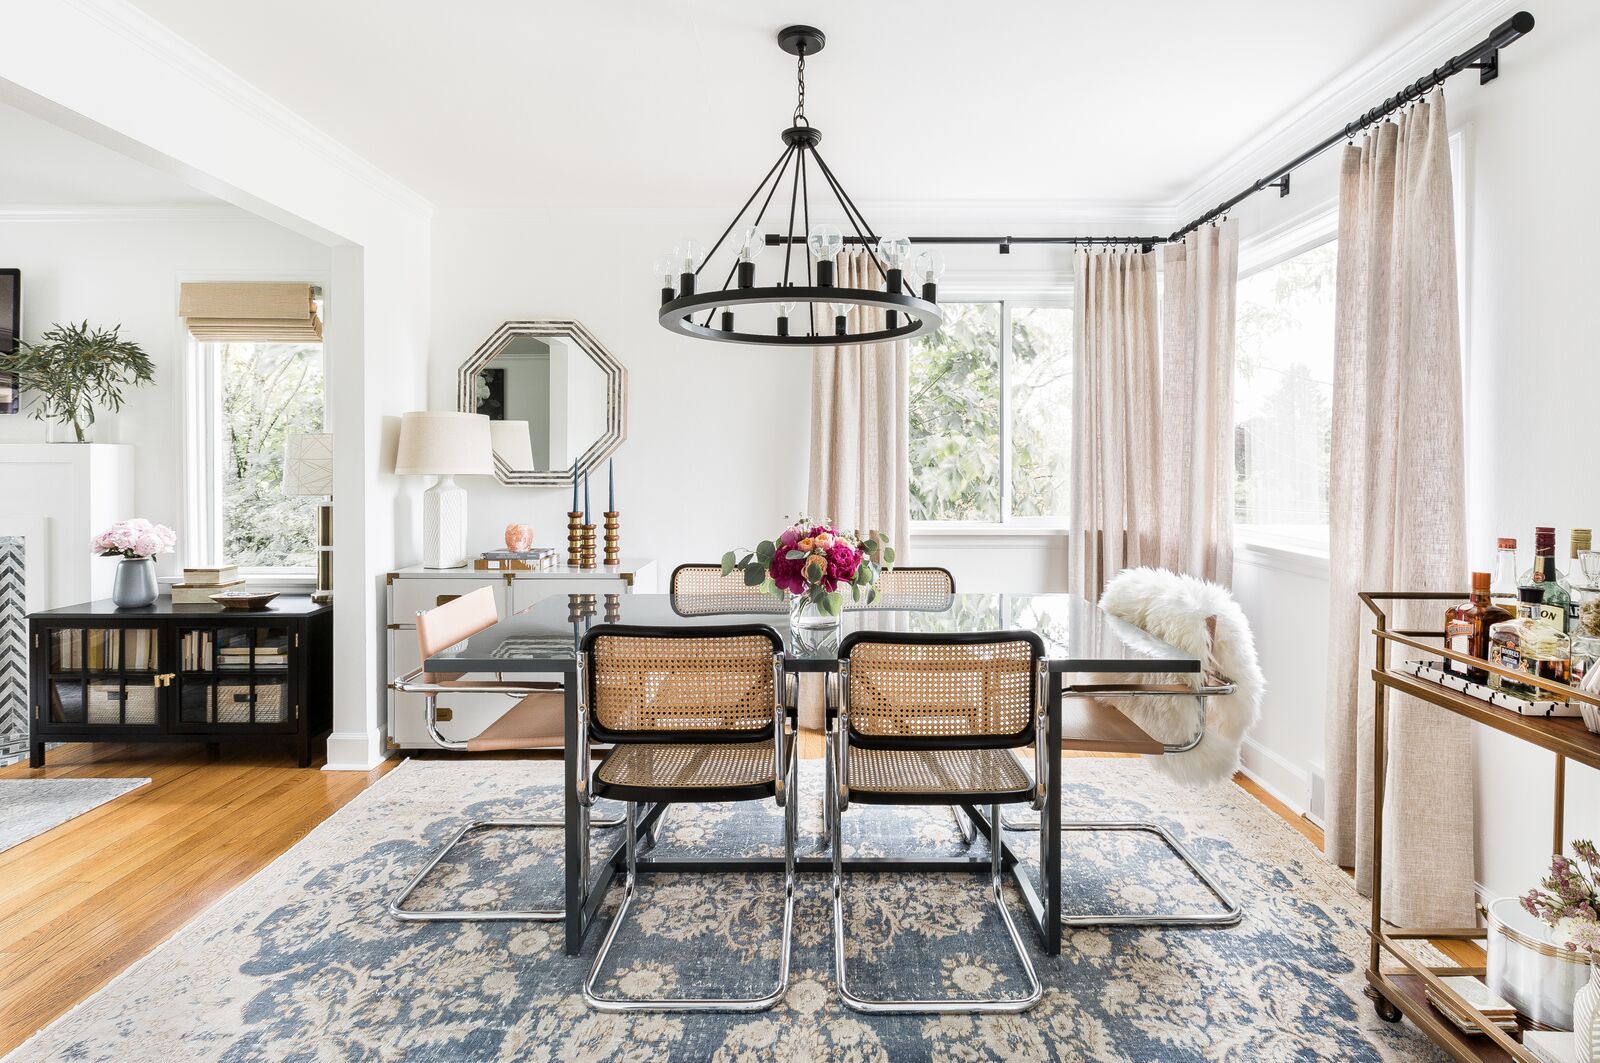
My design style incorporates a bit of everything, I typically describe it as eclectic modern. I love modern elements, but I also incorporated traditional, art deco, bohemian, and plenty of vintage pieces to give it a curated feel. It takes a lot more time, but gives a space so much more personality. This “design philosophy” is the reason I named my business Cohesively Curated.
west-elm-home-tour-EMILY-RUFF-005.jpg
west-elm-home-tour-EMILY-RUFF-036.jpg
west-elm-home-tour-EMILY-RUFF-038.jpg

It's got a cool but classic London vibe. As Emily describes - 

The city of London above all else is very classic, but it also has so many modern gems and up and coming trends to discover.
west-elm-home-tour-EMILY-RUFF-013.jpg

It's a perfect fit for a similarly rainy, gray, but oh-so-cozy and interesting place like Seattle; I like to think Seattle & London are sister cities. Does anyone else buy that? 

west-elm-home-tour-EMILY-RUFF-002.jpg
west-elm-home-tour-EMILY-RUFF-008.jpg
west-elm-home-tour-EMILY-RUFF-009.jpg

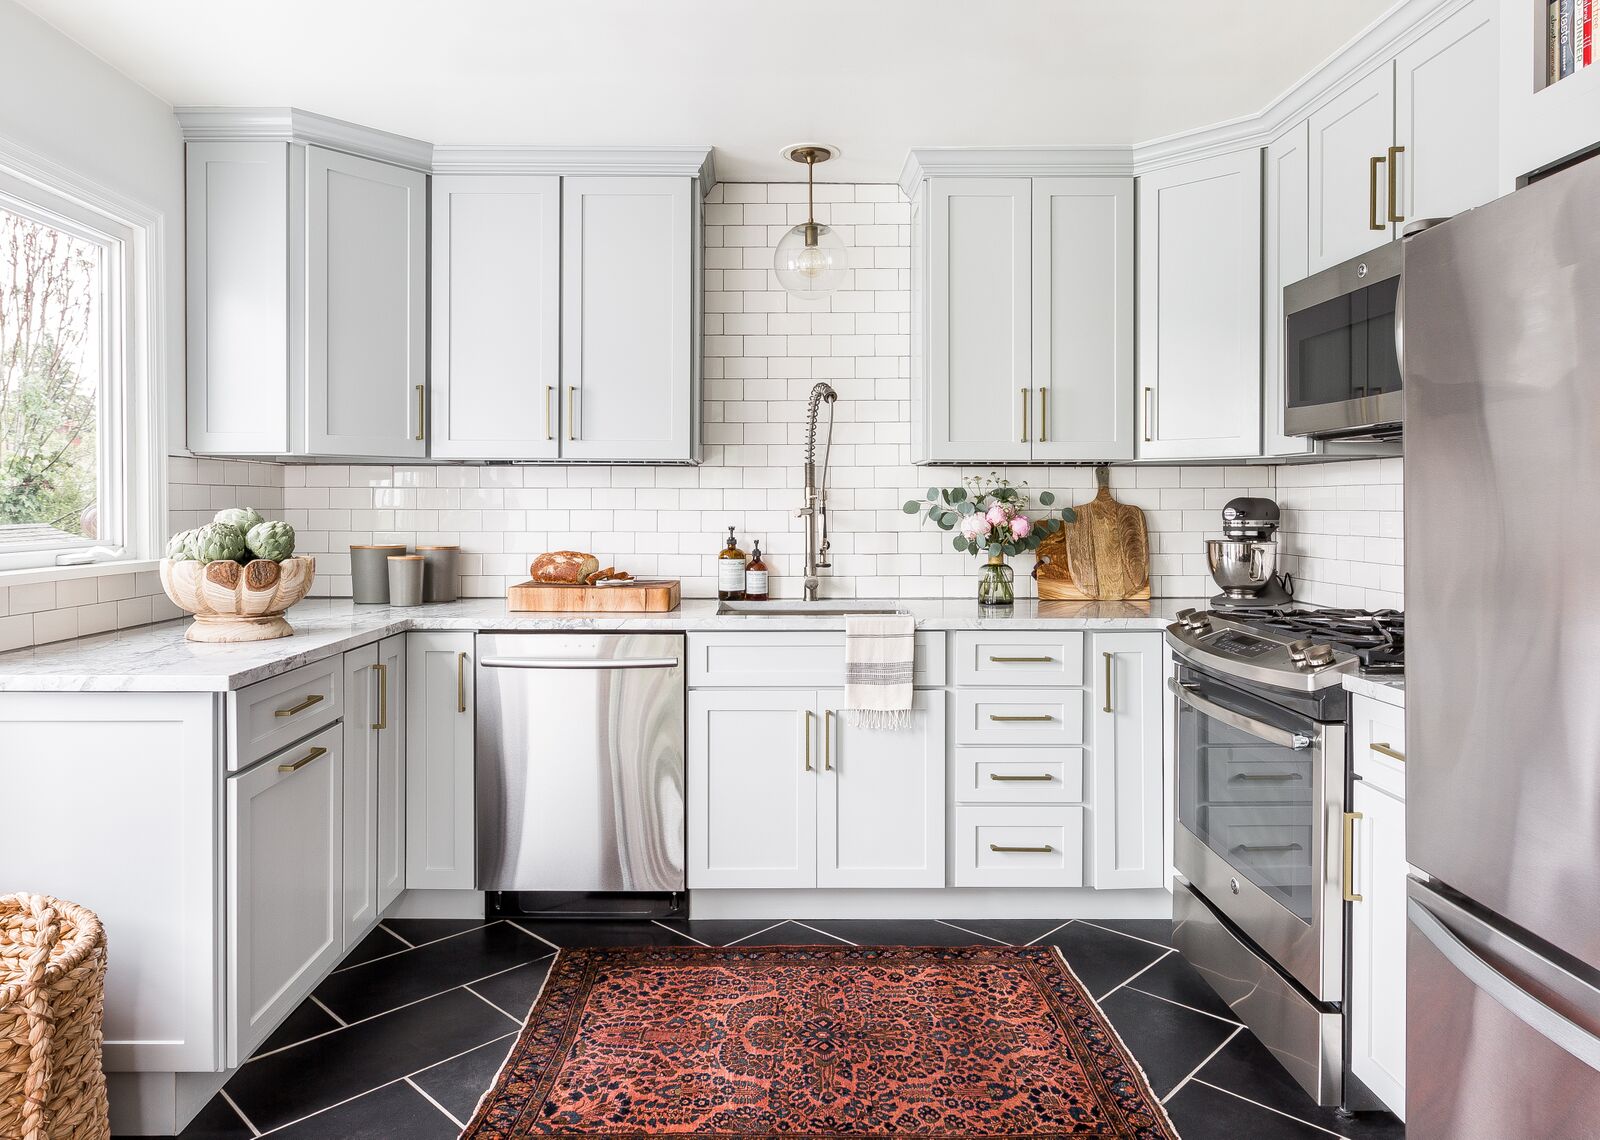
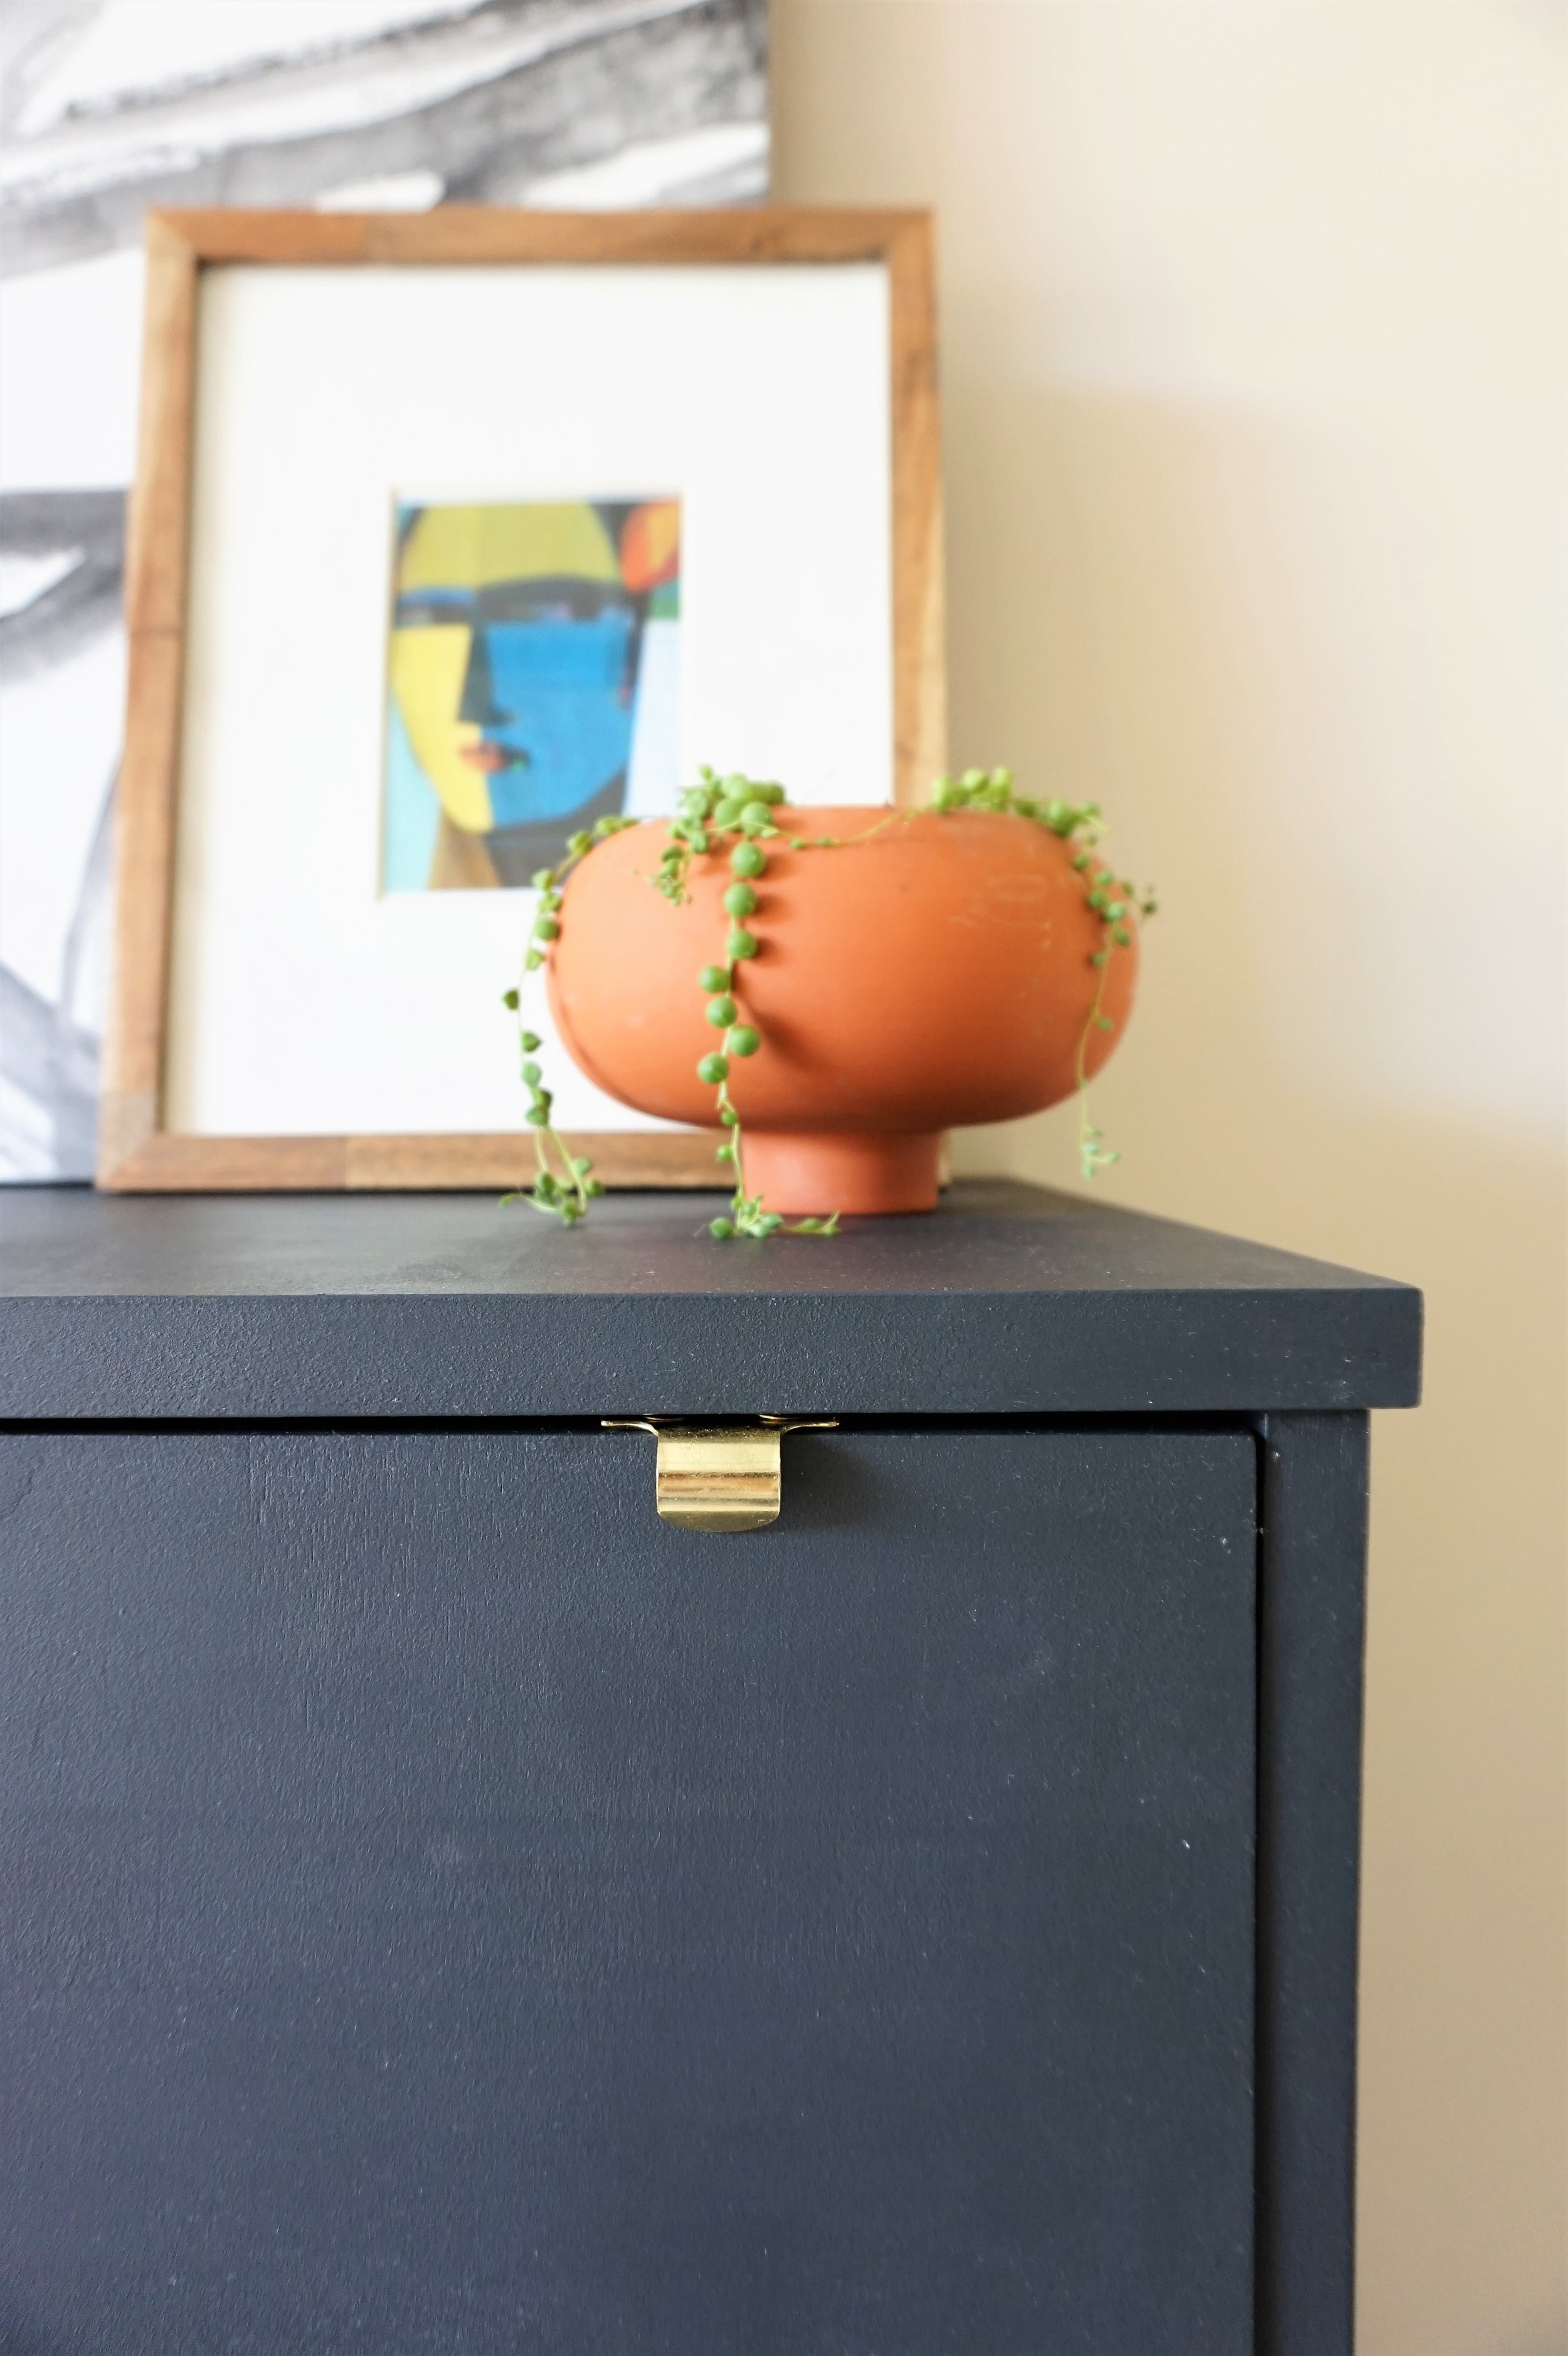
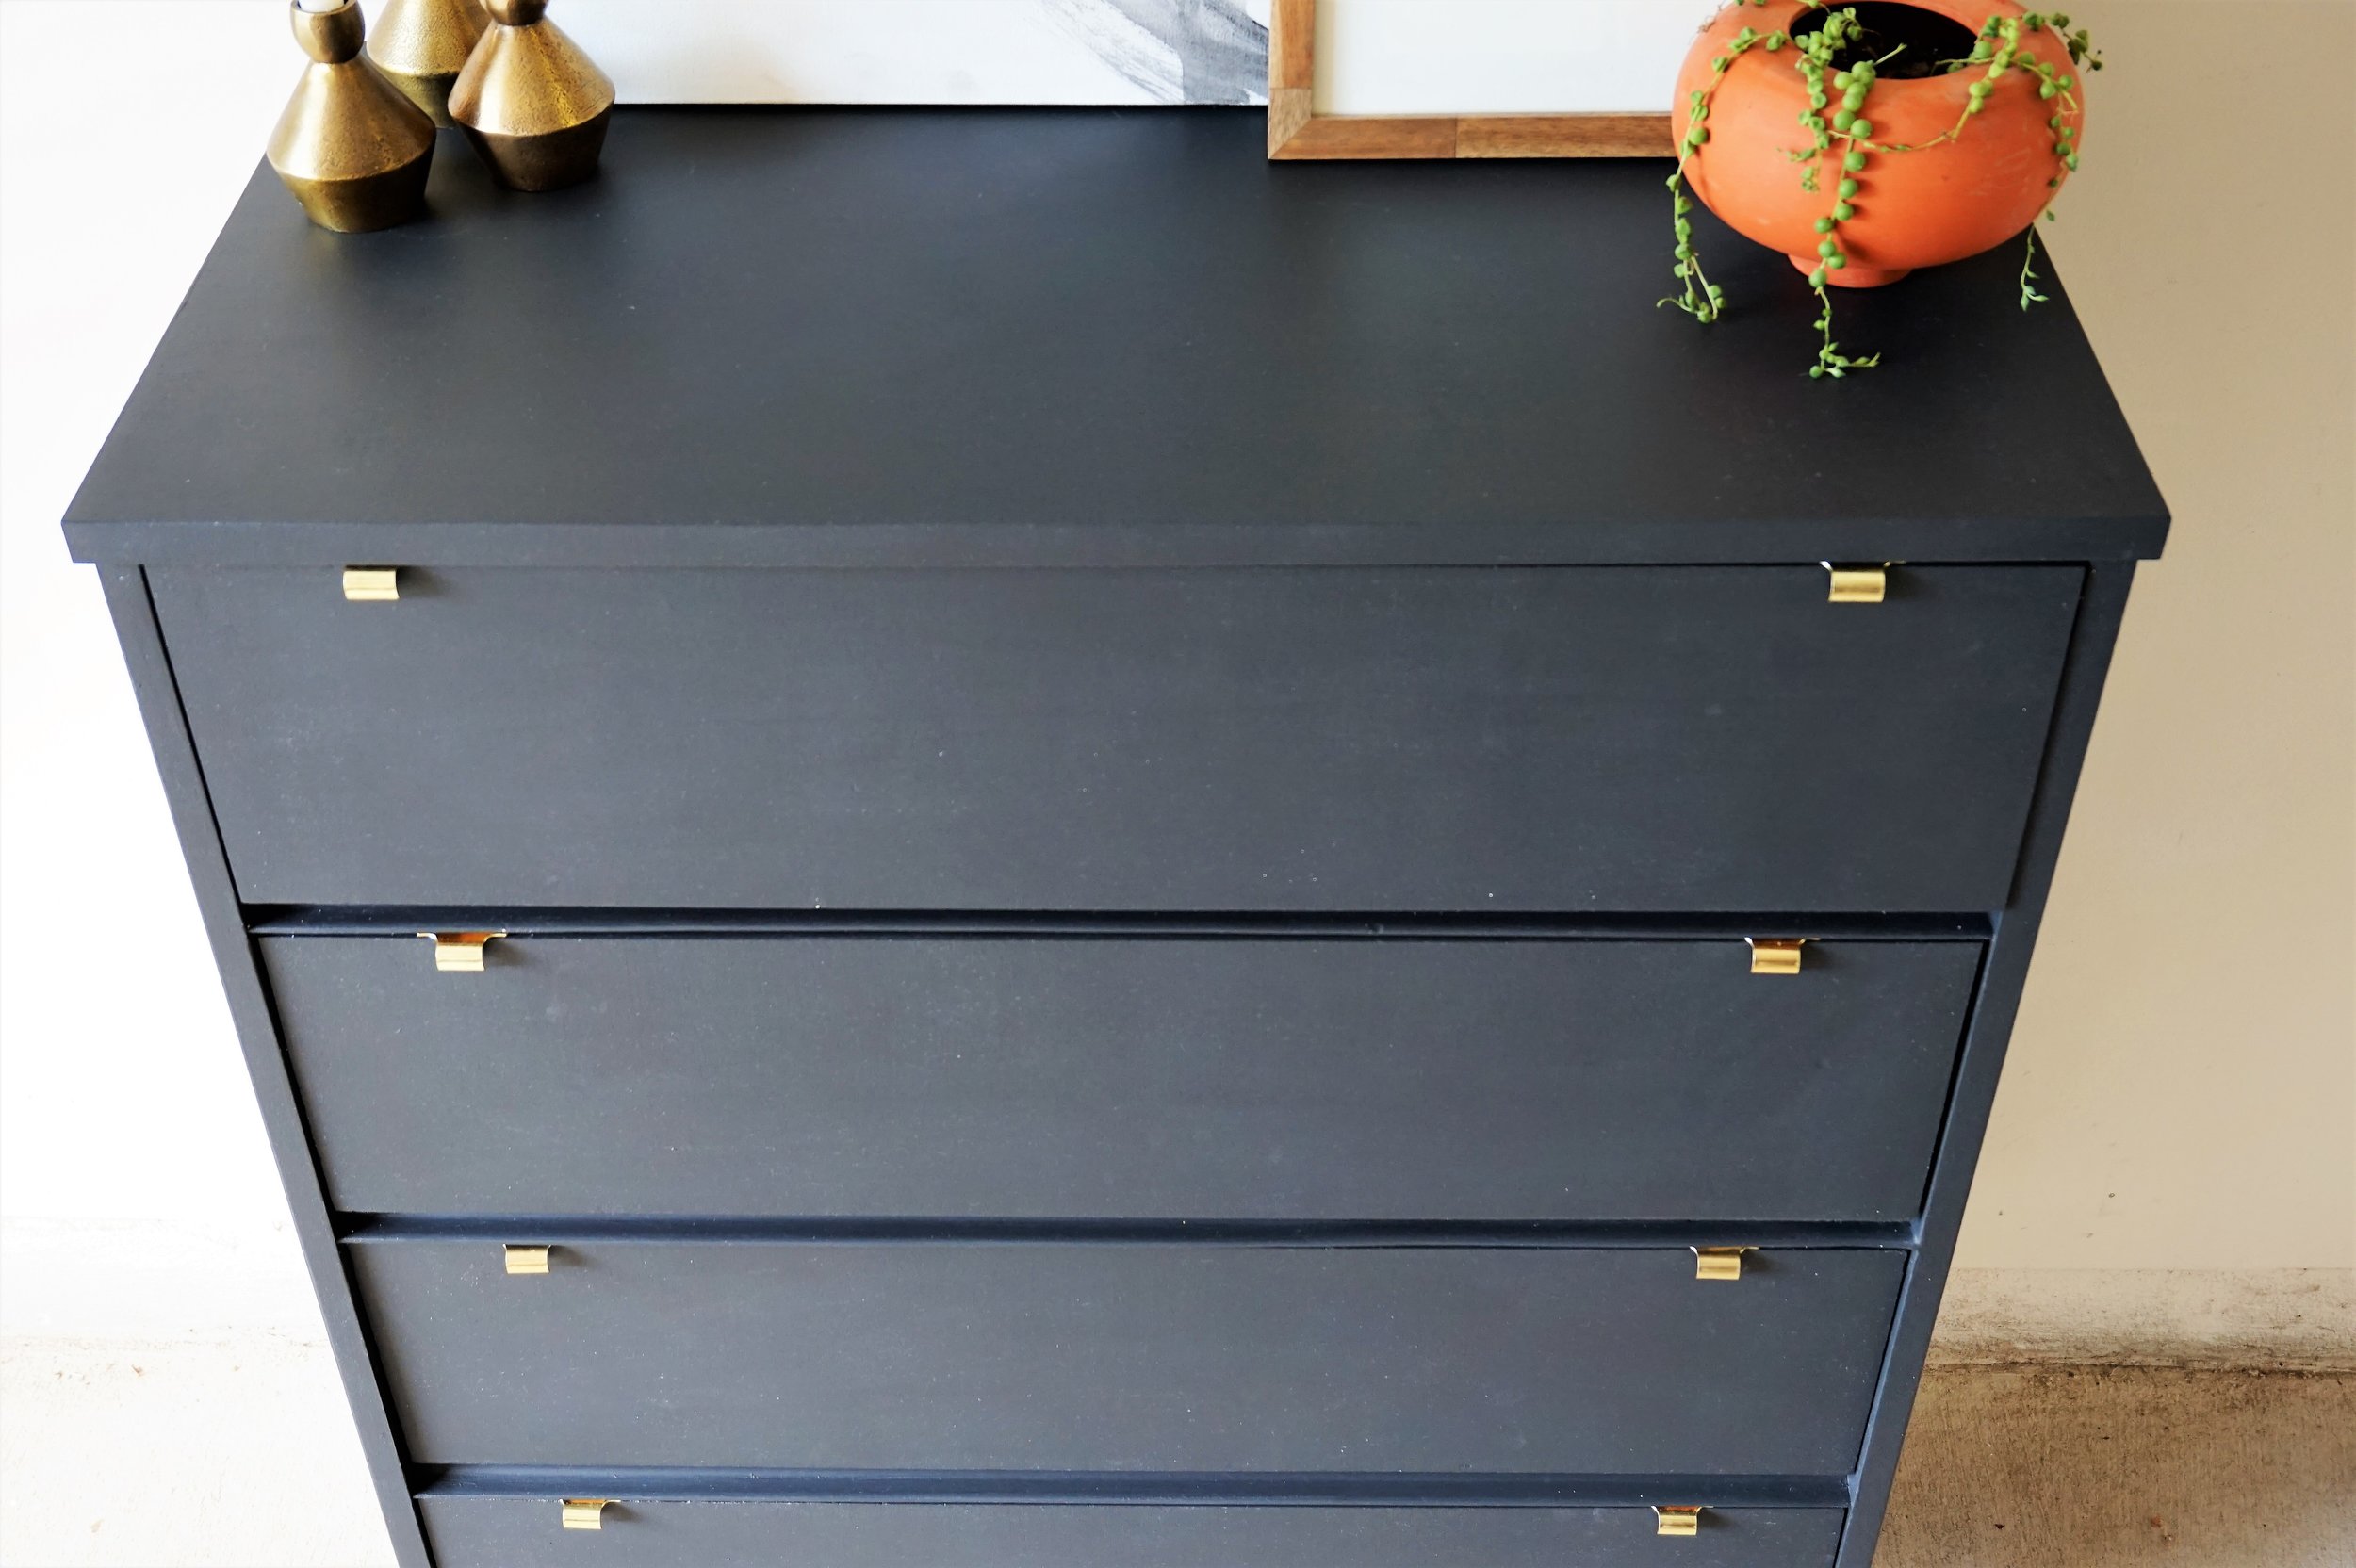
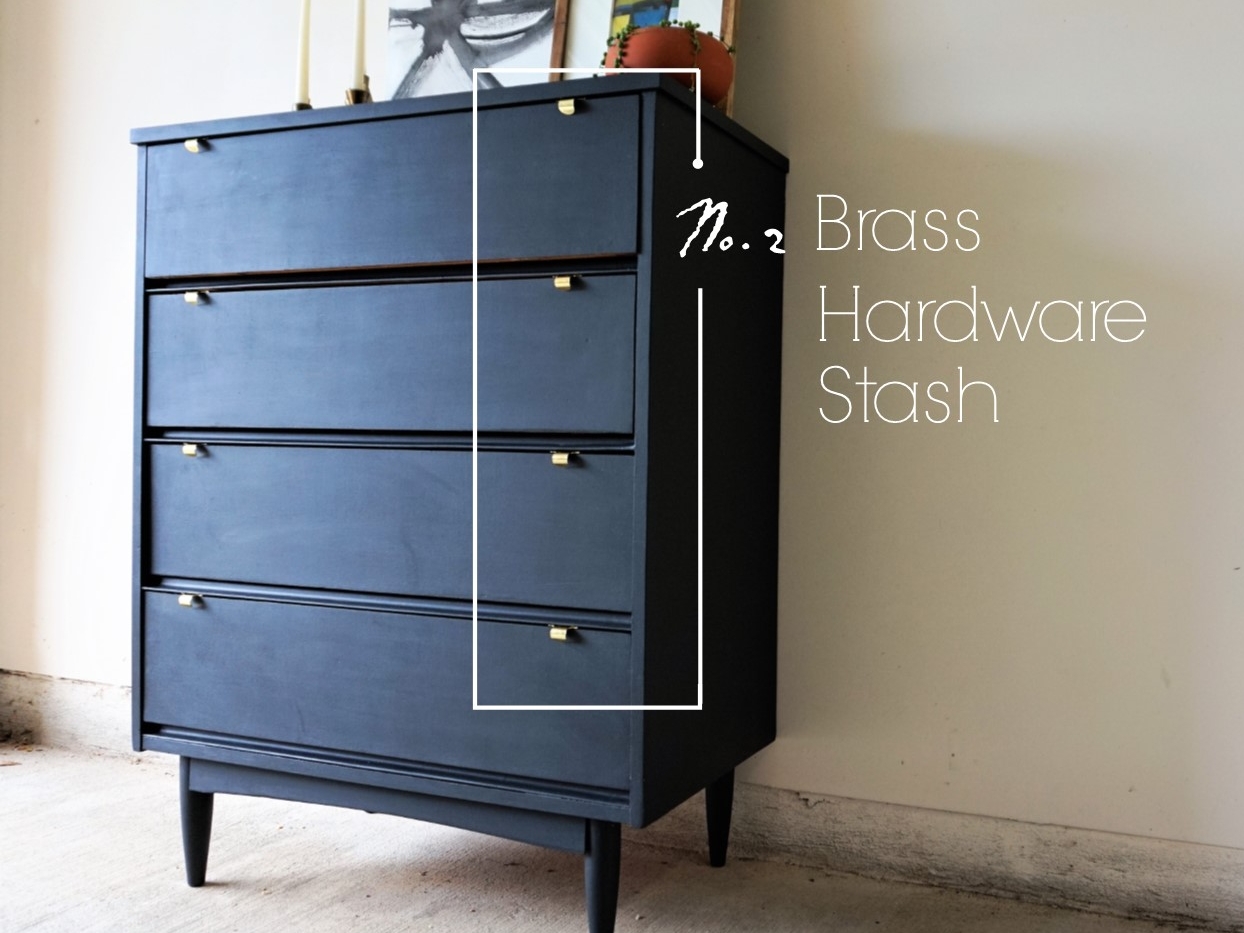
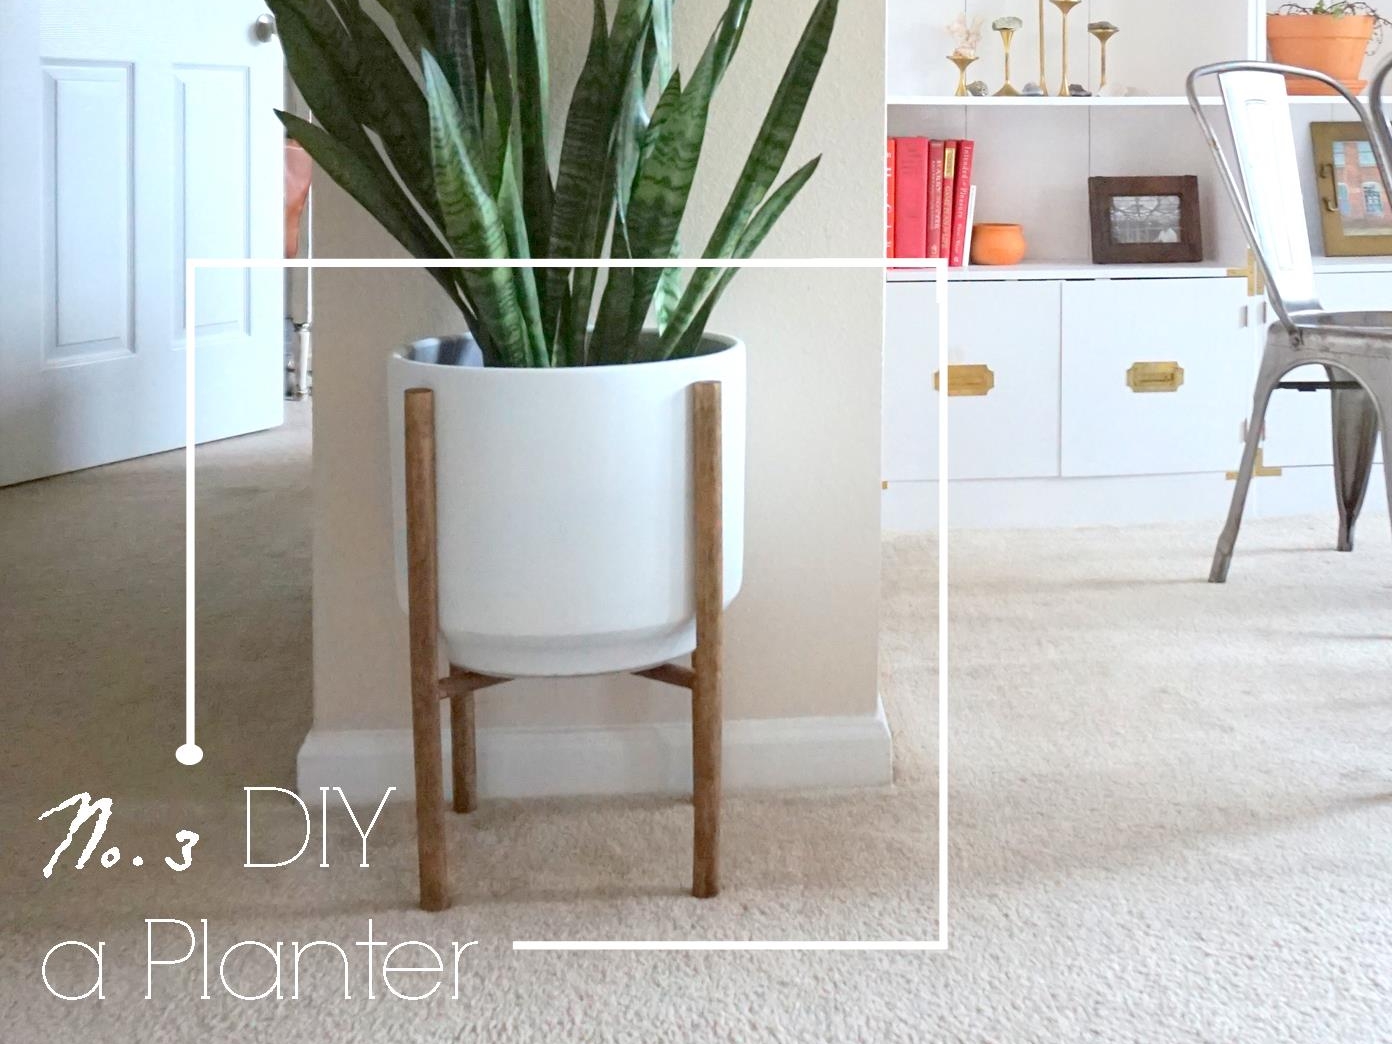
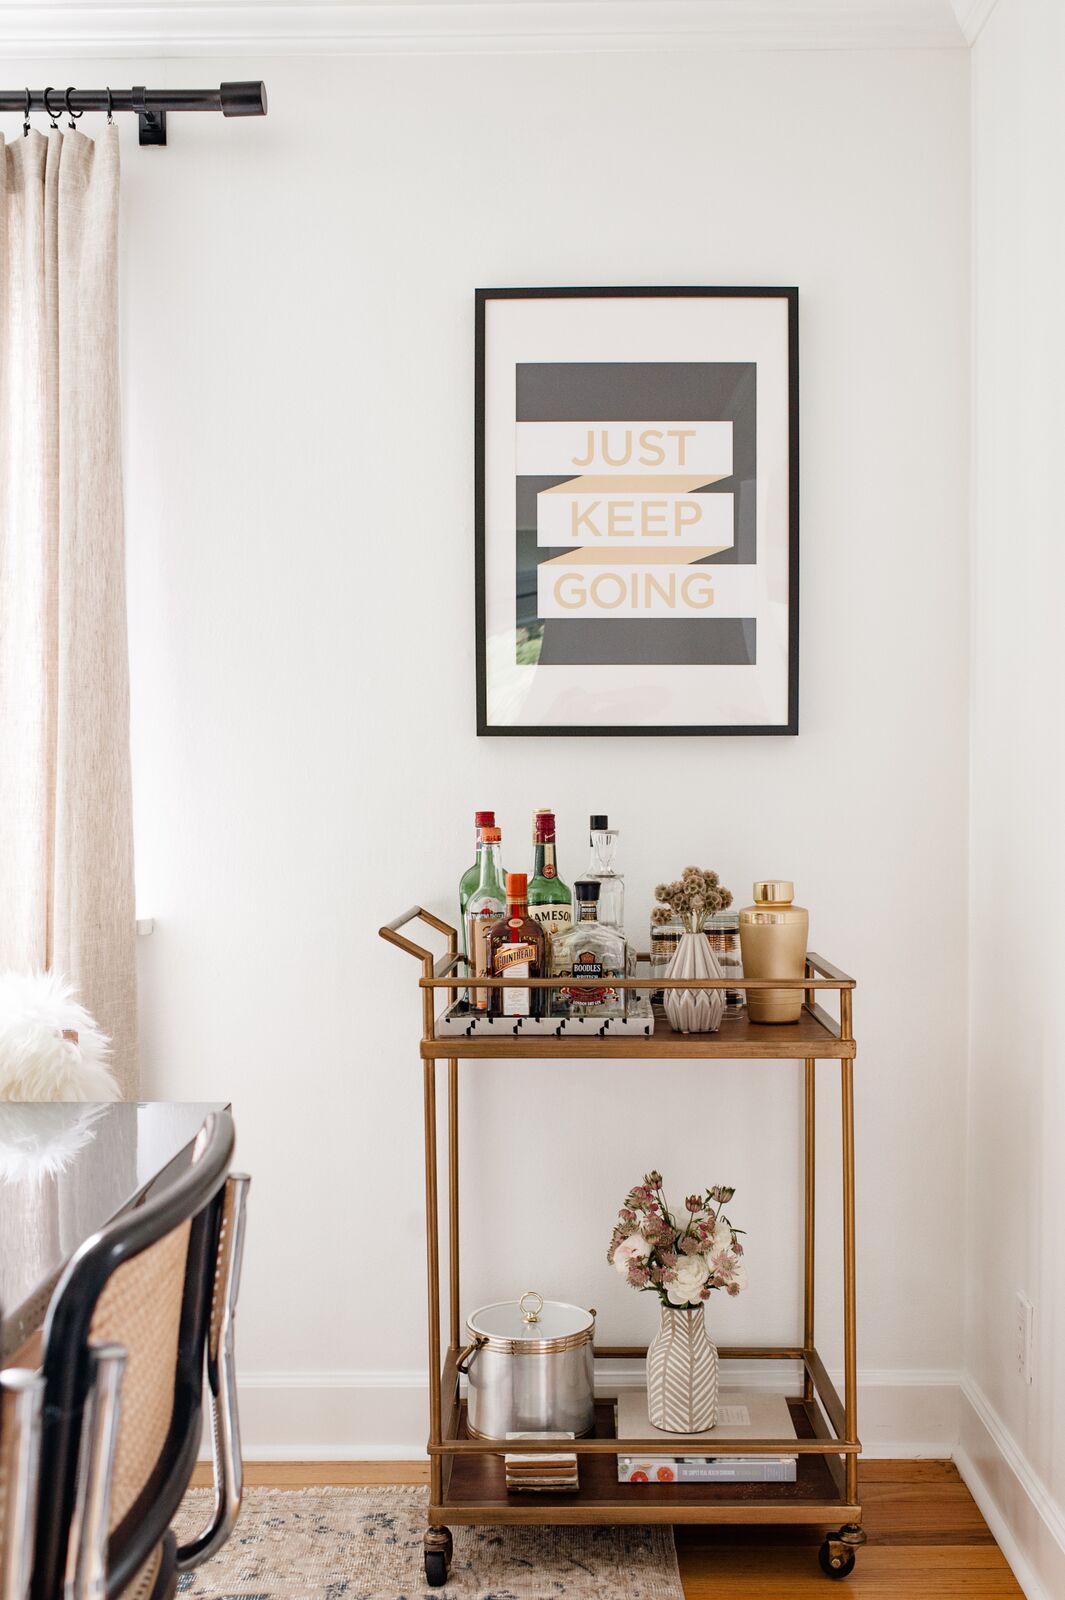
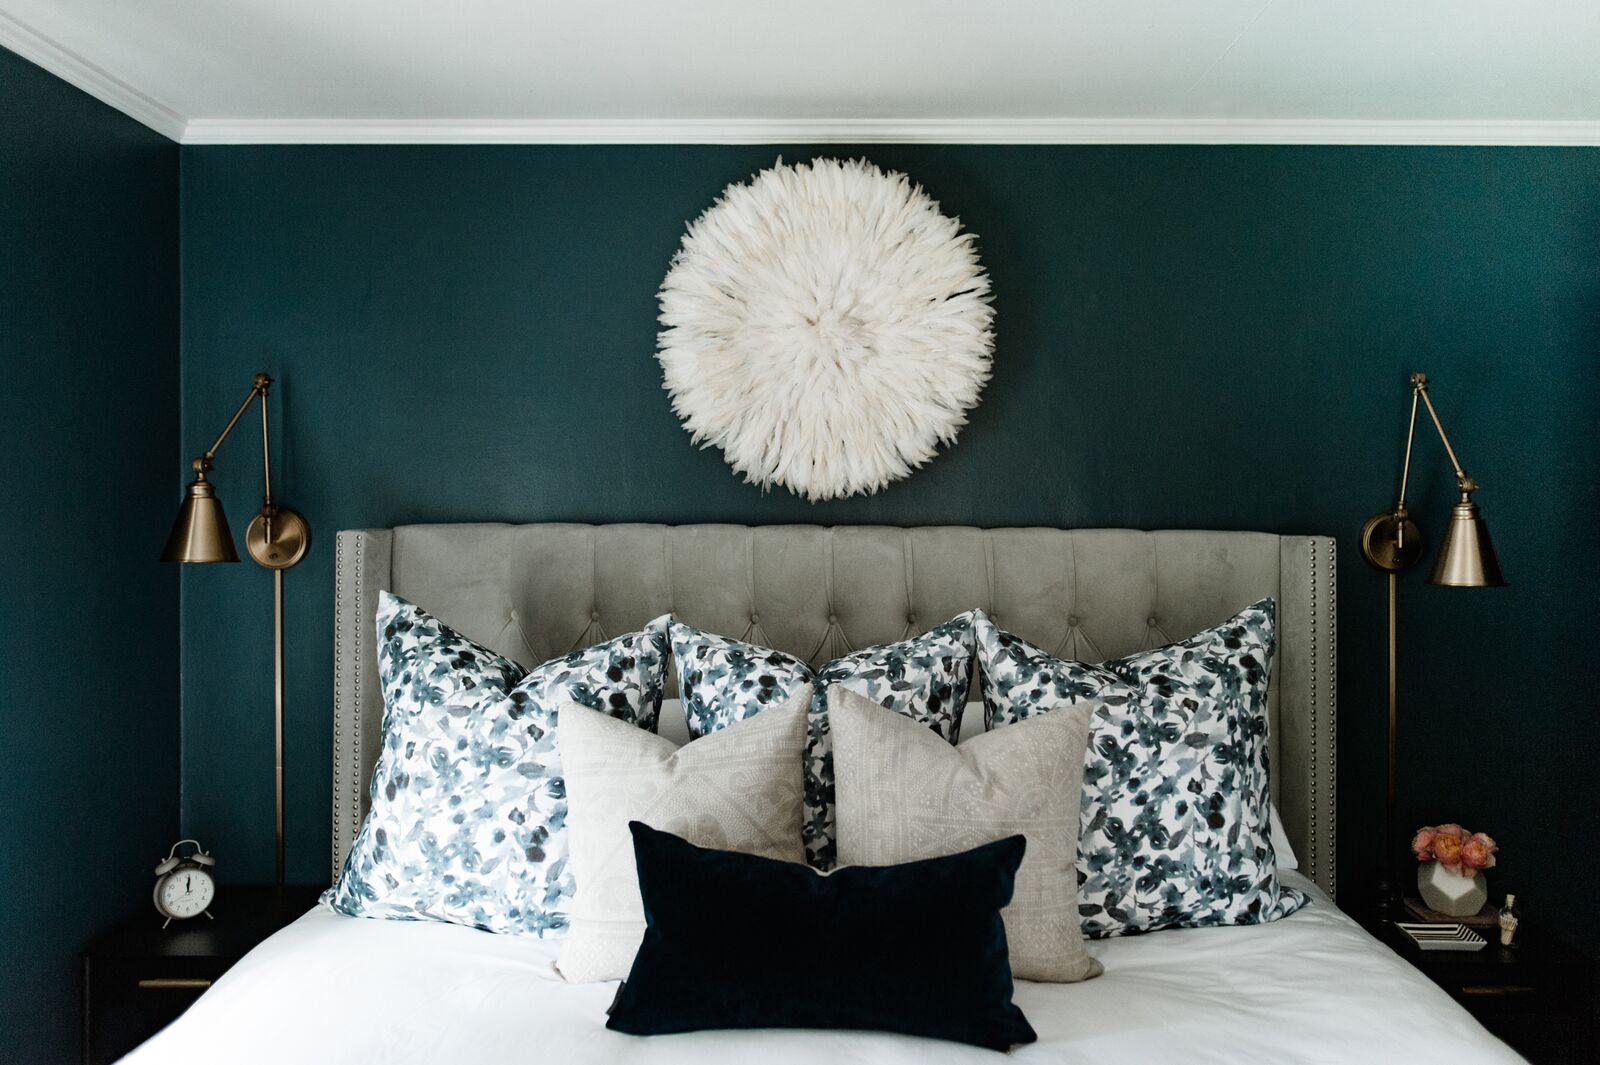
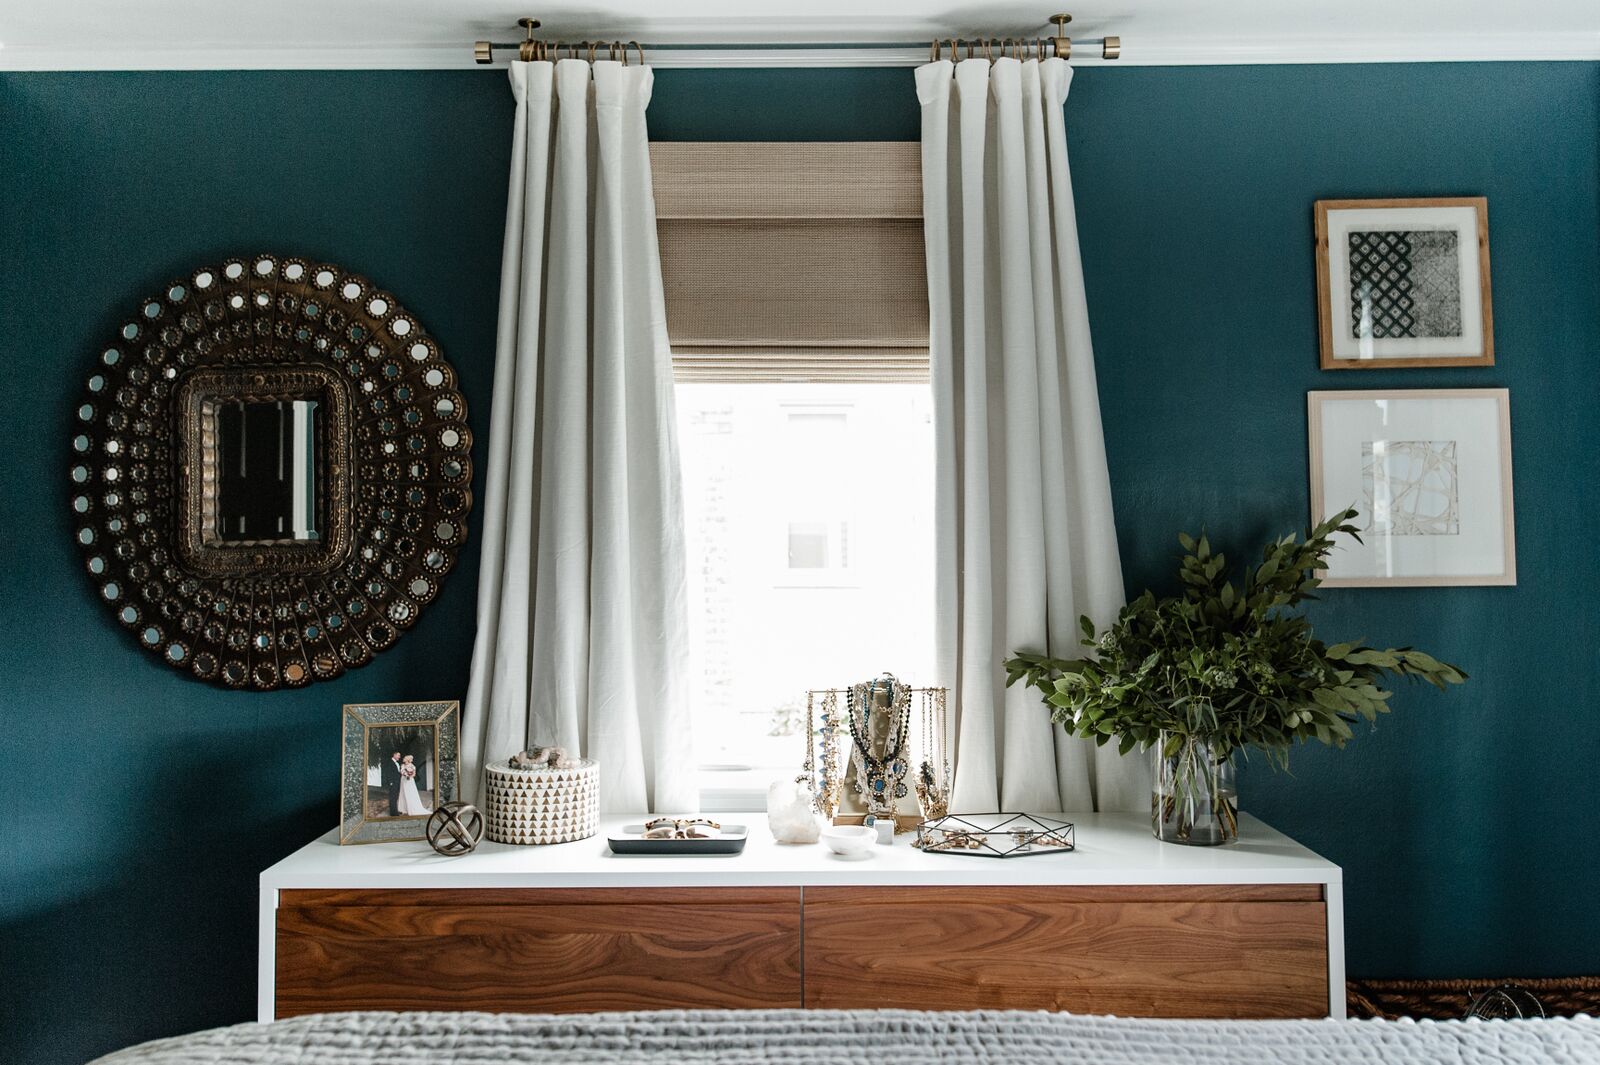
With a focus on classic and modern looks, Emily has carefully selected every piece inside this home, filling it up to the brim with pottery, textiles, and art. She grounds herself in things that hearken back to her design philosophy and uses that as her foundation for making decisions. 

I think it is challenging with social media, Pinterest, blogs, etc. to not let yourself be swayed by other designers styles. Taking something as inspiration and figuring out how to integrate it with your own aesthetic can be a bit tricky. The trend I struggled with most is the boho trend and not going overboard, because that really isn’t my primary style. I included some vintage textiles and rugs that fall into that category but made sure to integrate them with my core aesthetic.
west-elm-home-tour-EMILY-RUFF-052.jpg
west-elm-home-tour-EMILY-RUFF-011.jpg
west-elm-home-tour-EMILY-RUFF-010.jpg
west-elm-home-tour-EMILY-RUFF-054.jpg

This home has to be one of my favorites yet, and I encourage you all to follow Emily along on Instagram @cohesivelycurated for more! We really just scratched the surface. 

Happy Fall, y'all! 

McKenna Sig.jpg

How to Repair A [Seemingly] Hopeless Dresser

As I mentioned on Monday, I finally found the perfect dresser for the next item on my 2017 Furniture Flip Bucket List.  


There's just a few little problems...

 
Damage 2.jpg
 

And one big one.

See what I mean? Gasp!  There's a huge chunk missing from the decorative trim molding.  

Up until this point in my furniture refinishing career, I have only re-attached existing splintered pieces.  I've never conjured missing pieces of a dresser before.  I mean do I whittle it?  Cut the whole section of molding out and replace it with as close a match as I can find?  No my friends.  I am here to tell you today - there is another way.  And all you need is a few items from the hardware store:

A can of minwax wood filler with hardening agent
A wood shaver
A plastic putty knife
Scrap wood
screws
Some sandpaper

After watching a couple helpful videos, I learned that step one is to attach a piece of scrap wood underneath the damaged area with a few screws.

Following the instructions on the Minwax can, I mixed the wood putty with the hardener and applied it quickly to the effected area.

And I applied some to the chips in the veneer on the drawers while I was at it.

After letting it set, I gingerly detached the scrap wood - first by unscrewing it from the dresser, then by cutting away the excess hardened wood filler.

Now comes the fun part - sanding the hardened wood to match the contours on the molding as close as possible.

To get those clean lines, I used a wood shaver on the bottom until the wood filler felt flush with the underside of the drawer frame.

And also on the front edge since sanding would have rounded the edges too much.

After that, it was a matter of sanding the entire body of the piece to prep for paint.

And sanding the drawers to smooth out the repaired areas of the veneer too.

Now it's time to paint.  

Can you spot the repair?

How about now?

Once painted, the damaged areas are virtually undetectable!

I am so pleased to find that such a seemingly "big" problem can be fixed by such a small can of wood filler!

I hope this little tutorial saves a dresser or two from the dump.  And if you end up giving this repair method a try, feel free to share your experience with us!

P.S. Read more about this dresser's transformation on Apartment Therapy!

Brass Finger-Pull Dresser || Flip List Item No.2 ||

Happy Labor Day style mutts!  As you may have seen in our posts last week, we've had some exciting news to share - including my debut DIY post on Apartment Therapy.  This little dresser was in desperate need of some MAJOR repairs, but it it ended up being the perfect dresser for the next item on my 2017 Furniture Flip Bucket List.  


The Before


Now because this poor little dresser had so much damage (which I will go into more here on Wednesday), after all the repairs - I really had no choice but to paint.

I resurrected my new fave color of choice: Black Boudoir by Behr Paint (same color I used on this two-toned flip in the spring).  Once the paint dried, it was time for hardware - and as you may know, I have been stockpiling this brass hardware since over a year ago.  Although these are designed to be library-like pulls mounted on the front of a drawer, I had other plans for these bad boys...

I wanted to figure out if I could mount them upside-down to the top of the drawers and make my own finger pulls like the hardware on Chelsea's christmastime flip from last year.

Because of the narrow gap between the drawers and the decorative trim, I needed something with a lower profile than a traditional screw to attach the hardware - so I went with brass tacks.

Tacks aren't designed to withstand a hit from a hammer, so I used a rubber mallet to tap in each tack gently.  And...

It worked!

I had just enough clearance for the hardware!  The end result - a handsome double-breasted gent of a dresser.

Don't forget to circle back here come Wednesday for more details on how I rebuilt some of the dresser's splintered trim FROM SCRATCH (and a tutorial so you can do it too ;).

Brass Finger-Pull Dresser
Now Available for Sale
34"L x 18"W x 44"H
$495

If you are interested in this piece or a custom order like it, please contact me at cate@stylemutthome.com.

Five down, two to go.  Catch up on the 2017 Furniture Flip Bucket List.