Show Us Your Bar Cart || and meet my Christmas tree ||

As Chelsea shared last week, the whole family shlepped out to a local tree farm to chop down our own Christmas trees.  Now, there's something more... intimate... about going the cut-your-own route for the holidays.  Don't get me wrong, I loved every minute of the process.  But let's just say, "organic trees" do not go quietly...

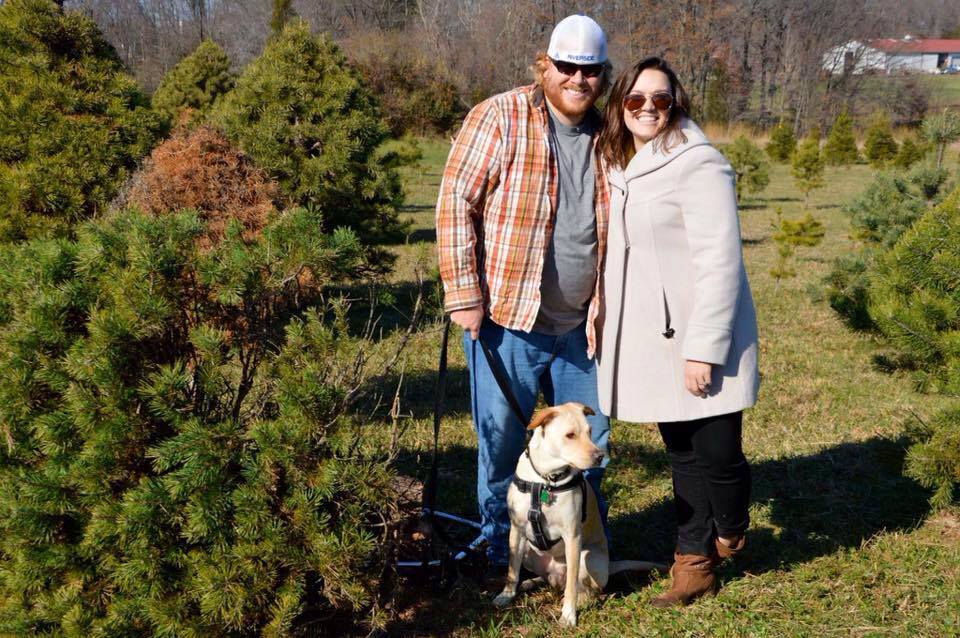
First we scourged an entire forest for our perfect candidate.  He's big, and rugged, and an all-around beast.  So we battled with the branches just to get our saw some bark to bite.  Then we [and by we I mean the fella's] applied some major elbow grease to get that bad boy to part from it's stump.  Now the candidate is officially a conquest and we have to drag it through the woods back to check-out so it can get prepped and wrapped for transport - a process which involved at least 5 men to shove our lush fur through the netting hoop.  After we strapped it to the car [or in our case, threw it in the truck] we hauled it home and wrestled it into it's prominent place only to find it had a diameter of like 5ft AKA half our new living room.  So we resorted to drastic measures and gave it's back branches a quick haircut [think an angled bob...] just so we could shove it deeper into the corner.  After the first round of needle-vacuuming, we were ready to decorate.  But our beast was not interested in getting gussied up: his razor like needles bit everytime I came at him with a bauble.  I eventually started throwing ornaments on from a safe distance, hoping they'll catch...  It's no wonder, after all that, your cut-your-own tree becomes a reluctant member of the family [meet Chelsea's tree Paul Pfeiffer].  We affectionately nicknamed ours...

The Beast [see the resemblance?]


He's ruing the day he met us I just know it.


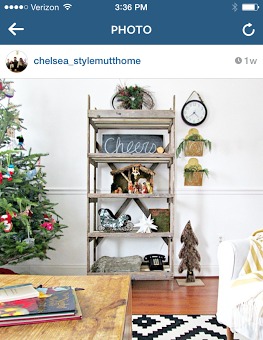
We are still moving in to our new place so there's not much more to see just yet, but I do have one other holiday stop on the tour before you go: our pop-up holiday bar cart!

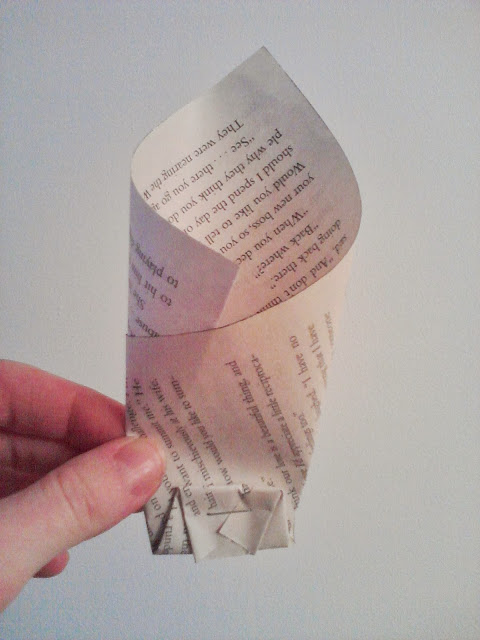
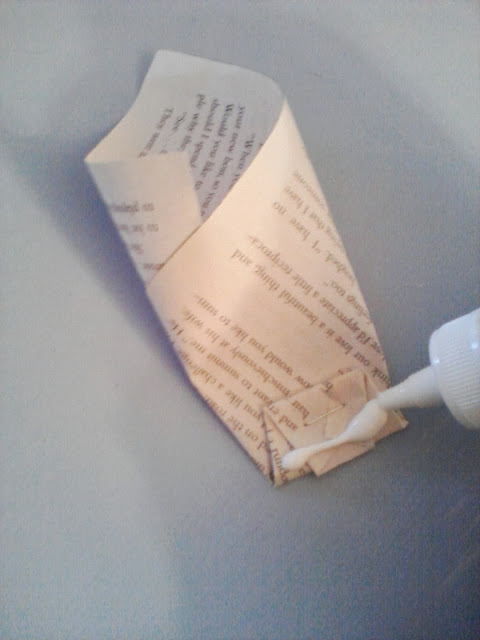
Caleb and I are not mixologists by any means so we rarely have anything "fun" in steady supply.  But when you hit the season of holiday hosting, it can be fun to have a pop-up bar for all your festivities!  So I put our suitcase table to good use with the help of a small vanity mirror, a strand of lights, a strand of garland, and some tree trimmings [from the Beast's haircut to be exact].  Viola!  A festive impromptu drink station.

So just to recap, my holiday recipe for an easy pop-up bar cart is simple:

1 Folding Tray Table
1 Suitcase
1 Mirror

And dear DIY friend Brandi over at Don't Disturb this Groove has kindly organized a whole slue of holiday bar cart inspiration for your perusing pleasure.  Be sure to browse the tag #ShowUsYourBarCart on Instagram at 10am EST to check out the other savvy ideas from some fellow fabulously festive creatives.

I promise to give you a formal tour of our new apartment in the new year dear friends!  I just need to survive the holiday's first ;)


Holiday Snapshots on Instagram

Happy Holidays, friends! I hope each and every one of you got to enjoy time with those near and dear. With every passing year, time becomes a sweeter gift, indeed. Matt and I packed the kids up and went straight down to sunny Florida, (from our home in Virginia), to spend Christmas with family. The time together was precious and dippin in the pool every day didn't hurt either!

I know there are many of you reading this blog that don't have Instagram - and I don't blame you! We've reached a social media overkill, for sure! However, I do post a lot of photos on Instagram that never make it to the blog, so today I thought I'd share a little roundup of Instagram snippits from over the holidays!

In a few days we'll be taking all the holiday hoopla down and getting back to normal around here. Whew! I get almost as excited to take the decorations down as I do to put them up. Funny how that happens every year. How about you? Is your holiday decor still up or are you a prompt de-decorator when all is said and done?

Thank you so much for stopping by and have a wonderful day!

DIY Bookpage Wreath - Repost

Hi All! I almost forgot to share this old bookpage wreath tutorial from long ago! I shared it on Chelsea's Garage, (my old blogger stomping grounds), a couple of years ago and its been one of the most popular projects spit out of this small production line. This is a wreath I keep up year round, but I always like to share the tutorial again near the holidays, in case anyone's interested in a fabulous wreath project.

paper wreath9.jpg

For this project, you need just a few fairly common supplies:
-A book or two, (I used two with slightly different color pages for contrast)
-Stapler
-All purpose glue
-Foam wreath frame
-Black craft paint, (optional)
-Small artists brush, (only if you're using the black paint)

Step 1: With the books closed, take the brush and paint the outside of the pages with the black craft paint. Giving them a darker edge will create some visual contrast between each page in your wreath.

paper wreath3.jpg

Step 2:  Tear out a page, form it into a cone
Step 3: Fold the bottom of the cone up about an inch, and staple
Step 4: Glue the bottom edge of your cone
Step 5: Place your hand gently in the cone, and attach the cone to the foam wreath frame, working your way from the outside, in.

Not too complicated, right?! As you work your way inside the foam frame with the cones, it's helpful to add glue to both sides of the cones so they attach both to the frame, and the previous row of cones. Just tuck em' right in there.

I hope you're having a wonderful week and are enjoying this special time of year. It goes by so fast, I know. I have no tips on slowing down time, but I think pace is one thing in our control that we should handle with care. Don't overload your plate. Be realistic with your time and commitments. Be honest about your priorities. These DIYs are a dime a dozen and are absolutely unnecessary to enjoying the holiday season. They're simply meant to give you ideas and ways to add a bit of festive spark, if time allows, to your home.  

Thank you all so much for stopping by!