Industrial Bench

Remember these puppies er... ponies?

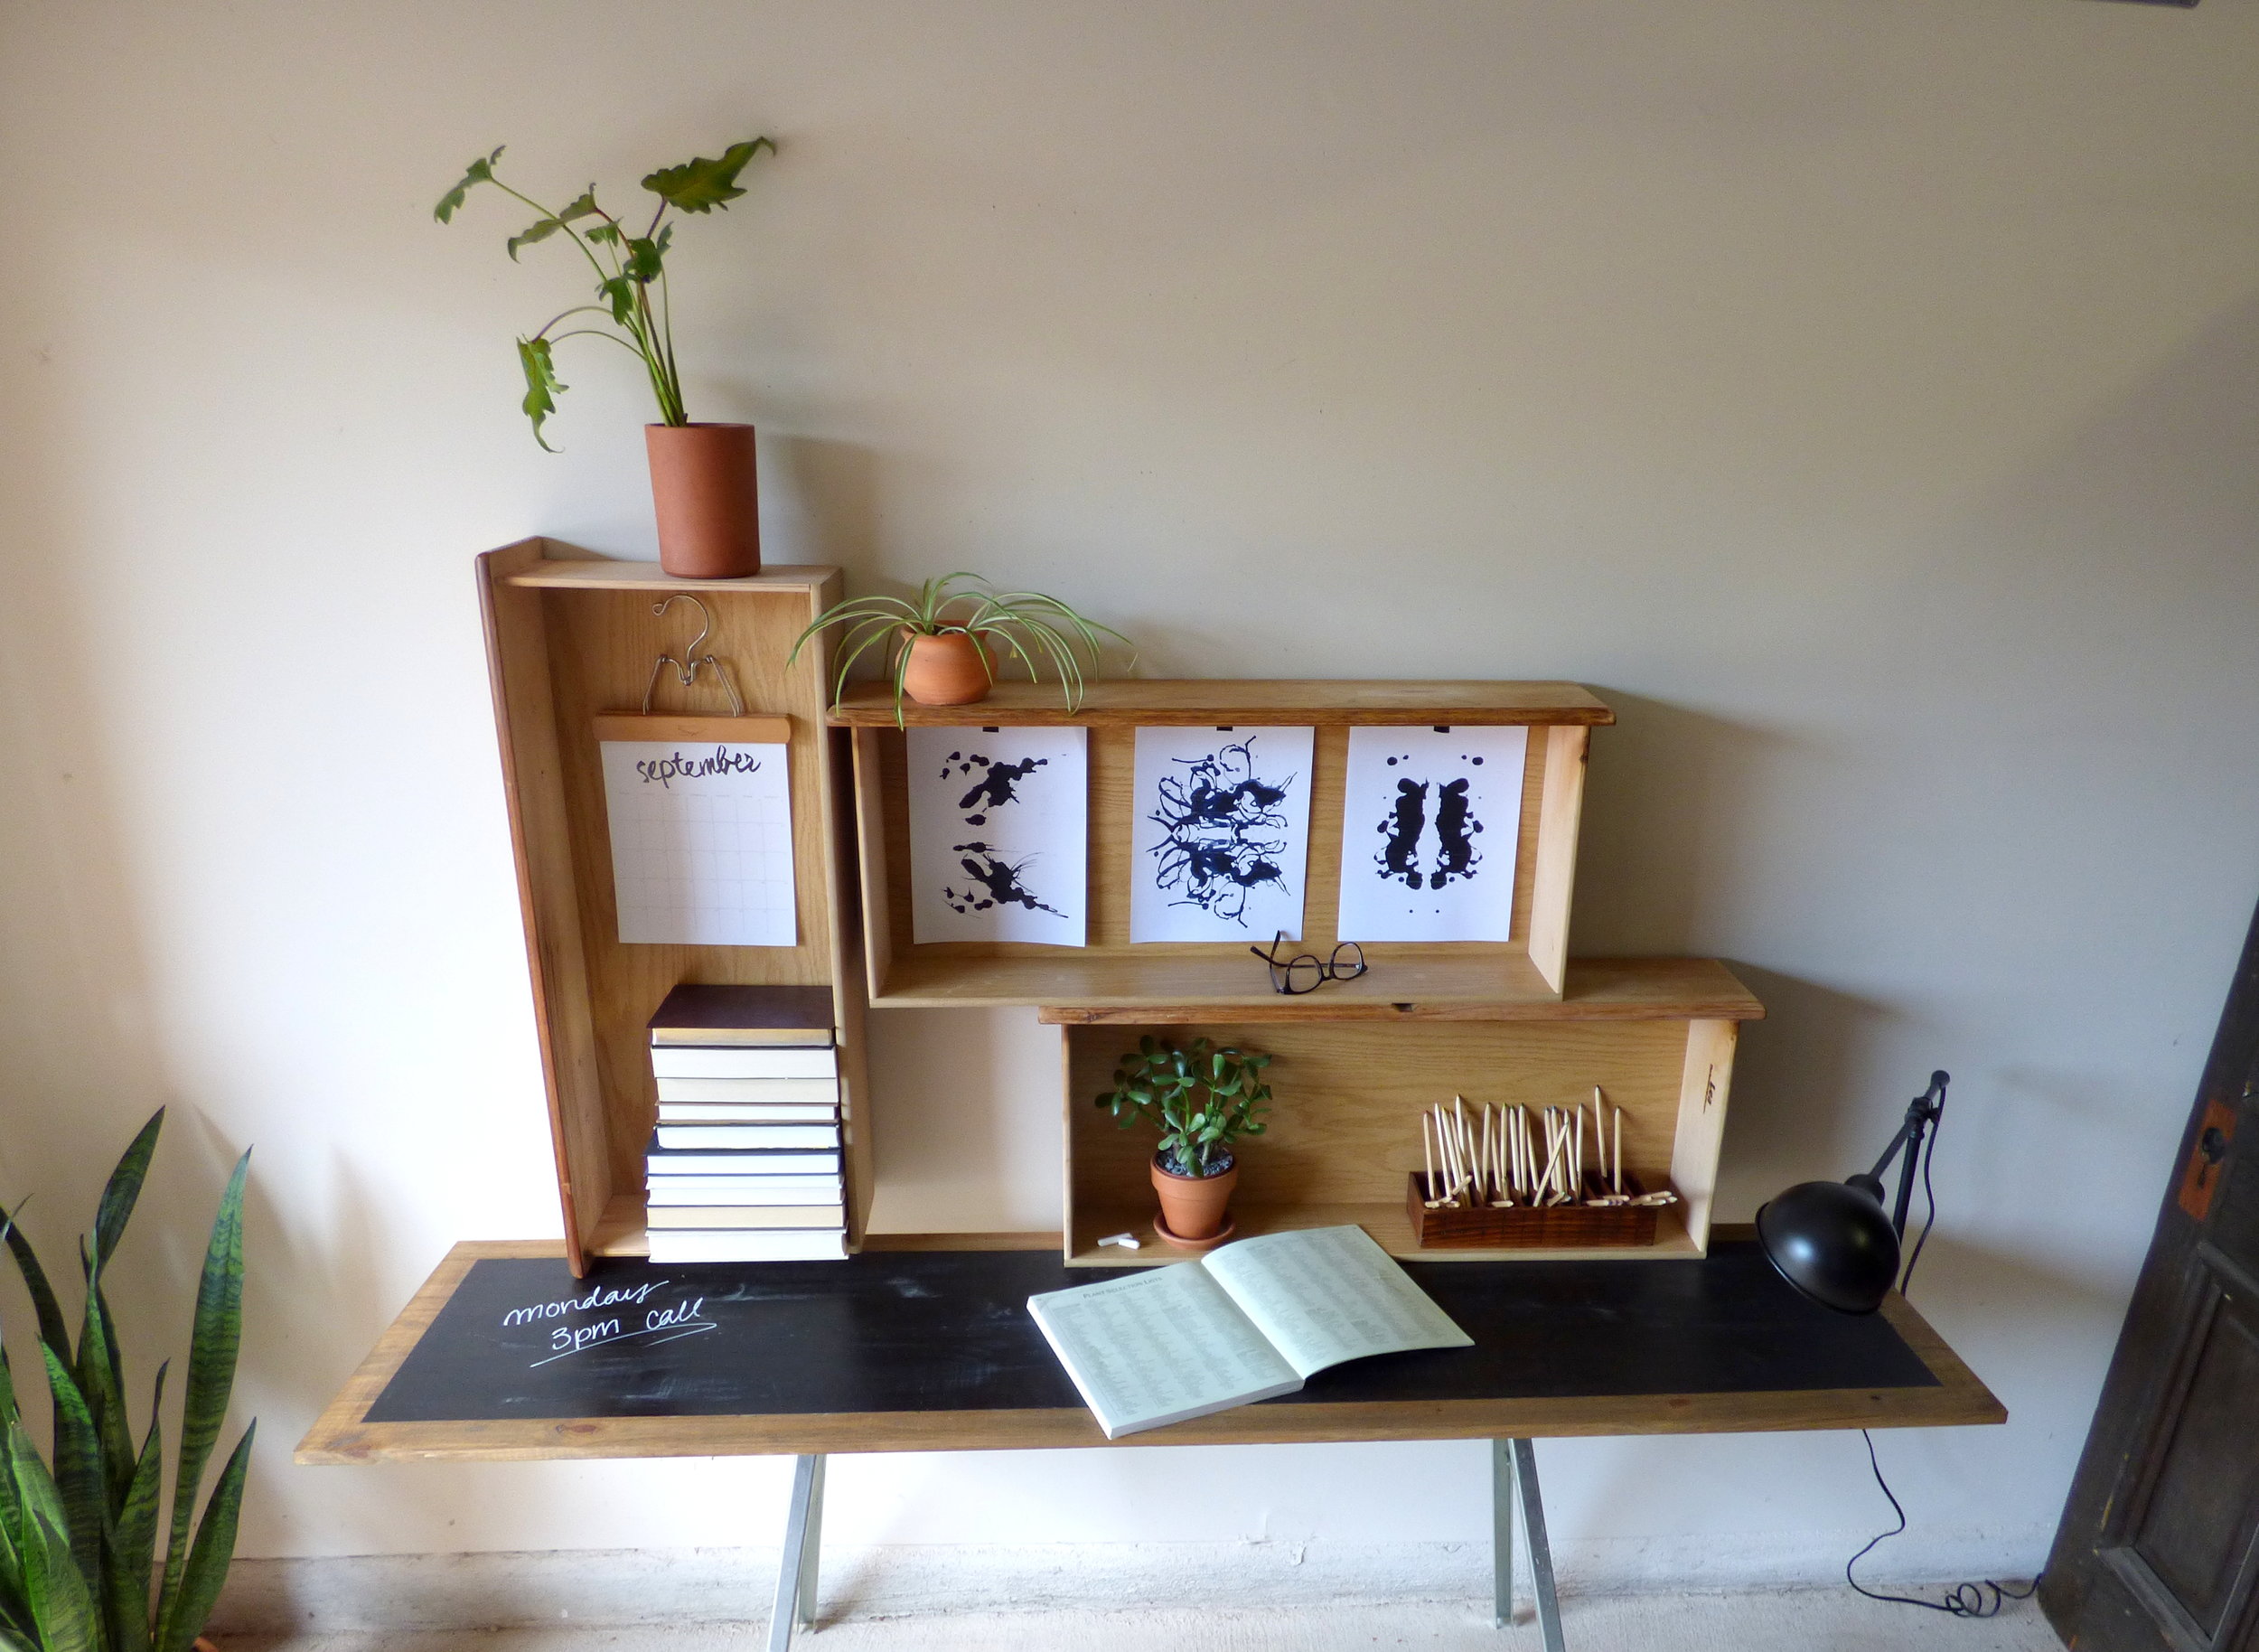
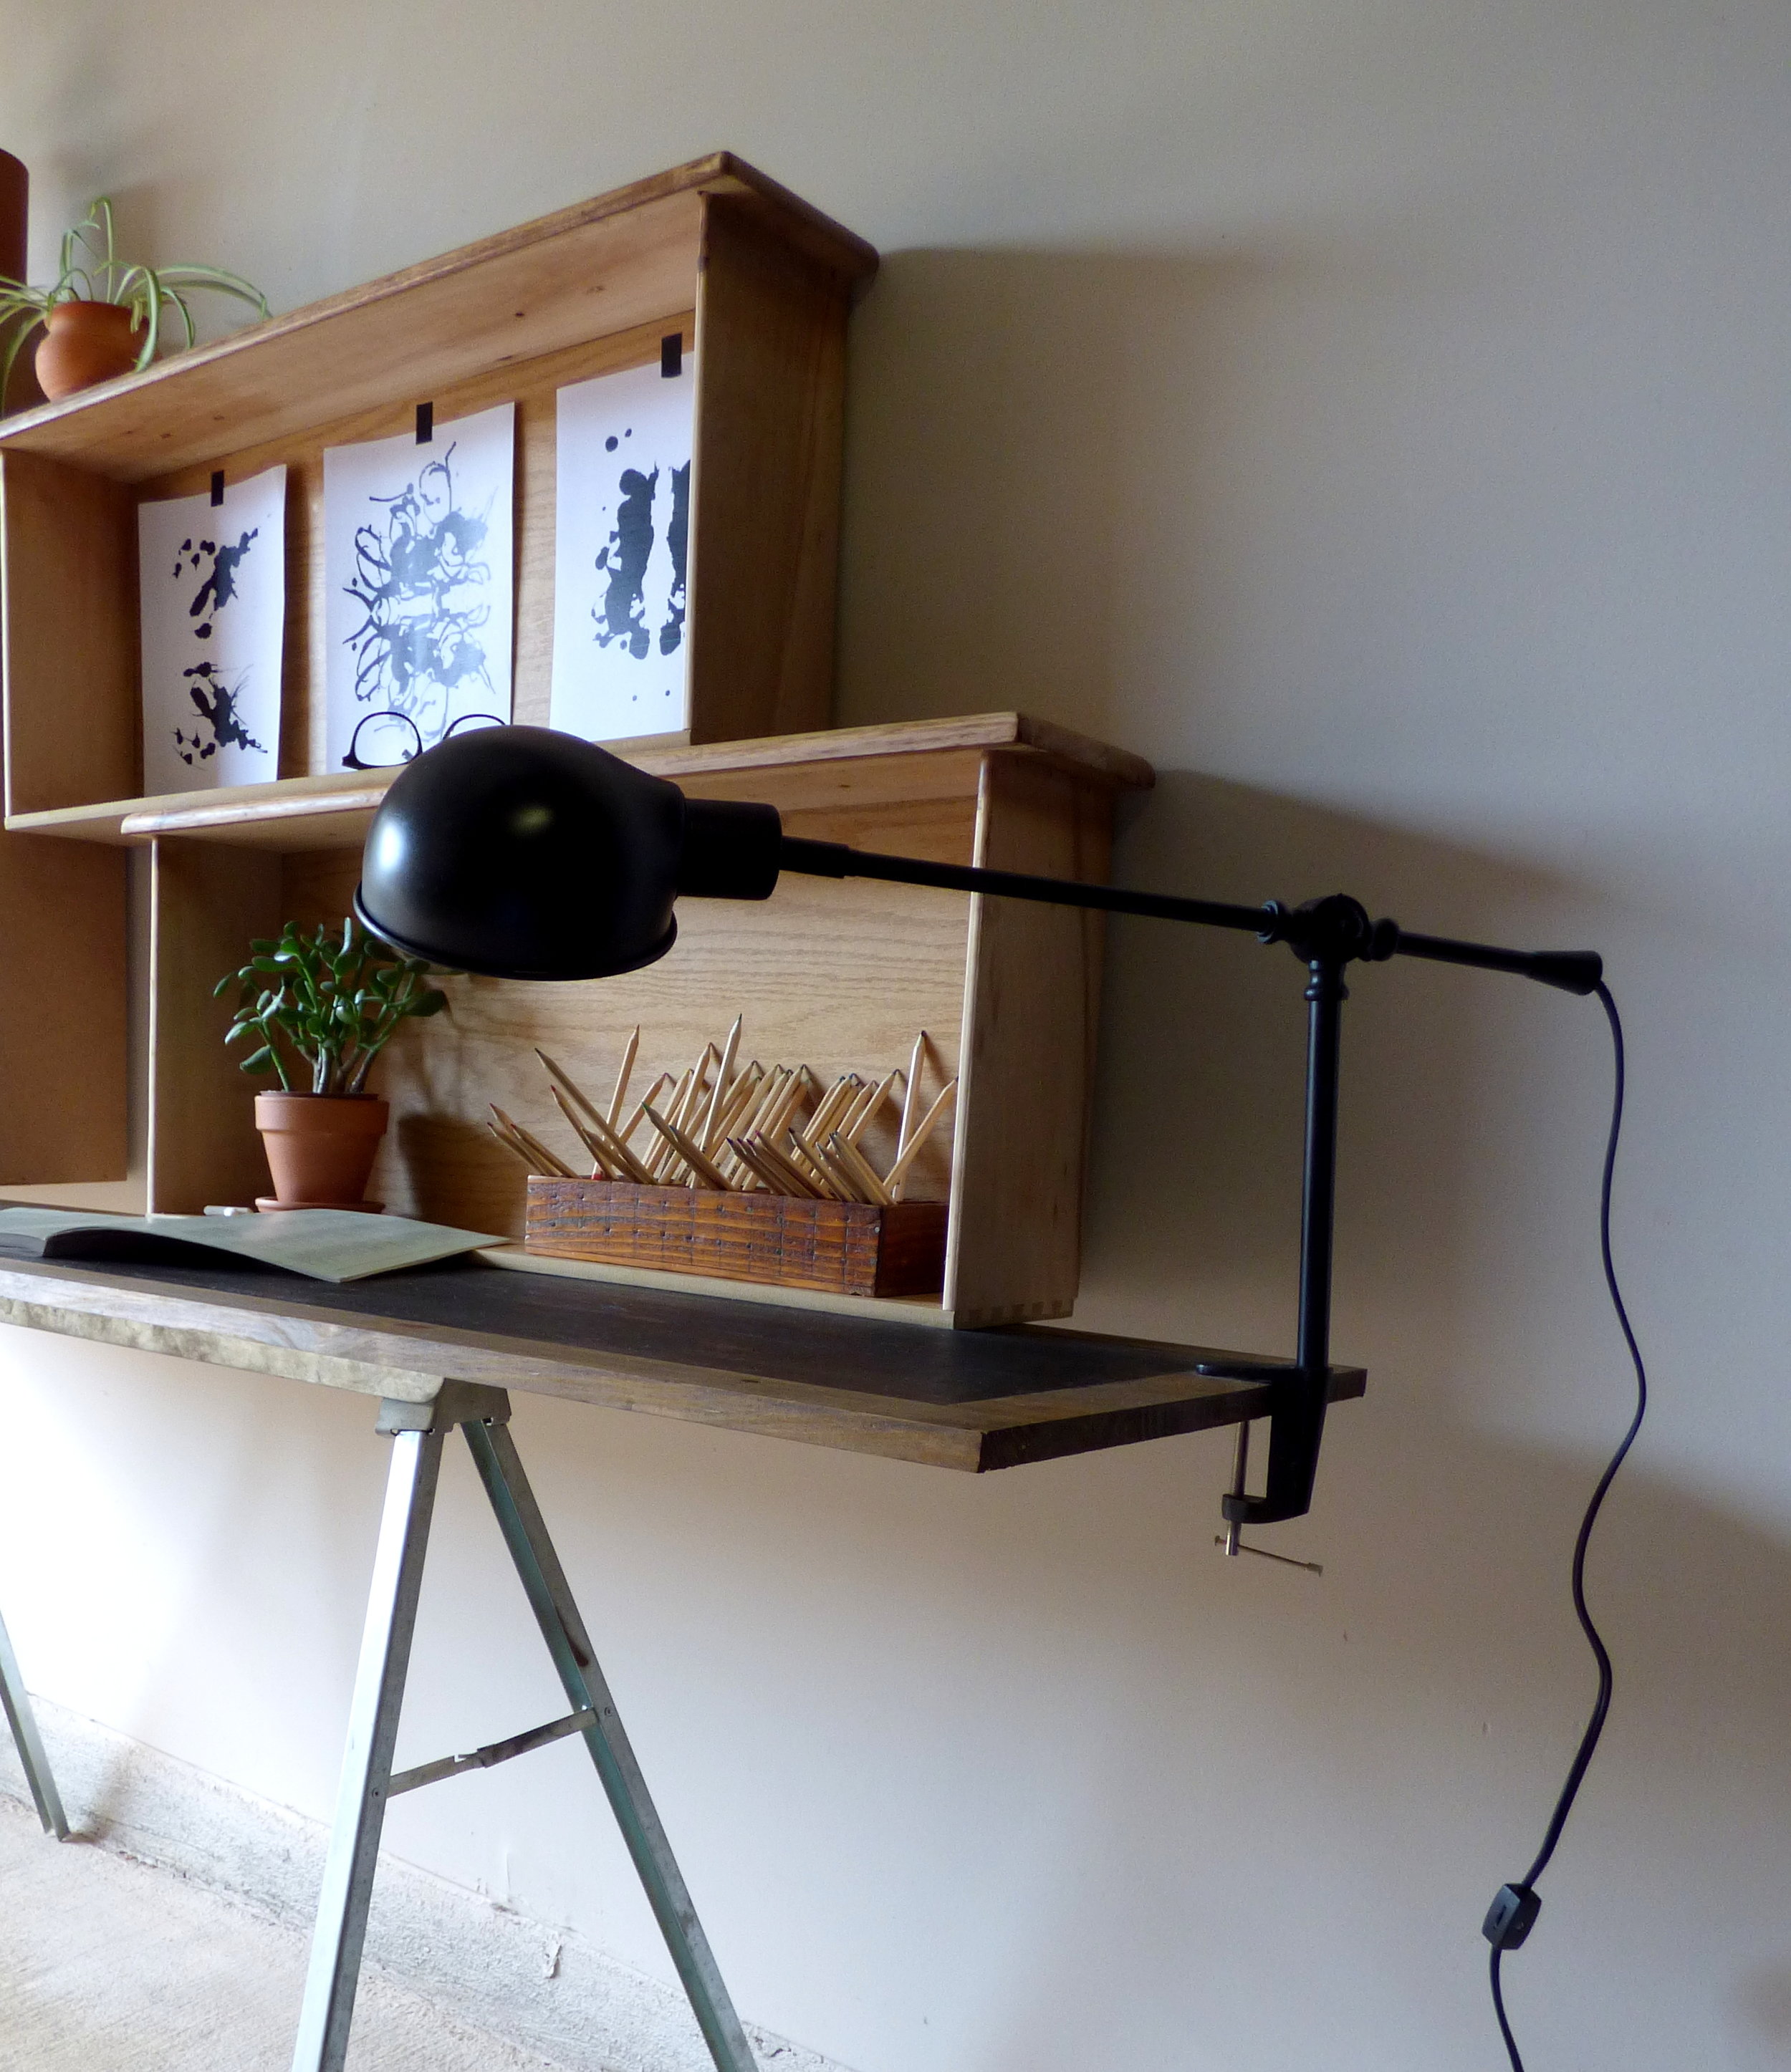
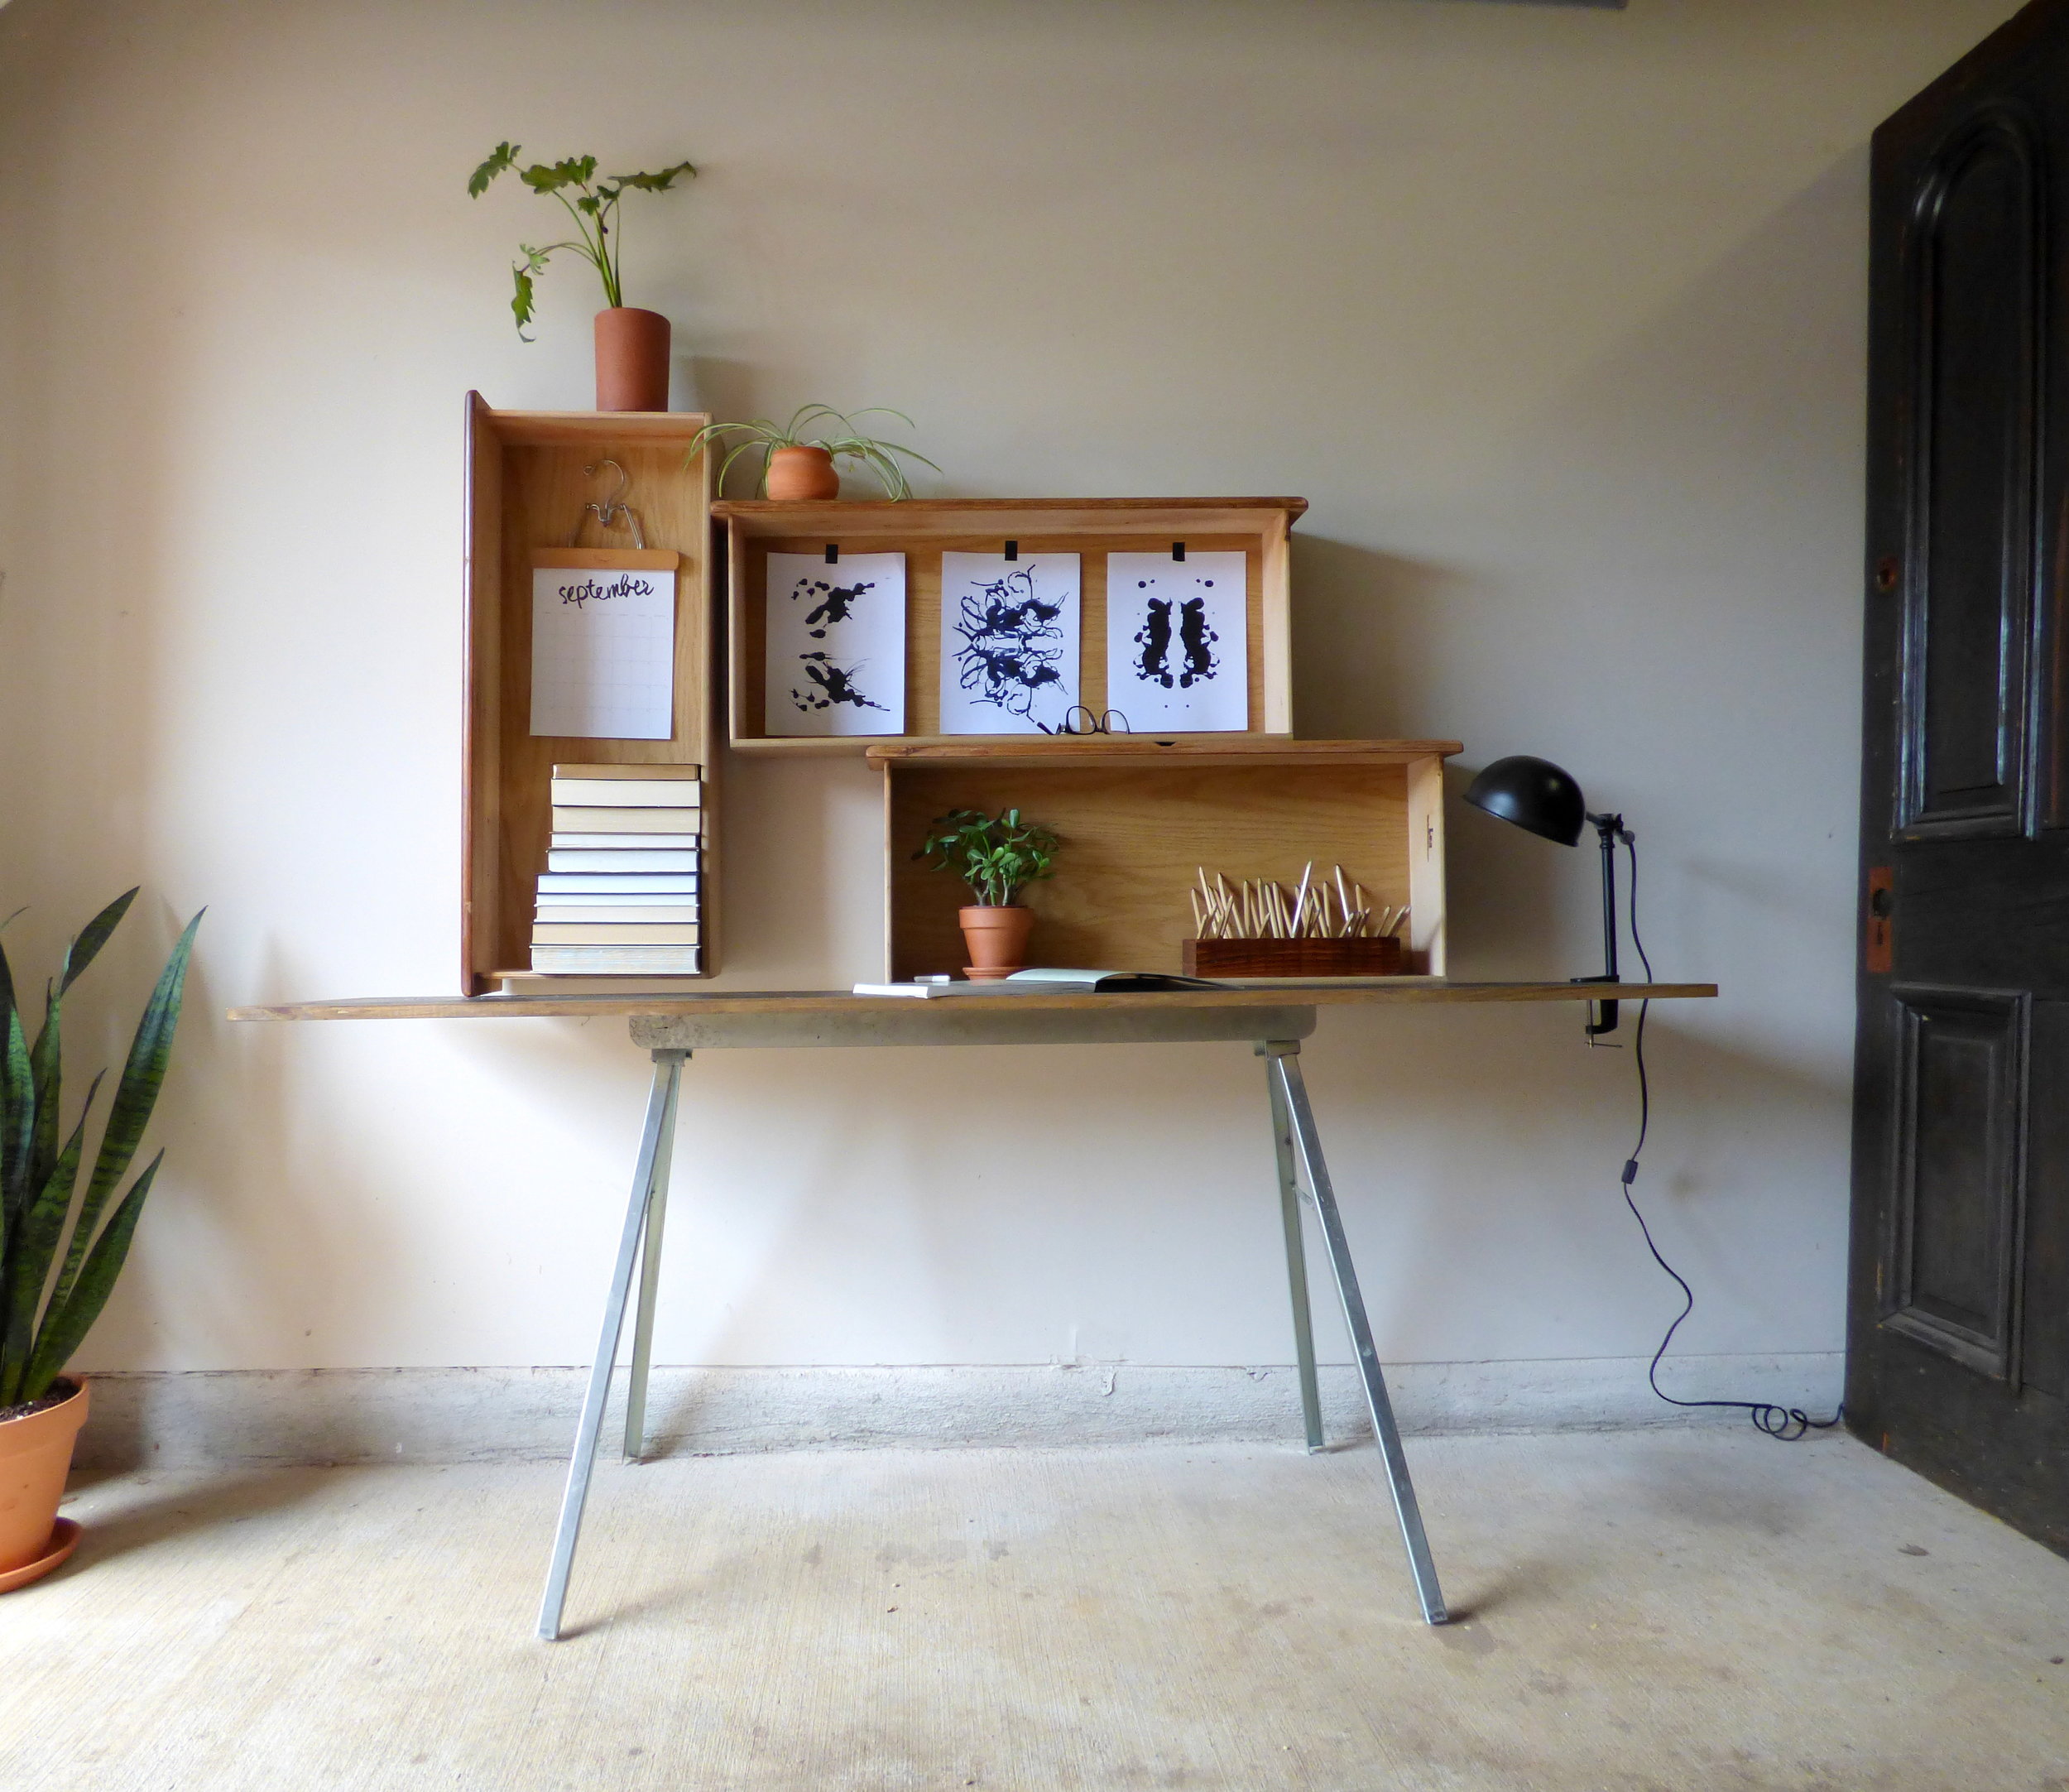
When I bought them, I thought I would make a massive desk supported by both sawhorses.  But their size length would make for a desk with a HUGE footprint (and quite possibly too large to appeal to potential buyers).  So I split up the set and used only one to make a narrower desk complete with a hutch and detachable lamp.

As for the other sawhorse, I was stumped.  Fortunately when I get myself into these kind of conundrums, I have a secret weapon: I call Chelsea in for a consult.

Now the LORD knew what He was doing pairing me up with such a creative and supporting business partner.  She took one look at them and said, "What if you make an industrial bench?"

Genius.

Chelsea lent me her hacksaw so I could cut down the legs of one of the sawhorses to the right height.  I combined both pieces of storied wood from each sawhorse into one bench surface and remounted it on the galvanized metal base.  

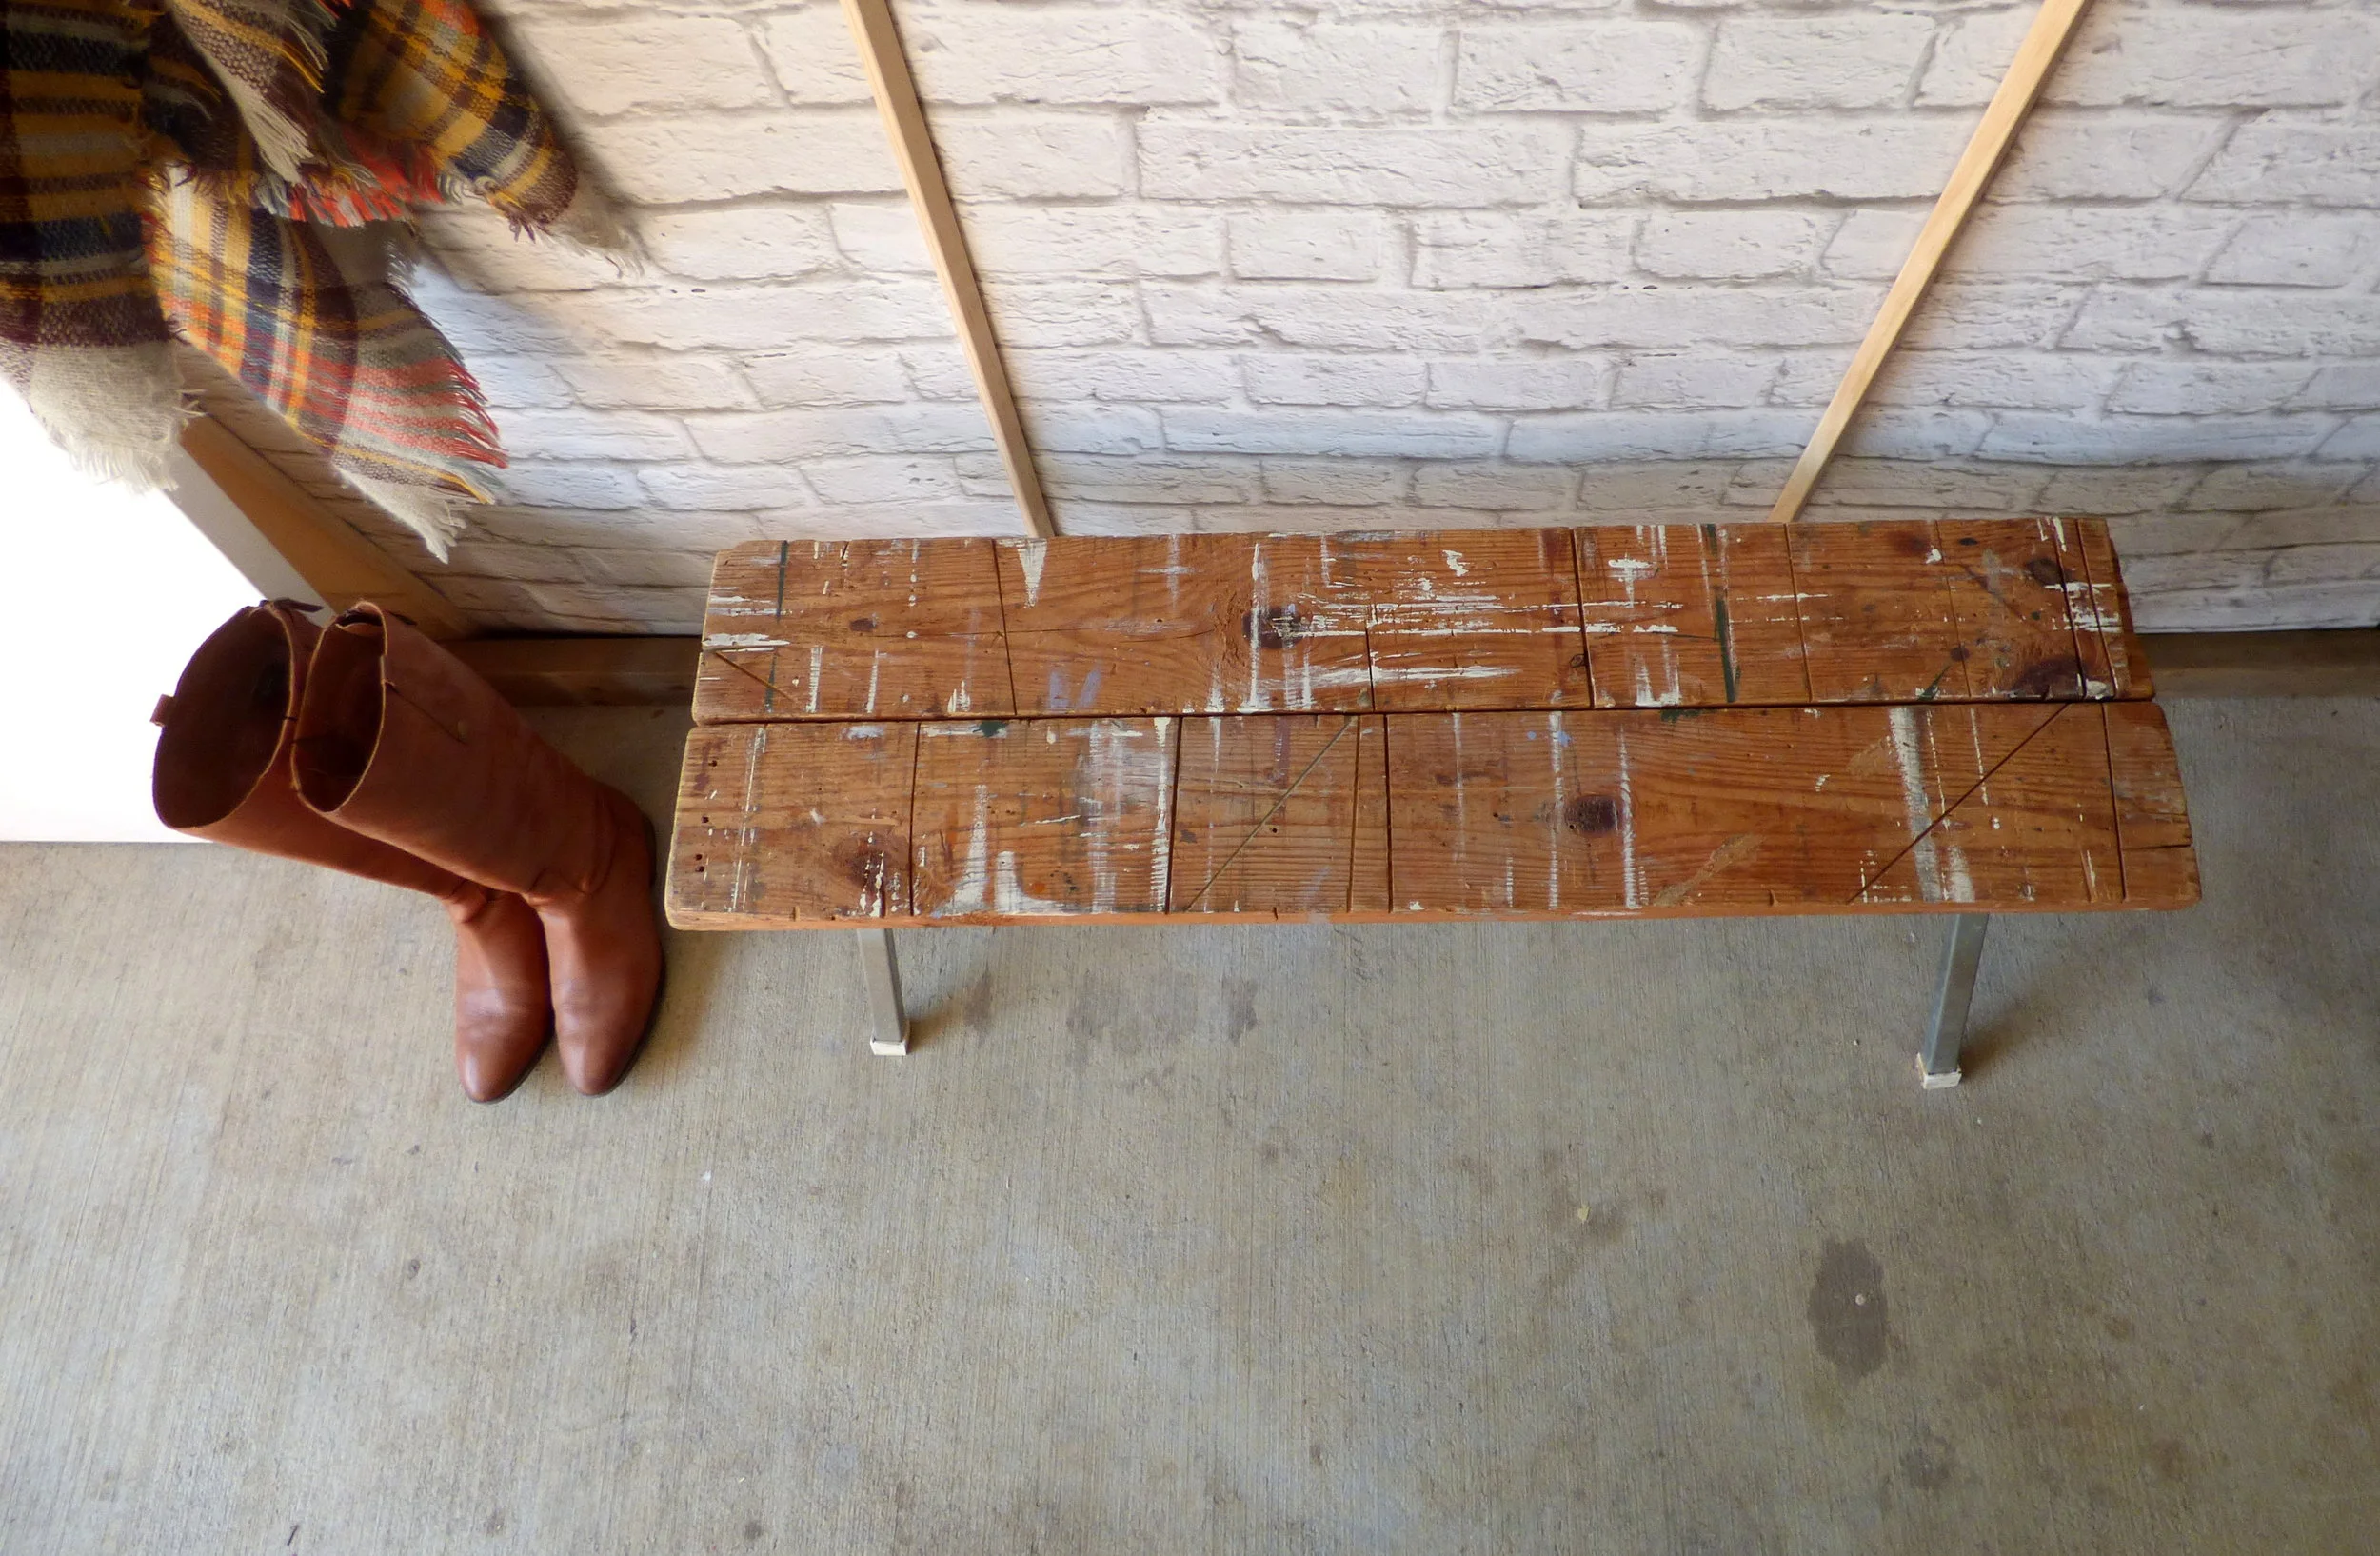
I just LOVE the saw and paint streaks - it makes me wonder what projects these sawhorsed saw(ed) in their day. 

See (saw) what I did there? 

Ijustcanthelpmyself.

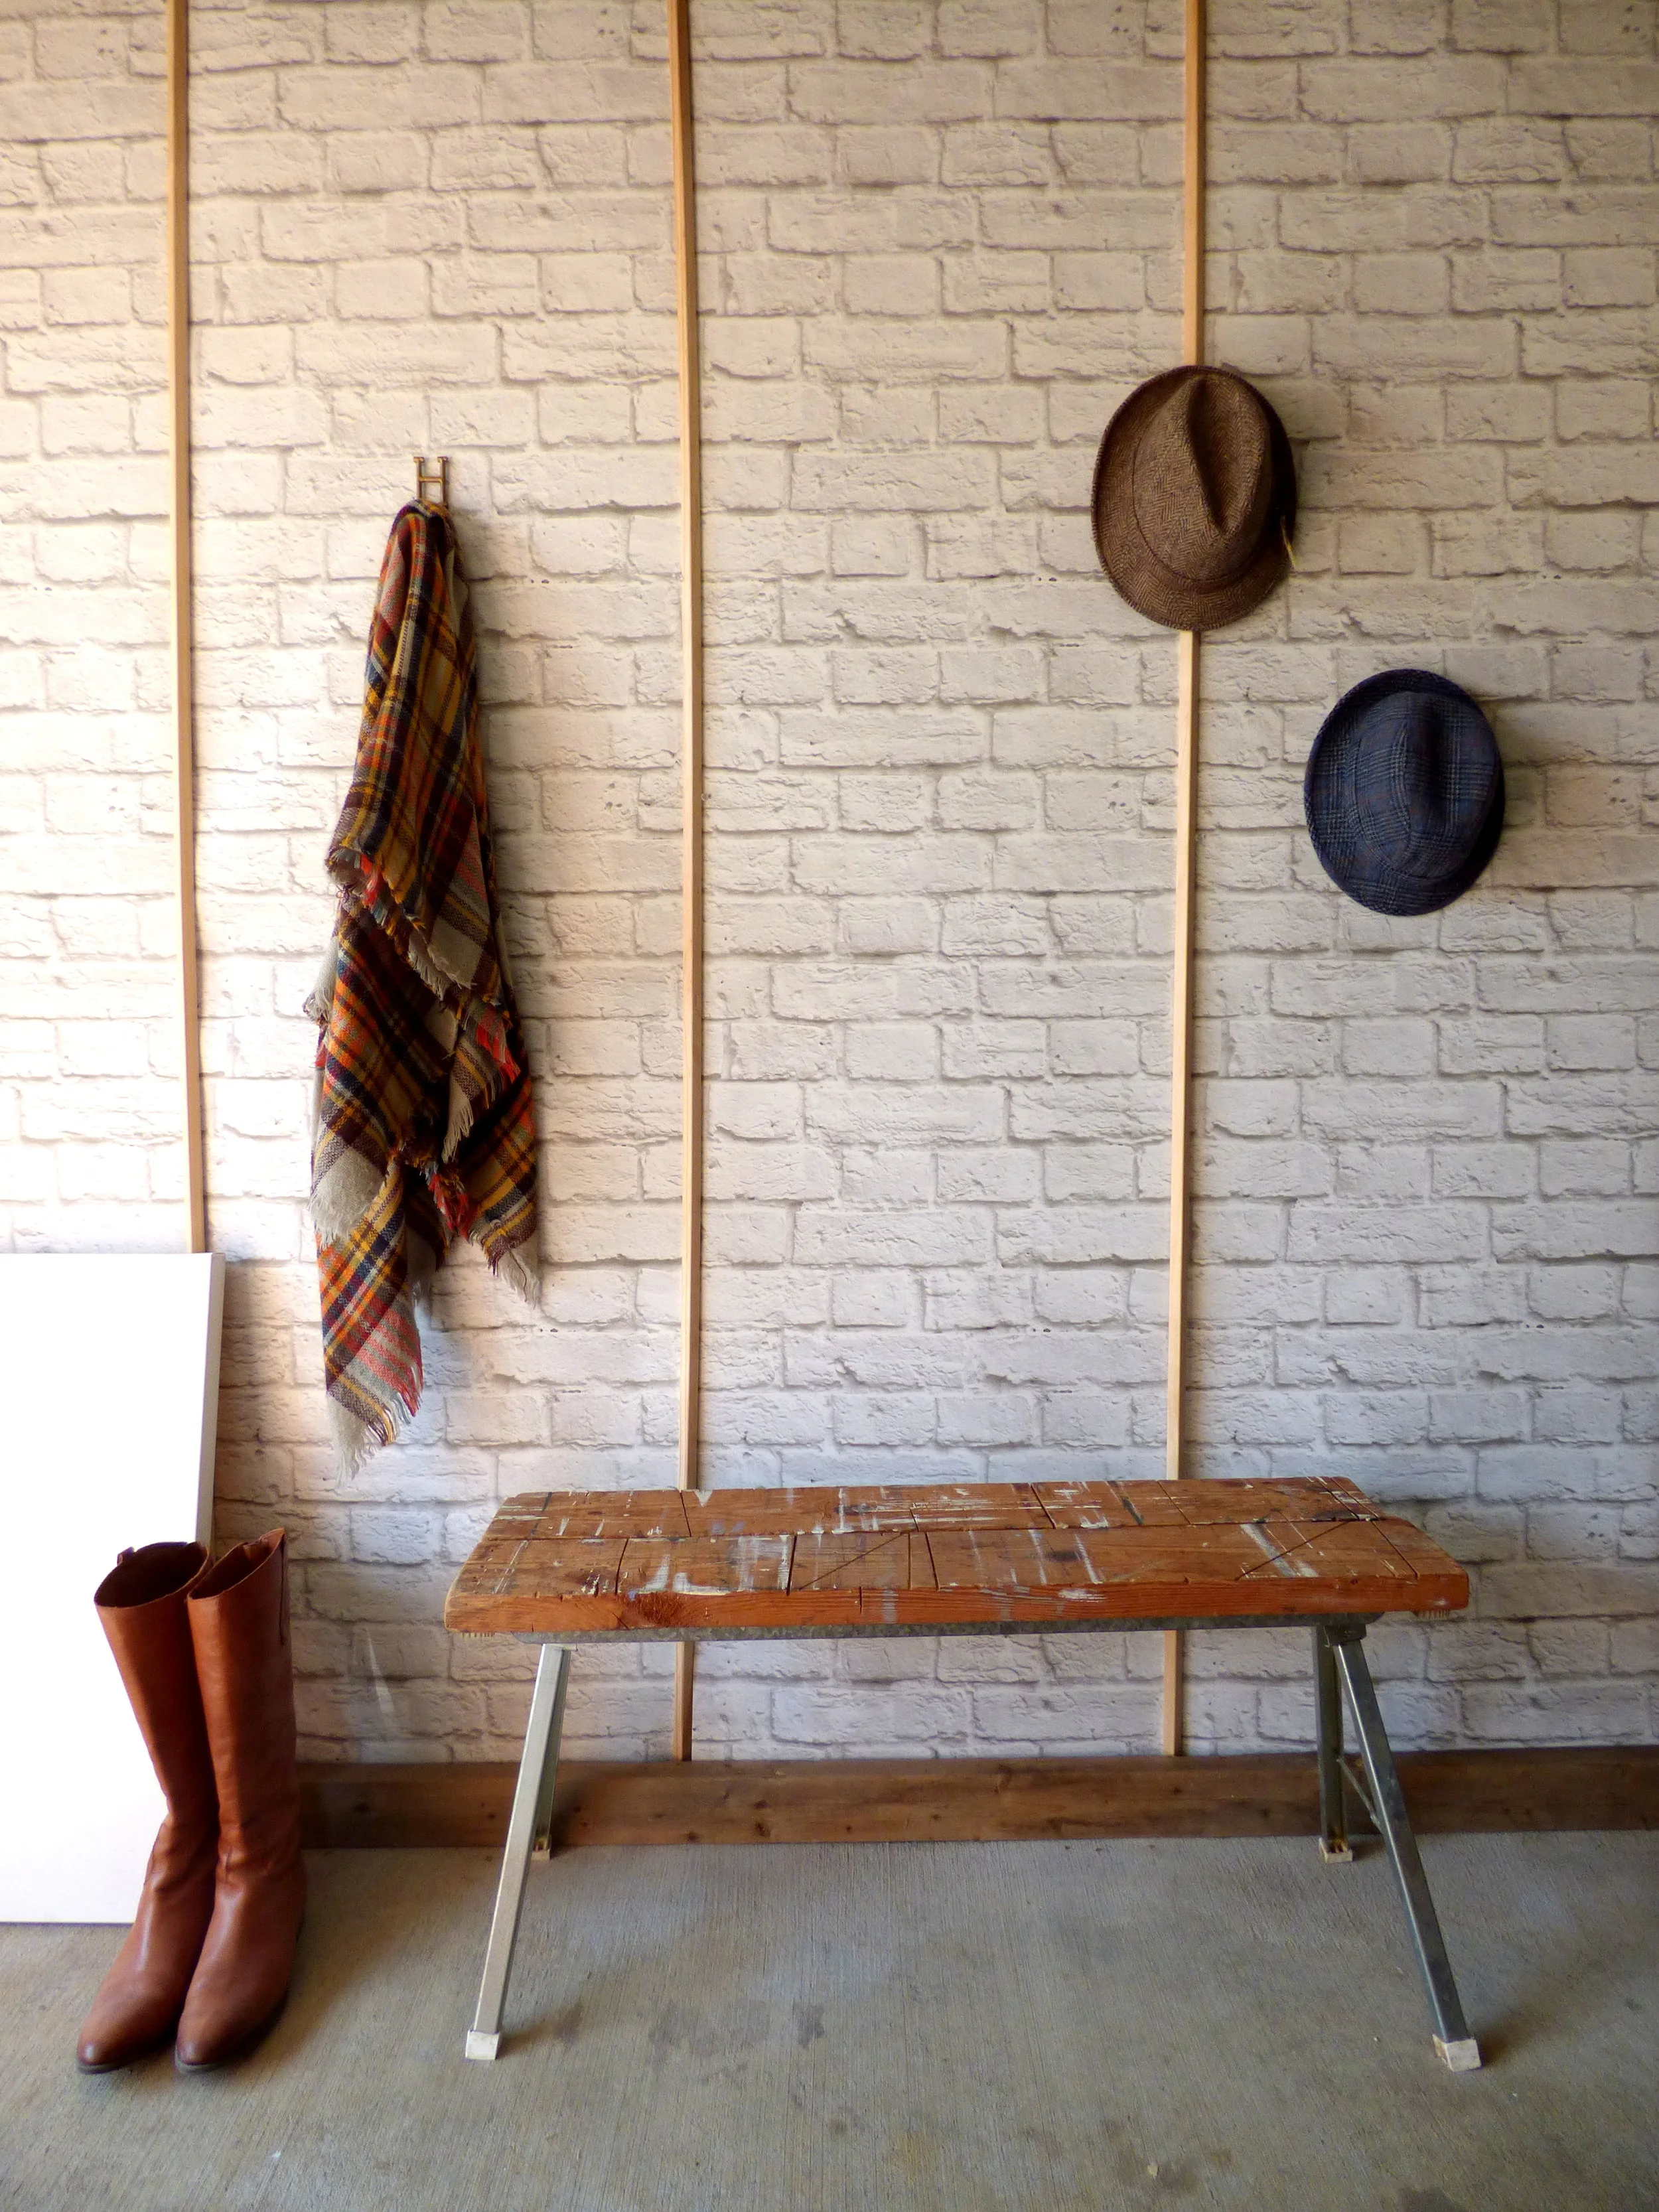
So what magical rugged loft did I drag my new bench to for the perfect industrial backdrop?  Where else do I stage my pieces these days...

Now, if you're clever and observant (which I'm sure you are) you may be thinking to yourself, "Cate, when did your garage get a brick wall?  All of your other staged pieces have always had regular old drywall as the backdrop..."

Clever, clever you.

Take a closer look at the photo - did I fool you?  Or are you onto my little ruse?

It's not brick, it's wallpaper.

I'll admit, I was skeptical about using a 2D wallpaper to make a 3D effect.  I don't often go for faux unless it's really convincing - but I live in a new(ish) apartment complex that doesn't have old charm in spades.  Cue Milton & King Wallpaper.  (Remember this wall hanging giveaway using their Gluttony print?)  Well they were generous enough to also send me a roll their very popular Soft White Bricks.

And I was surprised to see just how believable the pattern was even in person!  The only way you would know it wasn't brick would be to run your hands along it expecting to feel a gnarled texture and instead finding it's baby smooth.  

Disclaimer - I do live in a rental so I couldn't bring myself to install wallpaper only to take it down in a few months when our lease is up.  I just tacked up the panels and used wood trim to hide the seams that would otherwise be invisible if the paper had been glued.  (Plus it adds a little architectural interest.)

And just because it's Fall (and I'm obSESSED with cooler, crisper weather), I used my favorite fall accessories for this shoot. 

Thank you Milton & King for opening my eyes up to the wonders of high-quality wallpaper prints!  One of these days I'm going to have to get my hands on your Marble and your Dandelions prints.  (Insert 17 heart-eye emojis)

It's only fitting that this industrial bench ended up in a cool DC apartment.  That's right!  If you've been following along with us you may recognize this bench from yesterday's eDesign reveal:  

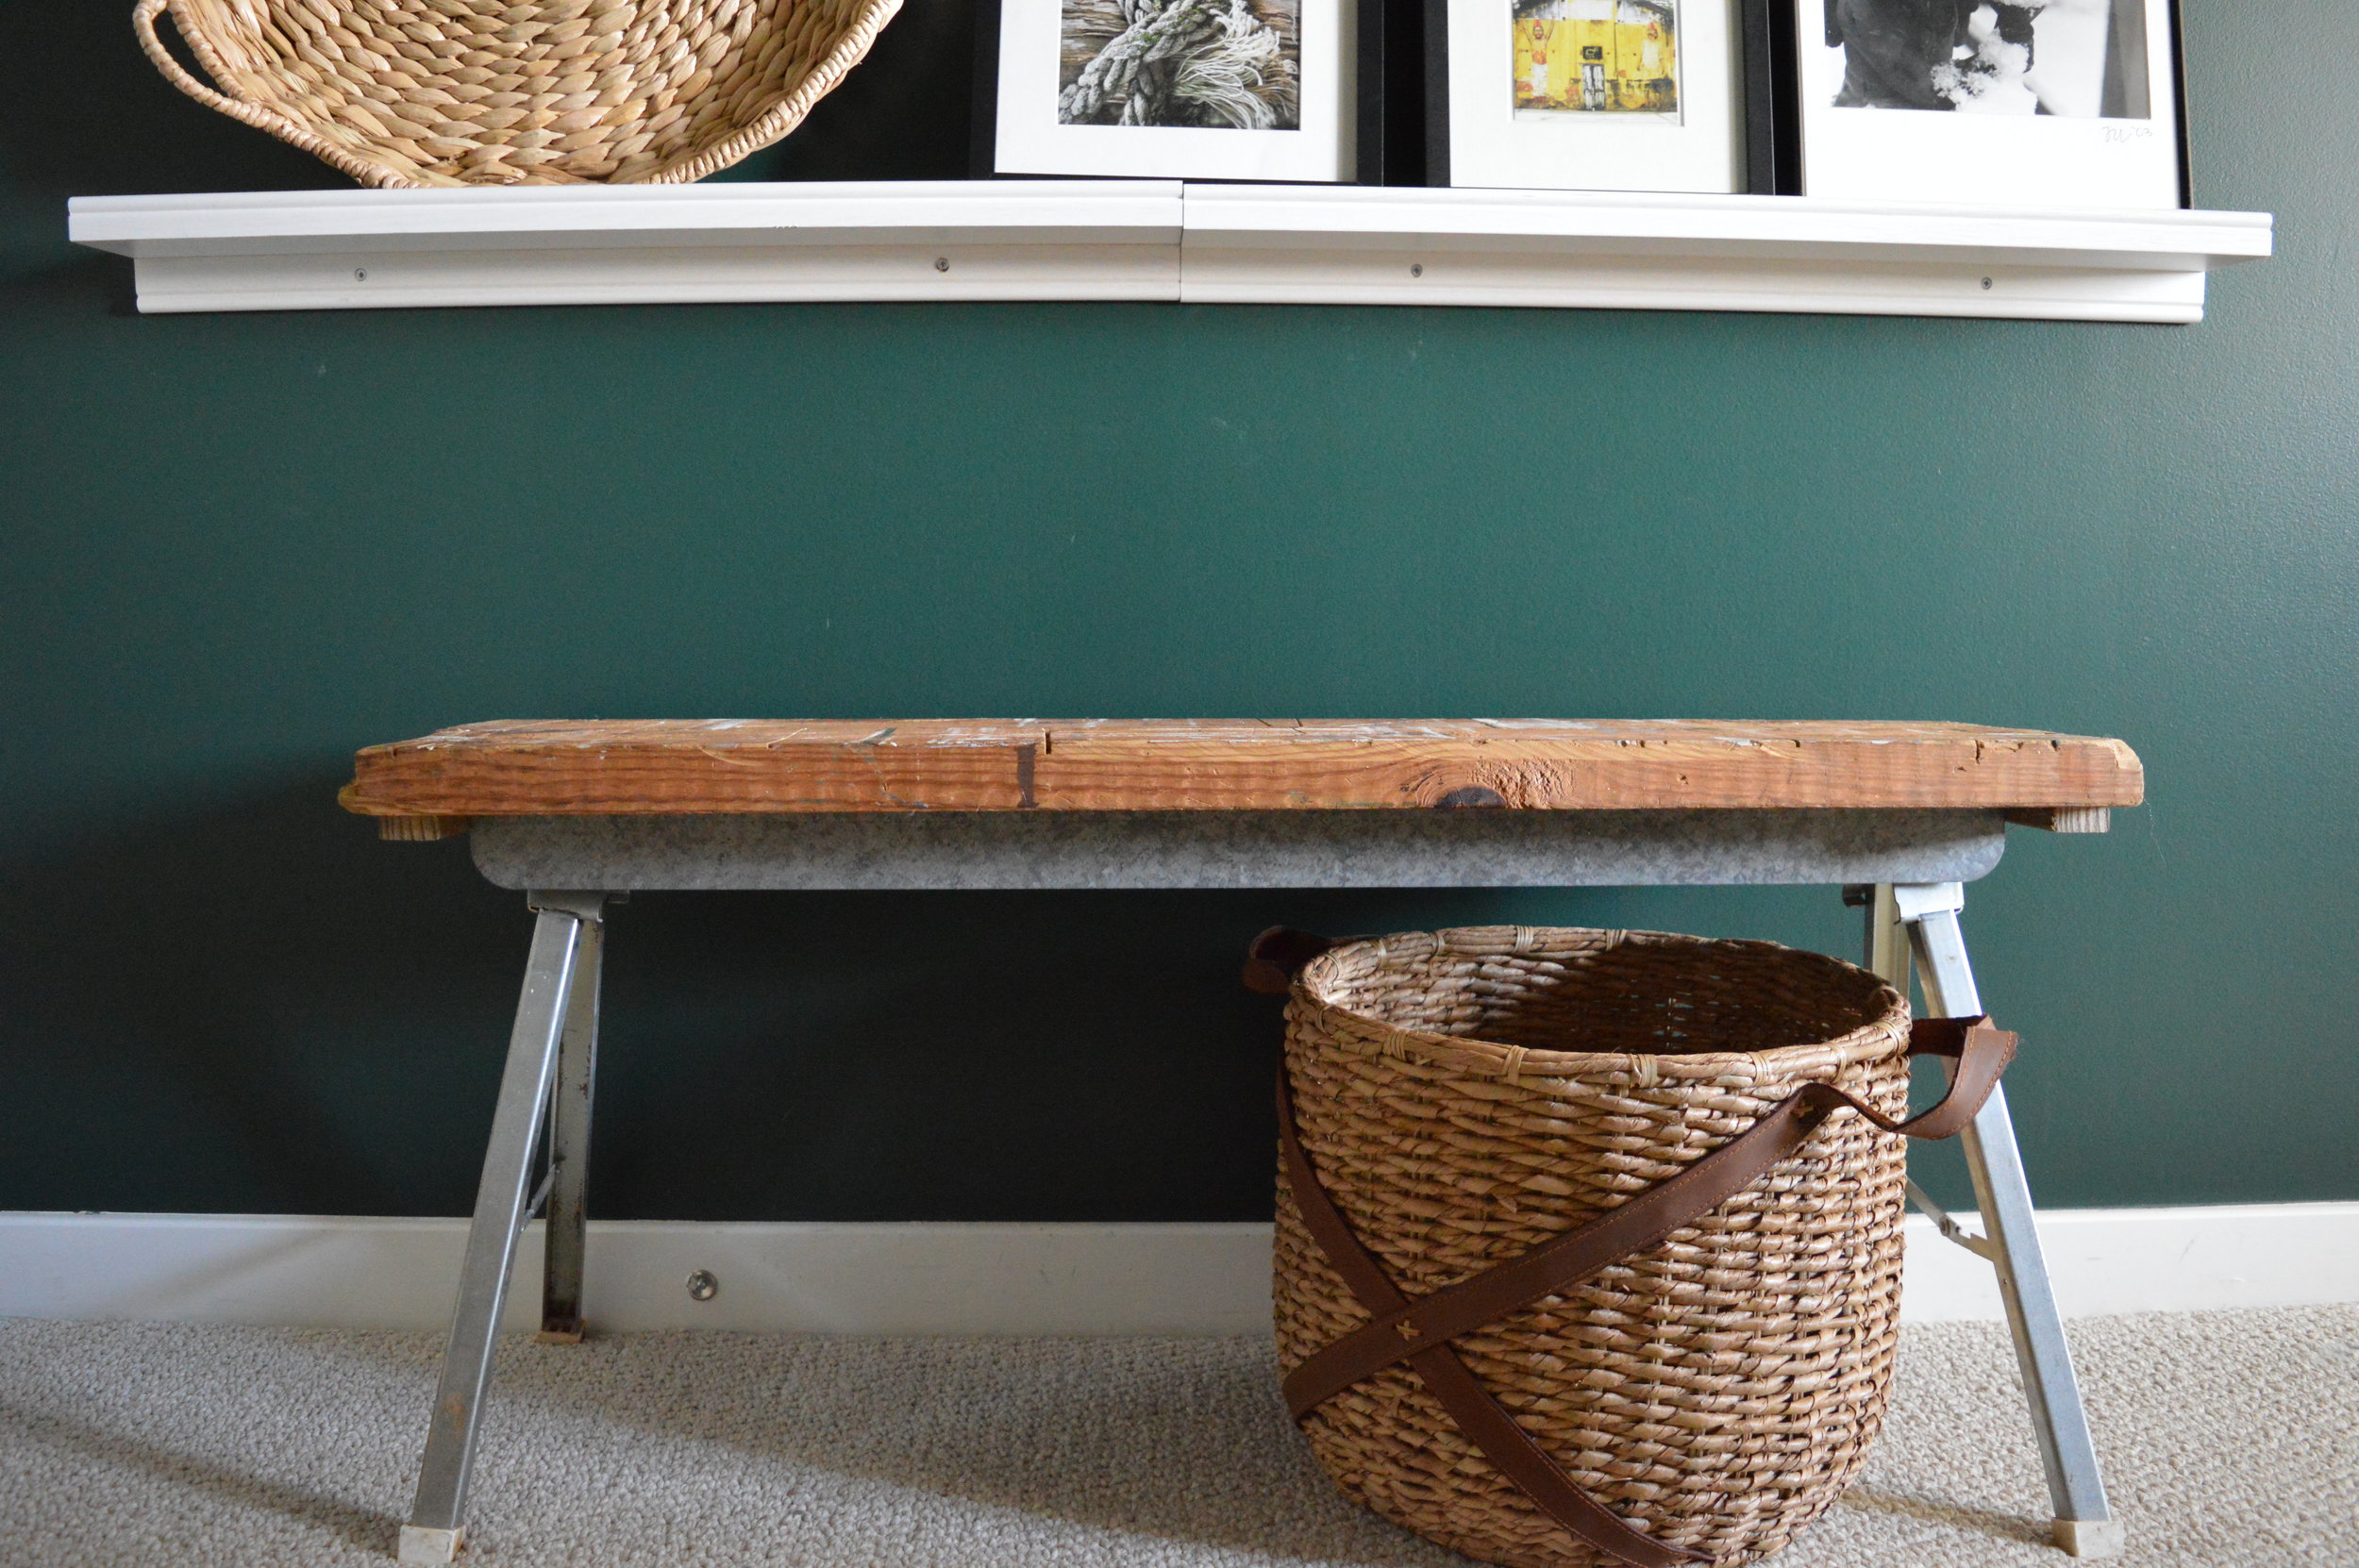
May he forever grace our client's moody dark green hallway!

Tricked-Out Industrial Desk

I seriously never know what's going to jump into my cart when I go thrifting.  But that's kind of the point though: go out with open expectations and see what projects will reveal themselves to you.  And on a recent treasure/ trash hunt, I came home with these babies:

Sawhorses.

Right away I noticed they were just the right height for an industrial-style desk but I needed to find a desk top.  In the spirit of using what you have, I dug up that old  tri-fold chalkboard we used as a giant program at our wedding and decided to repurpose one of the panels.

The chalkboard had been collecting dust in our garage for a few years with the exception of when it got a moss & bookpage makeover to be the "something borrowed" at a dear friend's wedding:

But collecting dust does no one any good (especially if you have allergies) so I introduced a chalkboard panel to one of the sawhorses and they hit it off!

How perfect is that?  The chalkboard surface makes it easy to jot down tasks that can be wiped clean when completed.

I built the hutch out of 3 old drawers that can be reconfigured to suit.  They were also collecting (saw)dust in the garage from a dresser that was too damaged for me to repair and were serving no purpose until I also introduced them to the sawhorse and chalkboard.

They're like a blended family - Mr. industrial Sawhorse meet slender Chalkboard and they adopt three orphaned drawers to make a little desk family.

P1020196-001.JPG

The desk also comes with a pet cLamp (which is Cate for "clamp lamp").  

It has adjustable angles and an on switch on the cord.  And unclamps for easy repositioning.

(To be honest with you, I'm not sure what person I staged this piece for: a college-bound hipster majoring in psychology with a double minor in botany and art maybe?)

Chelsea and I are currently hatching a plan for the other sawhorse as we speak so you'll have to stay tuned to find out what juicy client project that will turn out to be...

Oh and the lucky buyer of the Desk family can also opt to take home uncle Chair (complete with black leather and thick retro vibes) at no extra charge. 

Industrial Sawhorse Desk [ + Hutch + Lamp + Chair]
SOLD
[Sawhorse Desk] 72"L x 17.25"D x 30"H
[Re-Configurable Hutch Drawer Shelves] 34"L x 14"W Each
Price: $245

If you are interested in this piece or a custom order like it, please contact cate@stylemutthome.com.

The Light Fixture Family Tree ||why I don't throw things away||

I hate throwing things away.  My husband would say that makes me a hoarder.  But I believe that makes me resourceful ;)  I will often hold on to old parts from past projects until I can find another use for them - and sometimes my... resourcefulness... pays off.  

Last summer, I scooped up this faceted foyer light at my local ReStore.  I liked the look of the brass + bulb components inside and started thinking, maybe I can repurpose them into a DIY sputnik-style chandelier.  So I bought the whole kit-and-kaboodle and promptly took it apart.

After disassembling it however, I couldn't bring myself to scrap the faceted lantern.  I thought about turning it into a terrarium or a more functional table lamp again [I have a weak-spot for disassembling light fixtures apparently...] but in the end I brought it to our pop-up shop at Sweet Clover Barn and sold it as a dainty umbrella stand.

As for the original "guts" that had inspired the DIY chandelier on my 2016 furniture flip bucket list - well, I held on to those babies for almost a year [much to my minimalist-of-a-husband's dismay].  Until I found this lamp...

Behold!  That tall, handsome, square piece of brass pipe that's the perfect length.  I finally had all the pieces I needed for the frame of my sputnik light!

But after I had my hands on the brass pipe I needed, I still had the other perfectly-good components of the table lamp to play with - like the 4 decorative pieces of turned wood.  After stumbling on a $2 round wooden tray at the thrift store, I soon had a plan for those too: a mid-century modern plant stand.

So just to recap, here's a handy infographic on how one old lantern and one old table lamp came together to make 3 new beautifully functional  pieces and nothing was wasted in the process!

I'm still working on the wiring for the sputnik chandelier and [if all goes well] will be sharing the results soon!  In the meantime, I'm curious if any of you have created your own diy family trees by repurposing project left-overs.  Please share in the comments below!