DIY Belted Wall Clock

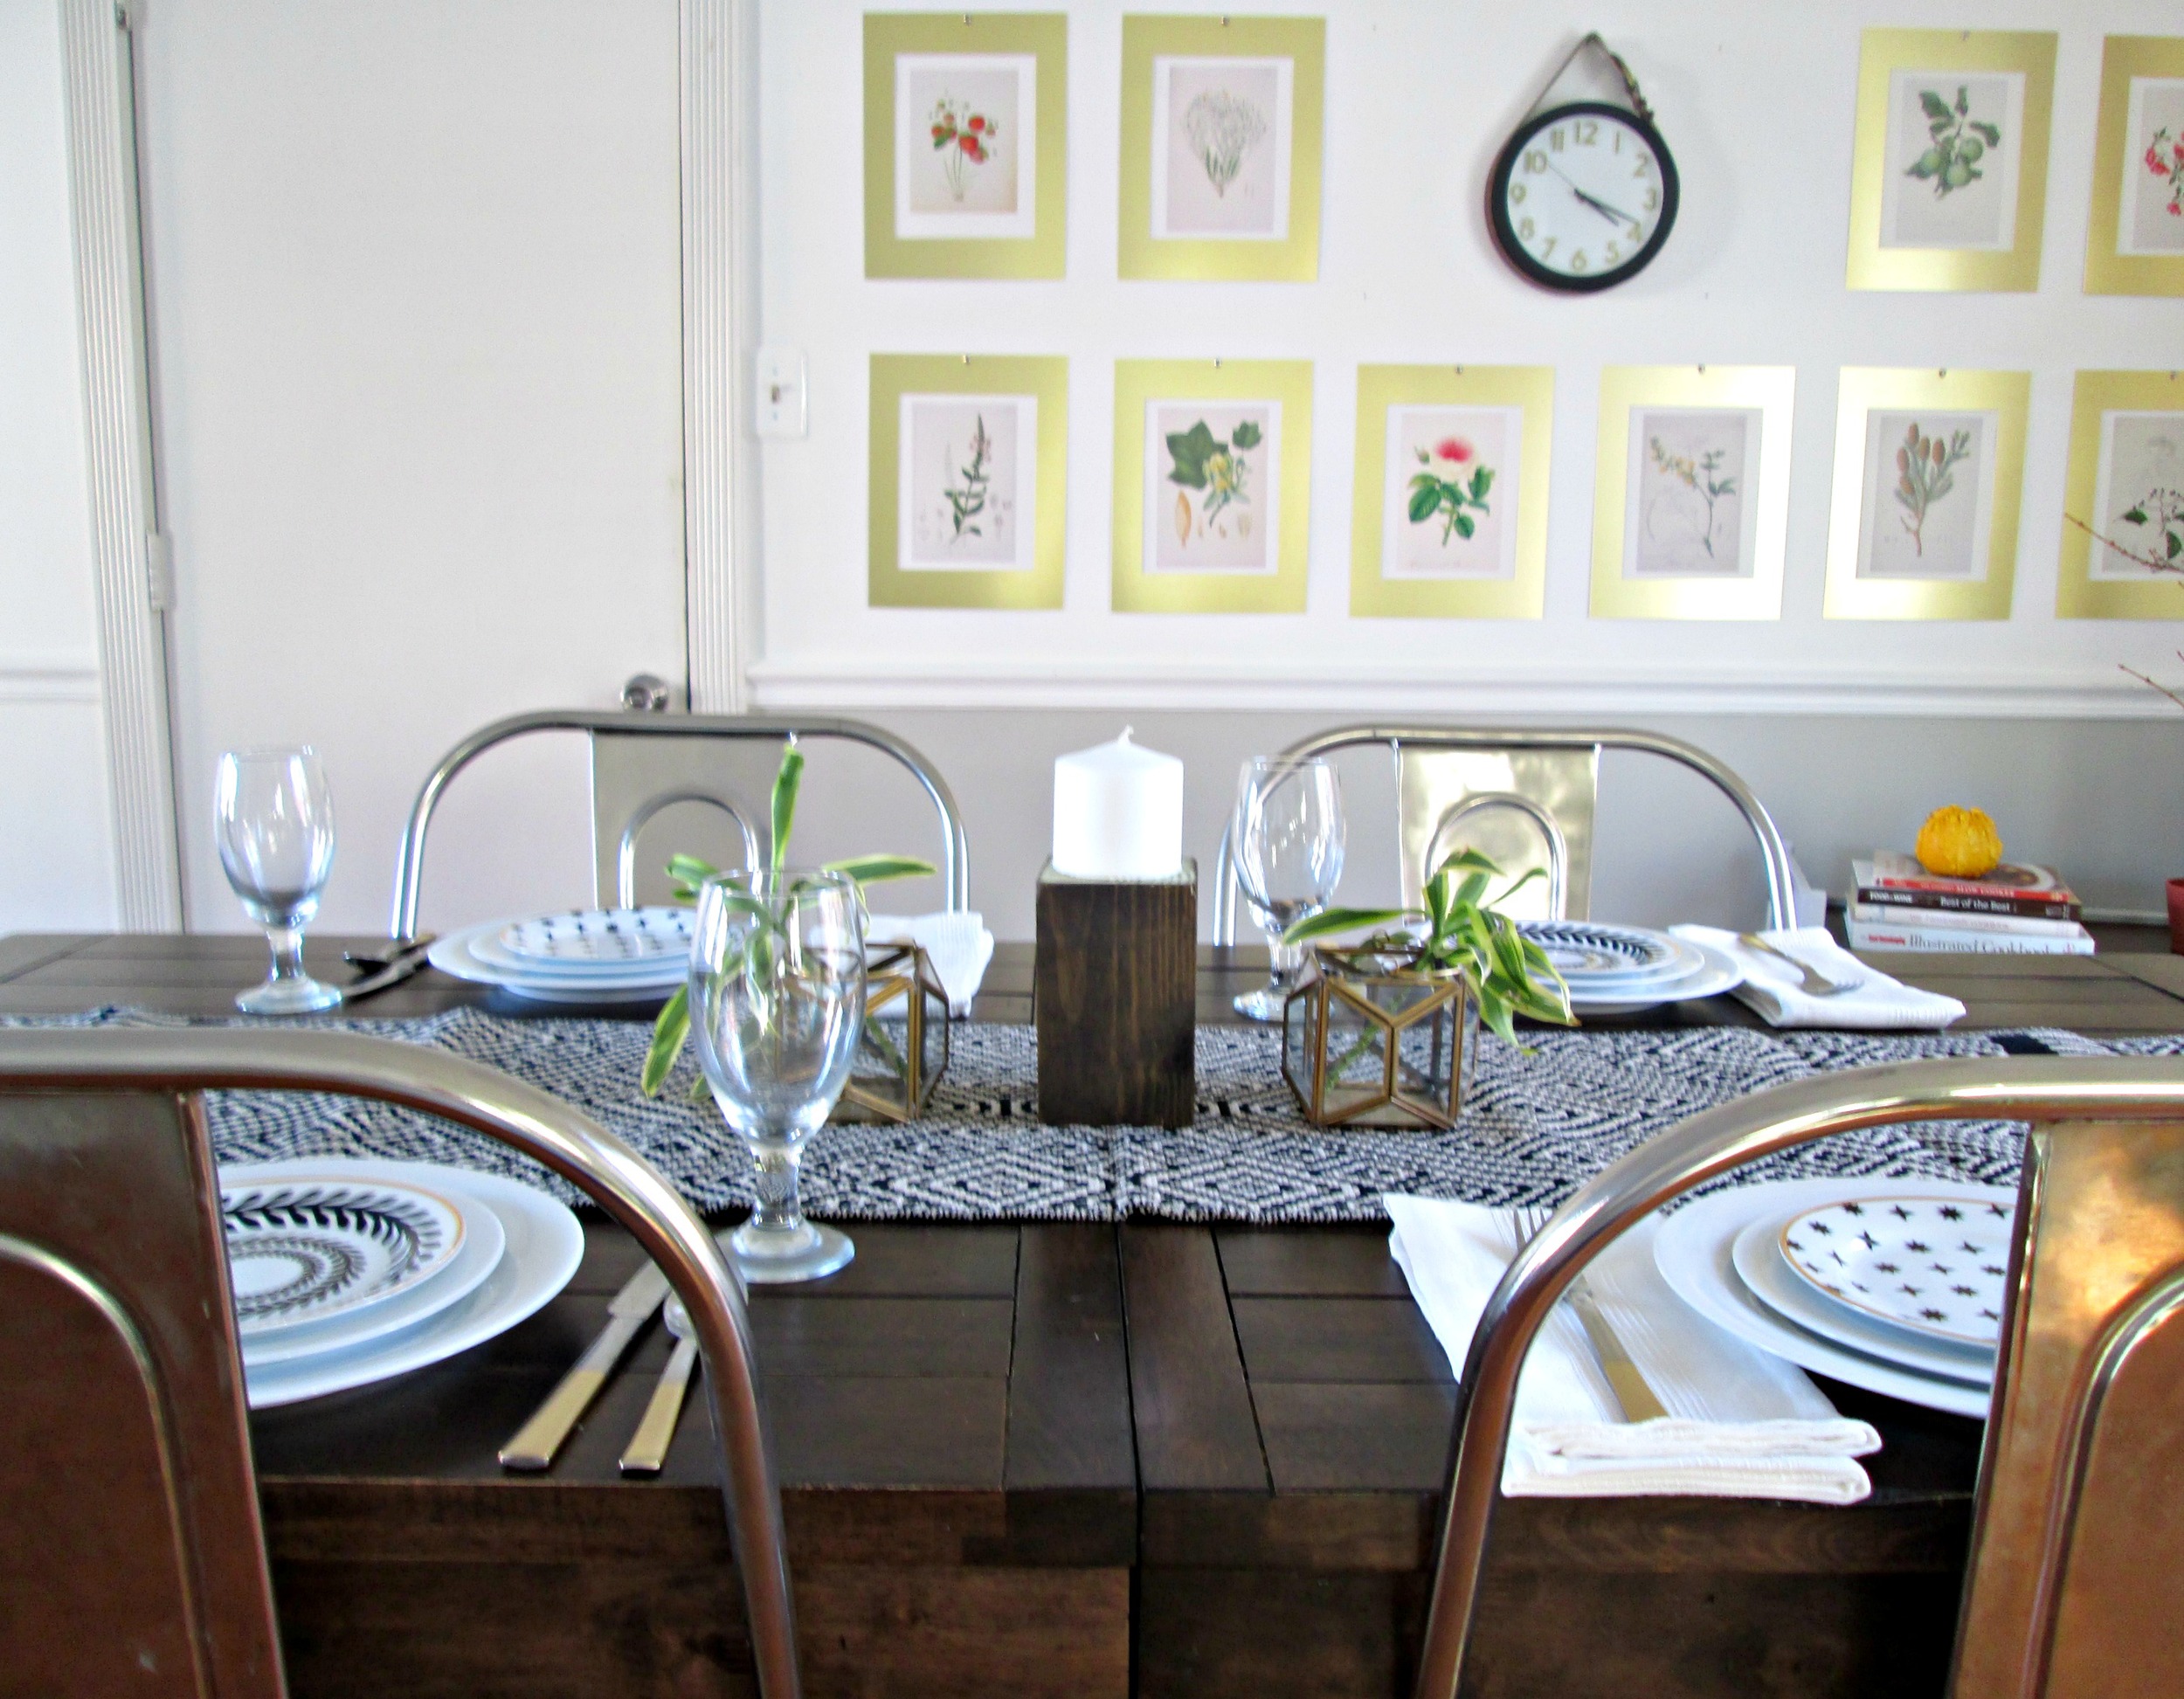
Hi guys! Just stopping by today with a really fun DIY that would fit into just about any decor style! This hanging belted clock got a really fun response on Instagram a couple weeks ago and I've been excited to share the deets here on our blog!

We may be on the brink of Spring, but there's never a time that I turn my nose to a touch of leather. It's one of those materials that charms a space with it's sexy edginess! It doesn't follow rules; it pairs well with hard industrial elements as well as softer bohemian touches. It's never inappropriate at a party. :)

The hanging belted clock is just a subtle way to add a little leather into your home without breaking the bank or making a huge commitment. 


Supplies:
Clock - I used an 8" wall clock from Home Depot, (less than $10)
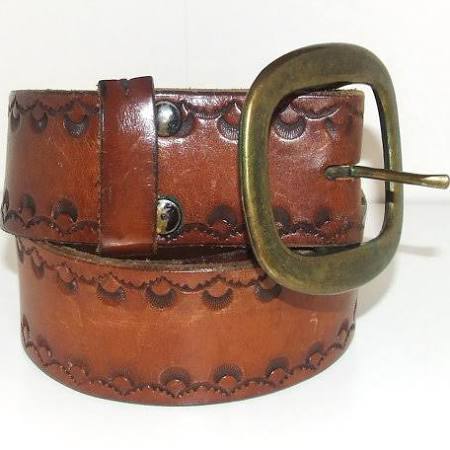
Belt - Find one with a width less than the clock's frame - if the belt is wider, the clock won't hang flush against the wall. Check your local thrift store for a plethora of cheap belts! (less than $4)
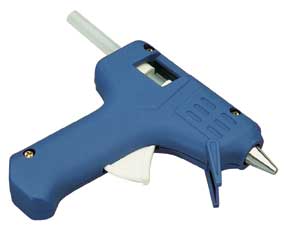
Hot glue gun (around $10)
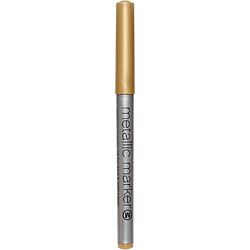
Metallic paint marker, *optional - I used one from AC Moore to cover my face numbers in gold (less than $2)

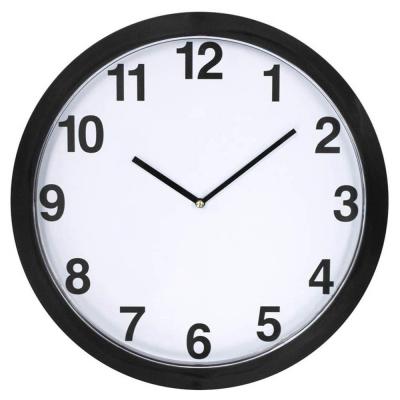
Step one: Remove the frame of your clock by unscrewing it from the back. Color over the face numbers in the metallic marker, then replace clock frame.

Step two: Trace hot glue around the bottom two thirds of your clock and pull the belt around. Do this with the clock lying flat on a protected surface so that you can make sure the clock and belt are both flush. 

Step three: Thread the belt through the buckle. Remember, you want the buckle to be seen from the side as it hangs, so take that into account when deciding how much hang room you want between the belt and the top of the clock..

Step four: Find a winning spot and hang this gem up!

Step five (IMPORTANT): Invite some friends over and ask them if they know the time so they're sure to notice your kickin' clock.

See, nothing major! It's just a fun little touch that makes a space that much more unique!

IMG_2965.JPG

Thank you so much for stopping by today! 

Do you have any fun leather projects to share? We'd love to see! You can either post your handiwork directly to our Facebook page or tag #stylemutthomeprojects to Instagram!


DIY Gold Geometric Ornaments {Holiday DIY No. 5}

Hi All! On Monday I shared our Holiday Home Tour! Click here in case you missed it and want to look around - I'm still excited about it! I went a little simpler this year and for us, it's just right. Any Office fans out there? Remember K-I-S-S; Keep It Simple Stupid? Well that's been my motto lately. But even simple can be lovely and cozy and cause warm fuzzy feelings. 

I'm kind of sad, (and kind of glad), to say it, but this is the last Holiday DIY project I'll be sharing before Christmas! I know we're still a chunk of days away, but I'm parkin' this DIY bus a bit early to devote the remainder of this special time to my nearest and dearest. I don't even remember what DIYs I said we'd be covering, but I know there are a few we didn't check off. I think we made our way through some good ones though, yea?! All are linked in our sidebar to the right if you want to go back and recap. 

For the grand Holiday 2014 DIY finale, we're making ornaments! A little sparklier than the scrapbook paper ornaments we did last year, but just as easy! 

geo phone ornaments7.jpg

Geometric patterns are really trending right now, and I loved the idea of using gold pipe cleaners for a healthy dose of sparkle! Ever since our youngest became a giant wrecking ball, we have not hung our glass ball ornaments on the Christmas tree. I've used them elsewhere over the years, but not dangling helplessly and vulnerable from our trees. I do miss the shine they add, so I thought these gold geometric diamonds would be a perfect replacement! Best part is, they can't break! Do your worst, my wild little man!

These ornaments are really very easy to make. Here's how!

geo ornaments15.jpg

1. Take three pipe cleaners and cut them clean in half, (or in thirds if you want to make them smaller - I did an assortment of both).

2. Use one 'stem' to make a square. Secure the ends by twisting them together, or securing with floral wire.

3. Use another stem and bend it into an open bottom triangle. Attach the ends to one side of the square.

4. Make another open bottom triangle and attach it to the opposite side of the square.

5. Bring the tips of your two triangles together and secure with floral wire. Now you should have a pyramid. 

Repeat these steps on the other side of your square to form a diamond! Use floral wire to make a small hook for hanging.

I'm really diggin' these on our tree! I've already stepped on one that 'fell', (haha, right), and just tweaked the form back into shape, and rehung! I love finding ways to make my style more child friendly. What an interesting challenge, indeed! 

Rather BUY than DIY?

Check these out from KelsoDoesntDance on Etsy!

geometric ornaments.jpg

You have yourselves a merry little weekend! Thanks a lot for stopping by!


Thanksgiving tablescapes: Three simple designs

Hello one and all! I couldn't be more excited about our topic of discussion today: Thanksgiving tablescapes! I know there are brilliant ideas floating around Pinterest, magazines and in the design world, but my desire is that this post reaches you a little differently. Thanksgiving might be my favorite day of the entire year. I have the best memories of shared conversations and laughter, good jokes, (and bad), looking back over the year and sharing plans for the year ahead, and mostly, the faces of those near and dear to my heart. These things are far more important to me than what the spread looks like.

I love and admire this scene by Norman Rockwell.

tablescape by norman rockwell.jpg

Notice anything in particular in this picture, (besides a thousand things)? Nothing decorating the table. No spectacular arrangement, not a single candle.. Would that be so hard?

I don't know about you, but for me? YES! I adore decorating and making things pretty. That's not something I feel anyone should ever apologize for or feel ashamed of. It's very calming to work on ones home. So, how can we create a simpler Thanksgiving table that highlights the faces around it, rather than hides them?

I designed three tablescapes to use for inspiration. They're all simple, budget friendly, and can be whipped out in very little time. Let's have fun!

Tablescape no.1: Whiteout

Whether you're stuck on how to dress your table for the Thanksgiving meal, or desire a clean, quiet spread, you can't go wrong with a whiteout. It's easy to pull off, (no scratching your head to choose colors and patterns), linens can be thrown in the wash with bleach afterwards, and separate pieces can be used as-is year round, or for other creative projects down the road, (like fabric dying or adding pom-pom trim).

If you desire some height in your tablescape, I suggest something thin and 'see-through', so the piece doesn't' prevent anyone from seeing those across the table. These branches from our backyard are perfect since they're twiggy and easy to look through, (and the squirrels let us have them for free!! So sweet...)

Gold dipped silverware, (howdy-do, Dollar Tree!), add just a touch of sophistication and glam to each place setting. Tip: I just used Rustoleum Metallic Gold spray paint. It adheres perfectly and the texture feels consistent with the rest of the handle. (It was my first time trying this so just thought I'd share my thoughts)

Tablescape no.2: Sophisticated Black + White 
 

If you desire a stronger table presence, this bold mix of patterns in a striking black and white color scheme is a sure winner. With some subtle touches of gold, (the gold dipped silverware, trim around the dessert plates, and sconces in the center), this table setting looks special and sophisticated without being overly formal. 

A touch of green always breathes life into a room. It doesn't take much for an impact and these snips off of one of my indoor plants are doing the trick.

Table runner, (Threshold), and dessert plates, (Nate Berkus), are waiting for you at Target. Stunning, aren't they?!

Tip: If there will be children at the Thanksgiving table, consider keping a basket of books, activity books, or coloring books close to the table so that when kids are finished they can grab one to enjoy at the table while the adults chat, or on their way out of the room once they're excused.

Tablescape no.3: Rustic Colors

This is the most relaxed of the three. I decided to pair a burnt orange table runner, (Target, by Threshold), with some branches from our backyard and simple white candles and dinnerware. 

This tablescape would not welcome food on the table since there's a tangle of branches running the full length, however it would be well suited for a buffet style meal where guests fill their plates and come back to their seat. You could still fit salt and pepper and other condiments in and around the branches.

Three very different tablescapes that are equally lovely and festive,  but none feel too heavy or overdone. Let's open the tablescapes a bit to make room for special moments and sweet memories, shall we?

Thank you all for stopping by!